
A dead, buzzing, or discolored electrical receptacle is more than a minor inconvenience; it is a potential ignition point for an electrical fire. While swapping a standard 15-amp duplex receptacle like the Leviton T5320-W is a common DIY task, misdiagnosing the root cause of an outlet failure can lead to catastrophic thermal runaway. As of 2026, the National Fire Protection Association (NFPA) reports that electrical distribution and lighting equipment remains a leading cause of home structure fires, with faulty receptacles and degraded branch wiring accounting for a significant percentage of these incidents.
Before you strip a new wire or tighten a terminal screw, you must accurately diagnose the failure mode. This guide outlines the professional diagnostic protocol for faulty outlets and provides a definitive framework for determining when a simple $5 part swap is sufficient, and when you must immediately hire professional electrical outlet installation services to address hidden infrastructure hazards.
The 5-Minute Diagnostic Protocol
Never assume an outlet is dead simply because a lamp plugged into it fails to turn on. Follow this systematic diagnostic sequence to isolate the fault.
- Verify GFCI/AFCI Status: Check the main electrical panel. If the branch circuit is protected by an Arc Fault Circuit Interrupter (AFCI) or Ground Fault Circuit Interrupter (GFCI) breaker, look for a tripped flag. Additionally, test any upstream GFCI receptacles in adjacent rooms, as bathrooms and garages often share daisy-chained load circuits.
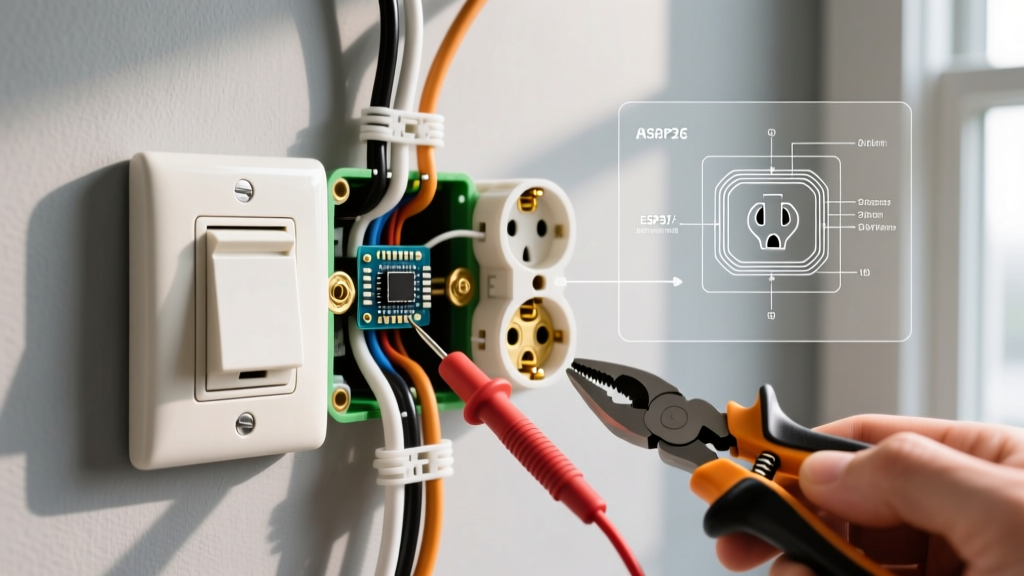
- Static Voltage Testing: Insert a digital multimeter (such as the Fluke 117 True-RMS) or a dedicated receptacle tester (like the Klein Tools RT210) into the top and bottom slots. You are looking for 120V (±5%) between the hot (short slot) and neutral (long slot), and 120V between hot and ground (U-shaped slot). A reading of 0V indicates an open hot; a reading of 120V on hot-to-neutral but 0V on hot-to-ground indicates an open or missing equipment grounding conductor.
- Physical Inspection: Remove the faceplate and inspect the thermoplastic yoke. Look for carbon tracking (black soot marks), melted insulation, or a distinct odor of ozone and burning PVC. If the drywall surrounding the box feels warm to the touch, halt all DIY efforts immediately.
Advanced Load Testing: The Hidden High-Resistance Fault
Standard plug-in testers only measure static voltage with zero load. A severely degraded connection—such as a failing push-in backstab terminal—might still show a perfect 120V reading on a multimeter due to the high impedance of the meter itself. However, the moment a load is applied, the high-resistance joint will cause a massive voltage drop and generate extreme heat.
The Space Heater Test: Plug a 1500W resistive load (like a space heater or hairdryer drawing roughly 12.5 amps) into the suspect outlet. While the load is running, measure the voltage at an adjacent outlet on the same circuit, or use a specialized load-tester. If the voltage drops below 110V under load, or if the faceplate becomes noticeably warm within 60 seconds, you have a high-resistance series fault. This requires cutting out the damaged wire and installing a new junction, a task best left to licensed electrical outlet installation services.
4 Critical Failure Modes Requiring Professional Intervention
If your troubleshooting reveals any of the following conditions, a simple receptacle swap will not solve the problem and may violate the National Electrical Code (NEC).
1. Backstabbed Wire Failures
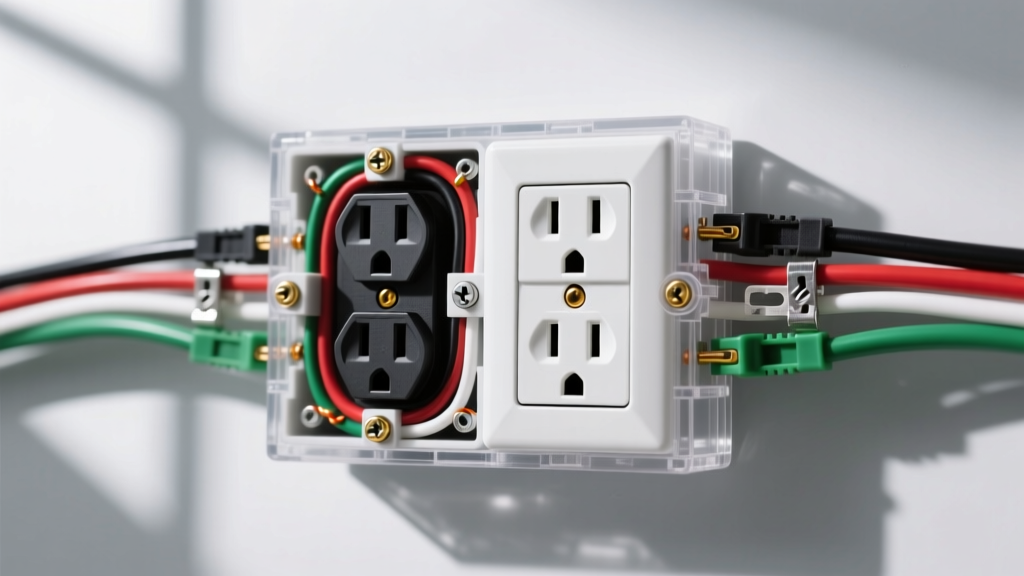
Builder-grade receptacles often feature spring-loaded push-in terminals (backstabs) for 14 AWG solid copper wire. Over years of thermal expansion and contraction, these springs lose tension, increasing contact resistance. If you pull a dead outlet from the wall and find the wires are pushed into the back rather than looped around the side terminal screws, the internal brass contacts are likely compromised. While you can replace the receptacle, the wire ends themselves may be pitted or oxidized and require stripping back to fresh copper.
2. Aluminum Wiring Oxidation
Homes built between 1965 and 1973 frequently utilized AA-1350 aluminum branch circuit wiring. Aluminum expands at a different rate than brass and oxidizes rapidly when exposed to air, forming a highly resistive aluminum oxide layer. If you pull an outlet and see silver-colored wire, do not attach it to a standard copper-rated receptacle. According to the Consumer Product Safety Commission (CPSC), improper terminations on aluminum wiring are a severe fire hazard. Remediation requires either installing specialized CO/ALR rated devices (like the Leviton 12610-CW) or pigtailing the aluminum to copper using AlumiConn lug connectors—a procedure requiring specific torque screwdrivers and anti-oxidant paste.
3. Overloaded Box Fill & Crushed Insulation
NEC Article 314.16 dictates strict box fill calculations to prevent overheating. A standard single-gang nail-on box holds roughly 18 to 22 cubic inches. Each 14 AWG conductor counts as 2.0 cubic inches. If a previous DIYer stuffed four 14/2 Romex cables (8 current-carrying conductors, plus grounds and clamps) into a standard box, the wires are physically crushed against the receptacle yoke. This damages the wire insulation, leading to short circuits. Resolving this requires cutting out the drywall, installing an old-work box extender or a larger 4x4 mud ring, and re-routing the conductors.
4. Nuisance AFCI/GFCI Tripping
If a newly installed outlet immediately trips the panel's AFCI breaker, you likely have a neutral-to-ground fault downstream, or shared neutrals from a multi-wire branch circuit (MWBC). Diagnosing a parallel arc fault or tracing a stolen neutral across multiple junction boxes requires advanced circuit tracing equipment and megohmmeter testing, firmly placing this in the domain of professional electrical outlet installation services.
Decision Matrix: DIY Swap vs. Professional Services
Use the table below to determine your next step based on your diagnostic findings. Pricing reflects national averages for licensed electricians in 2026.
| Diagnostic Symptom | Root Cause | Action Required | Estimated 2026 Cost |
|---|---|---|---|
| Outlet dead, breaker fine, wires on side screws | Failed internal receptacle contacts | DIY: Replace with TR (Tamper-Resistant) receptacle | $5 - $12 (Parts only) |
| Outlet buzzes, warm faceplate, backstabbed wires | High-resistance spring terminal failure | DIY (if wire is clean) or Pro (if wire is pitted) | $125 - $185 (Pro service call) |
| Scorch marks on yoke, melted wire insulation | Thermal runaway / Arcing fault | Pro: Cut back damaged wire, install junction box | $200 - $350 per drop |
| Silver-colored wire (Aluminum) | AA-1350 Aluminum branch wiring | Pro: Pigtail with AlumiConn or install CO/ALR device | $150 - $250 per outlet |
| Breaker trips immediately upon plugging in device | Ground fault or downstream neutral fault | Pro: Megger test and circuit tracing | $150/hr diagnostic rate |
2026 NEC Code Compliance & Safety Hazards
When upgrading or repairing outlets, you are legally required to bring the installation up to the current local electrical code, which in most jurisdictions is based on the 2023 or 2026 NEC. Two critical updates dictate modern outlet safety:
- Tamper-Resistant (TR) Receptacles: NEC Article 406.12 mandates that all 15A and 20A, 125V and 250V non-locking receptacles in dwelling units must be listed as Tamper-Resistant. The internal shutters prevent children from inserting foreign objects. Standard non-TR receptacles are no longer legal for residential replacement.
- AFCI Expansion: AFCI protection is now required in virtually all living spaces, including kitchens and laundry areas. If you are replacing an outlet and discover the circuit lacks AFCI protection, replacing the standard breaker with an AFCI breaker (or installing an AFCI receptacle at the first point of the circuit) is mandatory.
'Electrical receptacles are under constant mechanical and thermal stress. When an outlet shows signs of physical degradation, the entire branch circuit termination must be evaluated, not just the faceplate device.' — Electrical Safety Foundation International (ESFI)
For comprehensive data on electrical fire origins and the statistical risks of degraded residential wiring, refer to the NFPA's Electrical Fires Report.
Final Verdict: Protecting Your Home's Infrastructure
Troubleshooting a dead outlet is a process of elimination. If your multimeter confirms a clean 120V supply, the wires are solid copper, securely looped around terminal screws, and the box has adequate cubic inch volume, a DIY receptacle swap is safe and cost-effective. However, if you encounter aluminum wiring, crushed insulation, backstabbed wires showing heat damage, or complex AFCI tripping issues, the risk of fire far outweighs the cost of a service call. In these scenarios, hiring vetted electrical outlet installation services ensures your home's electrical infrastructure is repaired to code, properly torqued, and safe for decades to come.