
Why Outdoor Outlet Replacement Demands Strict Code Compliance
Replacing an exterior receptacle is not as simple as swapping an indoor bedroom outlet. When you learn how to replace an outdoor electrical outlet, you are directly interfacing with the most vulnerable point in your home's electrical system. Moisture, UV radiation, extreme temperature fluctuations, and physical debris all conspire to degrade electrical connections. According to the U.S. Consumer Product Safety Commission (CPSC), outdoor electrical hazards are a leading cause of residential electrocutions and property fires.
This guide provides a master-class, code-compliant approach to exterior receptacle replacement. We will focus heavily on the National Electrical Code (NEC) mandates for wet and damp locations, ensuring your DIY project passes the scrutiny of any licensed electrical inspector.
The NEC Mandates You Must Know (Article 406.9 & 210.8)
Before touching a screwdriver, you must understand the legal and safety framework governing outdoor wiring. The National Fire Protection Association (NFPA) outlines specific rules for exterior receptacles:
- NEC Article 210.8(F): Mandates Ground-Fault Circuit Interrupter (GFCI) protection for all 15-amp and 20-amp, 125-volt through 250-volt receptacles installed outdoors. There are no exceptions for standard homes.
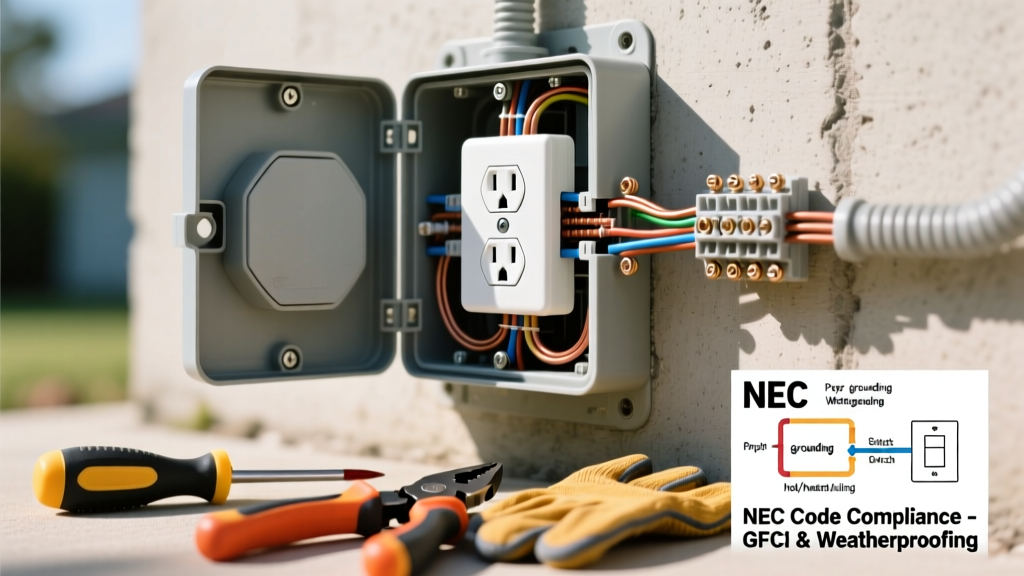
- NEC Article 406.9(A) & (B): Defines the difference between 'damp' and 'wet' locations. If the outlet is exposed to direct weather (wet), it must be enclosed in a weatherproof box with an 'extra-duty' in-use cover that remains weatherproof even when a cord is plugged in.
- NEC Article 406.9(C): Requires the receptacle itself to be listed as Weather-Resistant (WR). Standard indoor GFCIs will fail prematurely outdoors due to internal galvanic corrosion.
Essential Materials & Cost Breakdown
Do not cut corners on exterior-grade materials. The price difference between indoor and outdoor-rated components is minimal compared to the cost of a failed inspection or a fire hazard. Below is the exact bill of materials for a standard 15-amp single-gang replacement.
| Component | Recommended Model (2026 Standard) | Est. Cost | Code / Safety Purpose |
|---|---|---|---|
| WR GFCI Receptacle | Leviton 15A Weather-Resistant (R51-GFWT1-0RW) | $24.00 - $32.00 | UV-resistant face, nickel-plated internal contacts to prevent rust. |
| Extra-Duty In-Use Cover | Taymac 1-Gang Non-Metallic (PL100) | $12.00 - $18.00 | NEC 406.9(B) compliance; protects while cords are plugged in. |
| Silicone Sealant | DAP 100% Silicone Rubber (Clear) | $6.00 - $8.00 | Prevents water intrusion behind the cover flange. |
| Voltage Tester | Klein Tools NCVT-2 Non-Contact Tester | $25.00 | Verifies zero-energy state before touching bare wires. |
Step-by-Step: How to Replace an Outdoor Electrical Outlet
Phase 1: Power Verification & Demolition
Safety begins at the breaker panel. Turn off the circuit breaker controlling the outdoor outlet. Because exterior circuits are often daisy-chained from a bathroom or garage, use your Klein NCVT-2 to test the top, bottom, and sides of the existing cover plate before removing any screws.
- Remove the screws securing the old in-use cover and pull it away from the siding.
- Remove the mounting screws holding the old receptacle to the weatherproof box.
- Carefully pull the receptacle out. Inspect the wiring. If you see green corrosion on copper wires or white powdery oxidation on aluminum, you must cut back the damaged wire to clean metal using wire strippers. If the wire is too short after cutting, you must install a new junction box deeper in the wall; do not use wire nuts to extend wires inside a shallow exterior box.
Phase 2: Prepping the Weatherproof Box
Exterior boxes (often cast aluminum or PVC) accumulate condensation. Check the bottom of the box for 'weep holes.' If they are clogged with dirt, spiderwebs, or old caulk, clear them with a small screwdriver. These holes are critical for allowing trapped moisture to drain out of the box.
Phase 3: Wiring the GFCI Receptacle
This is where most DIYers make critical errors. A GFCI receptacle has two sets of terminals: LINE (incoming power) and LOAD (downstream protection).
- Identify LINE vs. LOAD: The LINE terminals receive power from the breaker panel. If you only have one set of cables entering the box, you only use the LINE terminals. Cap the LOAD terminals with electrical tape to prevent accidental contact.
- Strip and Connect: Strip exactly 3/4-inch of insulation from the black (hot) and white (neutral) wires. Form a tight 'shepherd's hook' using needle-nose pliers.
- Terminal Torque: Hook the black wire to the brass LINE screw and the white wire to the silver LINE screw. Loop them clockwise so tightening the screw pulls the wire in. NEC Article 110.14(D) requires connections to be torqued to manufacturer specifications. For the Leviton R51-GFWT1, this is 14 in-lbs. Use a torque screwdriver to prevent under-tightening (which causes arcing and heat) or over-tightening (which strips the brass threads).
- Grounding: Connect the bare copper ground wire to the green grounding screw. If using a metal box, you must also run a ground pigtail from the receptacle to a grounding screw tapped directly into the back of the metal box.
Phase 4: Sealing and Final Testing
Push the wires neatly into the back of the box, ensuring no bare ground wire is touching the side terminal screws. Mount the WR GFCI using the provided stainless steel screws.
Expert Sealing Tip: Apply a continuous, 1/4-inch bead of 100% silicone sealant to the back of the in-use cover's flange. Press the cover firmly against the siding and secure it with screws. Crucial: Do NOT apply silicone to the bottom edge of the cover. The bottom must remain open to act as a weep hole for condensation drainage. Sealing all four sides will trap water inside the cover, guaranteeing a GFCI failure.
Once the silicone cures (typically 24 hours for DAP 100% Silicone), turn the breaker back on. Press the 'TEST' button on the GFCI; it should click and cut power. Press 'RESET' to restore power. Use a plug-in GFCI tester to verify correct wiring from the outside.
Common Failure Modes & Edge Cases
Even with perfect installation, outdoor outlets face unique environmental stressors. Here is how to troubleshoot the most common edge cases:
- Phantom Tripping from Condensation: If the GFCI trips only in the early morning, microscopic condensation is likely bridging the internal sensing circuit. Ensure your in-use cover has a tight foam gasket seal against the receptacle face and that the bottom weep holes are clear.
- Shared Neutral Errors: If the outlet is on a Multi-Wire Branch Circuit (MWBC) sharing a neutral with another circuit, a standard GFCI will trip immediately upon resetting. You must separate the neutrals or install a 2-pole GFCI breaker in the main panel instead of a receptacle GFCI.
- UV Degradation of Covers: Cheap, metallic-finished plastic covers become brittle and shatter after 3-4 years of direct sunlight. Always specify UV-stabilized polycarbonate or powder-coated cast aluminum covers for south-facing or west-facing walls.
Frequently Asked Questions (FAQ)
Can I use a standard indoor GFCI outdoors if I have a weatherproof cover?
No. NEC Article 406.9(C) strictly requires Weather-Resistant (WR) listed receptacles. Standard GFCIs use zinc-plated steel internal components that will rust and fail within a single wet season, even inside a sealed cover, due to ambient humidity and condensation.
Do I need to caulk the gap between the electrical box and the siding?
Yes. Before installing the new box or cover, inspect the perimeter where the electrical box meets the siding (wood, vinyl, or stucco). Apply a bead of exterior-grade polyurethane or silicone caulk to prevent water from migrating behind your home's weather barrier and into the wall cavity.
What if my existing box is too shallow for a modern GFCI?
Modern WR GFCIs require a minimum box depth of 1.5 inches, though 2.0 inches is highly recommended to accommodate the stiff 12 AWG or 10 AWG wires often used on outdoor circuits. If your existing cast-aluminum box is too shallow, use a 'box extender' ring or replace the box entirely with a deep PVC exterior box (e.g., Carlon E980R).
For more information on preventing electrical shocks outdoors, review the safety guidelines published by the Electrical Safety Foundation International (ESFI). Always consult a licensed master electrician if your home's wiring lacks a proper equipment grounding conductor.