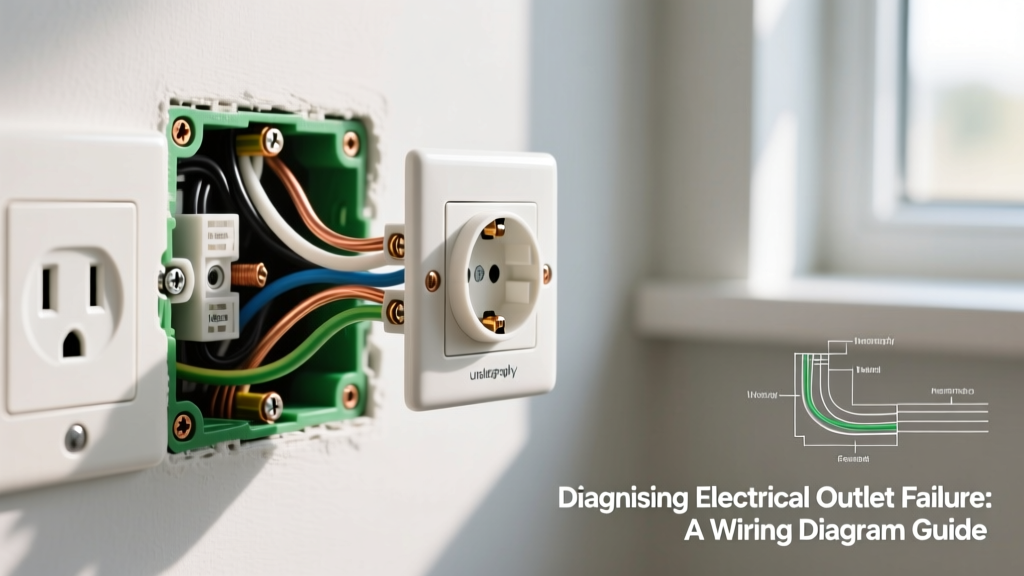

Safety First: Understanding CAT Ratings and Live Circuit Risks
Before you insert a single probe into a receptacle, you must understand the inherent risks of testing live 120V and 240V circuits. According to OSHA electrical safety guidelines, working on or testing energized electrical equipment requires strict adherence to personal protective equipment (PPE) standards and the use of properly rated test equipment. A standard digital multimeter (DMM) used for automotive or low-voltage electronics is entirely inadequate and potentially lethal for testing mains voltage.
Critical Safety Warning: Never test a standard residential 120V/240V outlet with a multimeter rated below CAT III 600V. Transients and voltage spikes on the utility grid can arc across internal components of lower-rated meters, causing catastrophic failure and severe injury. For main panel and outdoor receptacle testing, CAT IV 600V is the recommended standard.
Understanding measurement categories is non-negotiable. As detailed in the Fluke measurement categories guide, CAT III covers fixed wiring systems, including receptacles, lighting circuits, and appliance outlets. When you learn how to test an electrical outlet with a multimeter, ensuring your tool has the correct CAT rating and intact, high-voltage-rated probe insulation is your first line of defense.
Selecting the Right Multimeter for Receptacle Testing
Not all multimeters handle the nuances of residential wiring equally. High-impedance meters can read phantom voltages on switched loops, while lower-end models may lack the speed to capture voltage sags when a compressor kicks on. Below is a comparison of three industry-standard multimeters frequently used by electricians in 2026 for outlet diagnostics.
| Model | Approx. Price (2026) | CAT Rating | Key Feature for Outlet Testing |
|---|---|---|---|
| Fluke 117 True RMS | $185 - $199 | CAT III 600V | Auto-V/LoZ (Low Impedance) eliminates ghost voltage; built-in NCV. |
| Klein Tools MM400 | $45 - $55 | CAT III 600V | Excellent budget True RMS option; robust continuity beep for ground checks. |
| Fluke 87V | $450 - $480 | CAT III 1000V / CAT IV 600V | Overkill for basic outlets, but essential for industrial 240V/480V receptacles. |
For 95% of residential wiring scenarios, a True RMS meter with a Low-Z (Low Impedance) mode is the optimal choice. True RMS is vital because modern homes are filled with non-linear loads (LED drivers, computer power supplies) that distort the AC sine wave, which can cause average-responding meters to display inaccurate voltage readings.
The 3-Point Receptacle Testing Matrix
Testing a standard NEMA 5-15R (120V, 15A) receptacle requires three distinct measurements to verify the integrity of the hot, neutral, and ground paths. The NFPA 70 National Electrical Code mandates specific grounding and polarity configurations to ensure overcurrent devices trip correctly and equipment grounding conductors remain safe.
According to ANSI C84.1 standards, a nominal 120V circuit should read between 114V and 126V. Here is the diagnostic matrix you should expect when probing a correctly wired outlet:
- Hot to Neutral (Short slot to Long slot): 114V - 126V (Load voltage)
- Hot to Ground (Short slot to U-shape): 114V - 126V (Ground reference)
- Neutral to Ground (Long slot to U-shape): 0V - 2V (Voltage drop on neutral)
If your readings deviate from this matrix, you are dealing with a wiring fault. Let us break down how to execute these tests and interpret the anomalies.
Step-by-Step: How to Test Electrical Outlet with Multimeter
- Visual Inspection: Before inserting probes, check the receptacle for physical damage, scorch marks, or loose faceplate screws. Ensure the multimeter dial is set to V AC (Volts Alternating Current).
- Verify Meter Function: Test your multimeter on a known-good outlet or use a proving unit to ensure the leads and internal fuses are intact.
- Hot to Neutral Test: Insert the black (common) probe into the longer neutral slot and the red (V/Ohm) probe into the shorter hot slot. Record the voltage.
- Hot to Ground Test: Keep the red probe in the hot slot and move the black probe to the U-shaped ground hole. Record the voltage.
- Neutral to Ground Test: Move the red probe to the neutral slot and keep the black probe in the ground hole. This reading is critical for identifying overloaded neutrals or shared-neutral (MWBC) issues.
Diagnosing Common Wiring Scenarios
Reading the numbers is only half the battle; interpreting them in the context of common residential wiring mistakes is where true expertise lies.
Scenario 1: Reverse Polarity
The Symptom: Hot to Neutral reads 120V. Hot to Ground reads 0V. Neutral to Ground reads 120V.
The Diagnosis: The hot and neutral wires are swapped at the receptacle terminals. The white wire is connected to the brass screw, and the black wire is connected to the silver screw.
The Risk: While a simple lamp will still turn on, the internal switch of the appliance only breaks the neutral path. The appliance remains fully energized at 120V even when turned off, presenting a severe shock hazard during maintenance or bulb changes.
The Fix: Turn off the breaker, verify zero energy, and swap the hot and neutral wires to their correct brass and silver terminals, respectively.
Scenario 2: The Deceptive Bootleg Ground
The Symptom: Hot to Neutral reads 120V. Hot to Ground reads 120V. Neutral to Ground reads 0V. A standard 3-light plug-in tester reads "Correct".
The Diagnosis: This is a notorious DIY hack found in older homes upgraded from 2-prong to 3-prong outlets without running a new equipment grounding conductor. The previous installer placed a jumper wire between the neutral terminal and the ground screw to trick inspectors and plug-in testers.
The Risk: If the neutral wire ever breaks or disconnects upstream, the metal chassis of any plugged-in appliance will become fully energized at 120V, creating a lethal shock hazard.
How to Expose It: A multimeter voltage test alone will not definitively prove a bootleg ground under normal load. To confirm, you must turn off the circuit breaker, remove the receptacle from the box, and set your multimeter to Continuity (Ohms). Place one probe on the neutral terminal and the other on the ground screw. If the meter beeps, you have a bootleg ground. The NEC strictly prohibits this practice; the proper fix is installing a GFCI receptacle marked "No Equipment Ground" or running a new ground wire.
Scenario 3: High Resistance and Voltage Drop
The Symptom: Hot to Neutral reads 118V with no load. When a high-draw appliance (like a vacuum or space heater) is plugged in and turned on, the voltage drops to 105V or lower.
The Diagnosis: High resistance in the circuit path. This is typically caused by back-stabbed (push-in) wire connections on the back of the receptacle, which are notorious for loosening over time due to thermal expansion and contraction. It can also indicate a failing breaker or an undersized wire run that is too long for the load.
The Fix: Remove the receptacle and inspect the connections. If wires are pushed into the back-stab holes, remove them, strip back any damaged copper, and secure them under the side terminal screws using a proper shepherd's hook loop. Torque the screws to the manufacturer's specification (usually 12-16 in-lbs).
Advanced Edge Case: Phantom Voltage on Switched Loops
In many living rooms and bedrooms, outlets are half-hot, meaning the top receptacle is controlled by a wall switch while the bottom remains always-on. When testing the switched half with the wall switch in the "OFF" position, a high-impedance digital multimeter might display a reading of 40V to 90V between the hot slot and ground.
This is phantom voltage (or ghost voltage), caused by capacitive coupling between the always-hot wire and the switched-hot wire running parallel in the same Romex (NM-B) cable. Because a standard DMM has an input impedance of 10 Megohms, it acts as an antenna, picking up this induced electromagnetic field. To accurately test this scenario and confirm the circuit is truly dead, switch your multimeter to LoZ (Low Impedance) mode. LoZ drops the internal resistance to roughly 3 kilo-ohms, bleeding off the capacitive charge and dropping the phantom reading to a true 0V.
Summary Checklist for Outlet Diagnostics
- Always verify your multimeter is rated CAT III 600V or higher before testing mains voltage.
- Use True RMS meters for circuits feeding modern electronics and LED lighting.
- Perform the 3-point matrix test (H-N, H-G, N-G) to catch reverse polarity and open grounds.
- Never trust a 3-light plug-in tester blindly; use a multimeter continuity test (power off) to expose dangerous bootleg grounds.
- Utilize LoZ mode to eliminate false positives from phantom voltage on switched receptacles.
- Check for voltage drop under load to identify failing back-stabbed connections or undersized wiring.
Mastering how to test an electrical outlet with a multimeter transforms you from a simple parts-changer into a true diagnostic technician. By understanding the underlying physics of residential wiring and the limitations of your test equipment, you ensure every receptacle you troubleshoot is safe, code-compliant, and reliable for years to come.