
The Evolution of the Clothes Dryer Electrical Outlet
If you live in a home built before the year 2000, you likely have a 3-prong NEMA 10-30 receptacle powering your laundry room. While this was the standard for decades, the National Electrical Code (NEC) fundamentally changed how we approach the clothes dryer electrical outlet due to severe safety hazards. The 3-prong design combined the neutral and ground paths into a single conductor. If that neutral wire ever became loose or disconnected, the metal chassis of the dryer could become energized with 120 volts, posing a lethal shock hazard.
Today, code strictly mandates a 4-prong NEMA 14-30R configuration, which separates the neutral (return current) from the equipment grounding conductor (safety path). According to the Electrical Safety Foundation International (ESFI), improper grounding and aging electrical connections are leading contributors to appliance-related electrical fires. Upgrading your outlet is not just a modern convenience; it is a critical life-safety intervention.
The NEC 2023 and 2026 GFCI Mandate: What DIYers Miss
The most significant shock to the electrical industry in recent years is the expansion of Ground-Fault Circuit Interrupter (GFCI) requirements. Many homeowners and even veteran electricians mistakenly believe that 240-volt appliances are exempt from GFCI protection. This is false under current code.
Under NEC 2023 Section 210.8(F), which is heavily enforced in 2026 municipal adoptions, all 125-volt through 250-volt receptacles supplied by single-phase branch circuits rated 150 volts or less to ground, and 50 amperes or less, must have GFCI protection. Because a standard residential split-phase dryer circuit provides 120 volts to ground and is rated at 30 amps, your clothes dryer electrical outlet now requires GFCI protection.
Breaker vs. Receptacle: Solving the Accessibility Problem
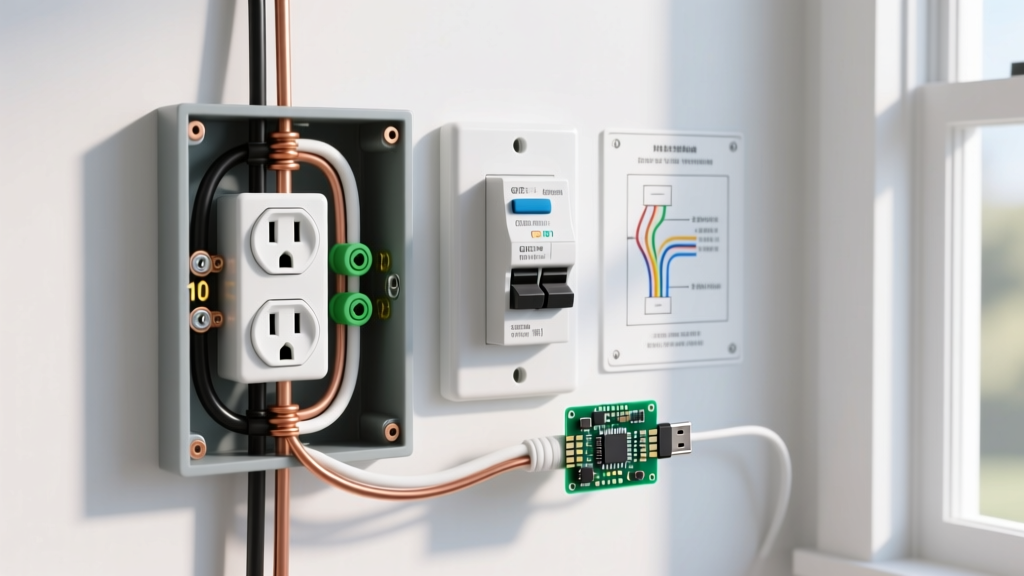
NEC 210.50(C) requires that GFCI devices be readily accessible. If you install a GFCI receptacle behind the dryer, you would have to pull the heavy appliance away from the wall every time the breaker trips to hit the reset button. Therefore, the code-compliant and practical solution is to install a 2-Pole 30A GFCI Circuit Breaker in your main electrical panel.
CRITICAL SAFETY WARNING: Never use a 3-prong to 4-prong 'cheater' adapter on your dryer cord. These adapters bypass the dedicated grounding path and violate NEC Article 250, creating a severe shock and fire hazard.Wire Sizing, Breaker Specs, and 2026 Pricing
Properly sizing your conductors and overcurrent protection is non-negotiable. A standard electric dryer requires a dedicated 30-amp, 240-volt circuit. Below is the definitive specification matrix for a modern, code-compliant installation.
| Component | Specification & Model Example | Estimated 2026 Cost |
|---|---|---|
| Cable (Copper) | 10/3 NM-B with Ground (e.g., Southwire Romex) | $1.60 - $2.20 / ft |
| Cable (Aluminum) | 8/3 SER (Aluminum requires larger gauge) | $1.10 - $1.50 / ft |
| Breaker | 30A 2-Pole GFCI (e.g., Square D HOM230GFI) | $55.00 - $75.00 |
| Receptacle | NEMA 14-30R (e.g., Leviton 278-S00) | $16.00 - $24.00 |
| Dryer Cord | 4-Prong 14-30P, 10 AWG, 6ft (e.g., Wiremold) | $25.00 - $35.00 |
Step-by-Step 4-Prong NEMA 14-30R Wiring Guide
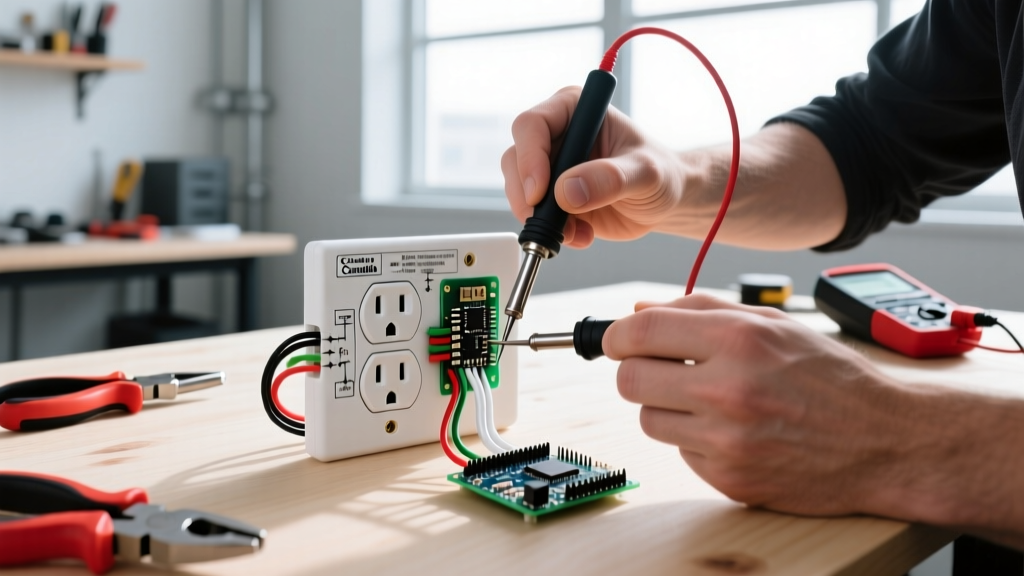
When wiring the receptacle itself, precision and torque are your best defenses against thermal failure. Loose connections cause high resistance, leading to arcing, melted plastic faces, and eventually, electrical fires. The National Fire Protection Association (NFPA) consistently reports that arcing from degraded connections is a primary ignition source in laundry room fires.
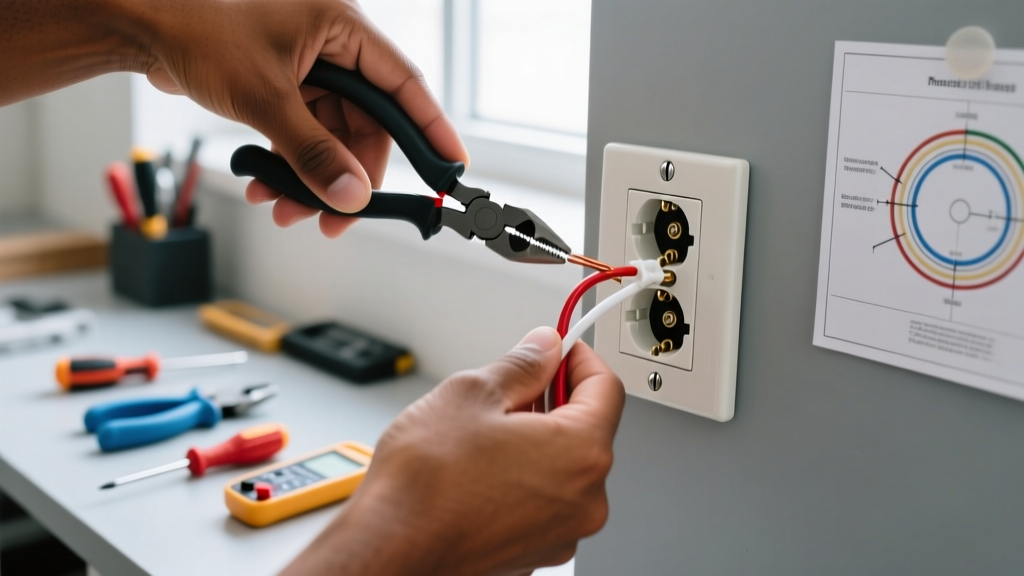
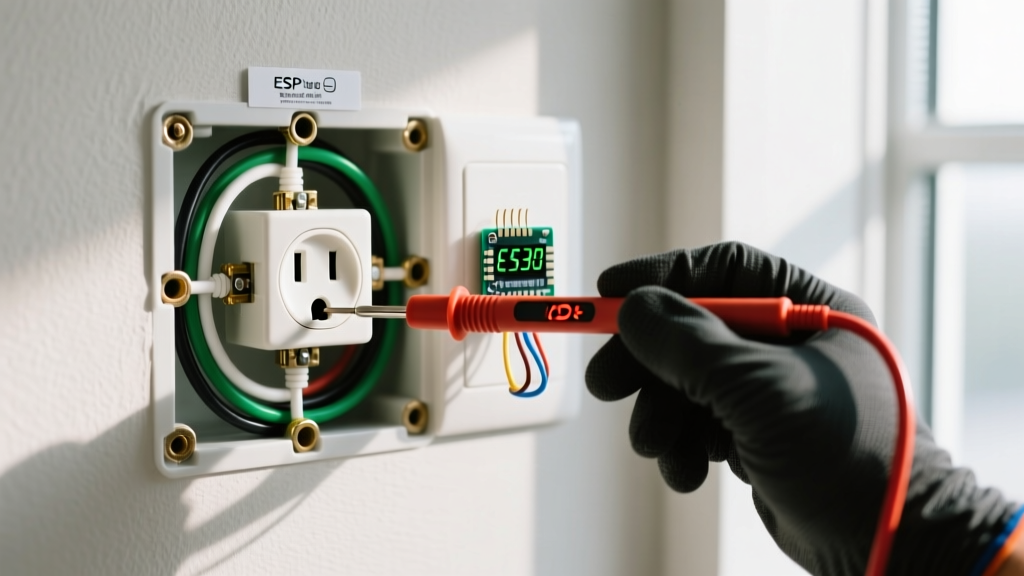
- Verify Power is Off: Use a non-contact voltage tester and a multimeter to confirm 0V across both hot legs and neutral at the panel.
- Strip the NM-B Cable: Remove exactly 6 inches of the outer jacket. Do not nick the copper insulation on the inner conductors.
- Terminate the Ground: Connect the bare copper ground wire to the green grounding screw on the metal box (if metal) or directly to the receptacle's green ground terminal if using a non-metallic box.
- Terminate the Neutral: Connect the white wire to the silver 'W' (Neutral) terminal. Pro-Tip: Wrap the white wire with black or red electrical tape at the termination point to re-identify it as a current-carrying conductor, as required by NEC 200.7(C).
- Terminate the Hot Legs: Connect the black and red wires to the brass 'X' and 'Y' terminals. Polarity between X and Y does not matter for 240V operation.
- Apply Exact Torque: Use a calibrated torque screwdriver. The Leviton 278-S00 requires 14-16 inch-pounds of torque on the terminal screws. Hand-tightening is a leading cause of premature receptacle failure.
The Appliance Side: Converting the Dryer Cord
Upgrading the wall outlet is only half the battle. If you are plugging a newer 4-prong dryer into a newly upgraded 4-prong outlet, you must ensure the appliance's internal bonding is correct. When a dryer ships from the factory, it often includes a bonding strap or green bonding wire that connects the neutral terminal to the metal chassis. This is intended only for use with older 3-prong outlets.
Mandatory Conversion Steps
- Remove the access panel on the back of the dryer to expose the terminal block.
- Locate the white neutral wire and the green bonding wire (or copper strap).
- Disconnect the bonding strap from the neutral terminal. Fold it back and secure it to the chassis ground screw, or cut it off entirely and cap it with a wire nut to prevent accidental contact.
- Connect the new 4-prong cord: Red to Right Hot, Black to Left Hot, White to Center Neutral, and Green to the Chassis Ground Screw.
Failure to remove this bonding strap on a 4-wire system will cause the chassis ground to carry normal neutral return current, which can trip your new GFCI breaker instantly and create a shock hazard.
Thermal Testing and Failure Modes
Once the installation is complete and the dryer is running a high-heat cycle, perform a thermal audit. After 45 minutes of operation, use an infrared thermometer to scan the receptacle face and the breaker in the panel.
- Acceptable Range: The temperature should not exceed ambient room temperature by more than 40°F (22°C).
- Failure Mode 1 (Melted Receptacle): If the NEMA 14-30R face is hot to the touch or shows brown scorch marks, the internal contacts have lost tension. Replace the receptacle immediately; do not attempt to clean it.
- Failure Mode 2 (Fried Control Board): If the neutral connection at the panel or receptacle is loose, the 120V circuits powering the dryer's digital timer and logic board can experience voltage spikes up to 240V, instantly destroying the appliance's main PCB.
Frequently Asked Questions
Can I use a 50-Amp NEMA 14-50 outlet for a 30-Amp dryer?
No. NEC Article 210.21(B)(1) dictates that a single receptacle installed on an individual branch circuit must have an ampere rating not less than that of the branch circuit. Furthermore, plugging a 30-amp rated dryer cord into a 50-amp receptacle leaves the appliance unprotected by the breaker's thermal curve in the event of a 40-amp fault. Always match the receptacle (14-30R) to the breaker (30A).
Does a clothes dryer electrical outlet require AFCI protection?
Generally, no. While NEC 2023 expanded Arc-Fault Circuit Interrupter (AFCI) requirements to many 120V dwelling areas, 240V dedicated appliance circuits like dryers and ranges are typically exempt from AFCI mandates unless specifically amended by your local Authority Having Jurisdiction (AHJ). However, the GFCI mandate discussed above does apply.
My GFCI breaker trips every time the dryer starts. What is wrong?
This is almost always caused by one of two issues: (1) The green bonding strap inside the dryer's terminal block was not removed during the 4-prong cord conversion, causing neutral current to leak to ground, or (2) the heating element has developed a micro-fracture and is leaking current to the chassis when it expands under heat. Check the bonding strap first.