
The 2026 Powersports Charging Bottleneck: Why Your Garage Wiring Needs an Upgrade
The direct-to-consumer and wholesale powersports market has exploded in 2026. When analyzing recent ATV wholesale outlet electric bikes and powersports reviews, a glaring bottleneck consistently emerges: inadequate home garage wiring. Enthusiasts are purchasing high-capacity 72V and 84V electric ATVs, dirt e-bikes, and utility UTVs from wholesale distributors, only to find that standard 120V household receptacles cannot handle the thermal load of rapid Level 2 charging.
Most wholesale 72V 50Ah lithium-ion ATV batteries hold roughly 3.6 kWh of energy. Plugging a cheap, unregulated 120V trickle charger into a standard 15A bedroom-style outlet for 8 hours not only degrades the battery management system (BMS) but frequently causes voltage drop, melted plug faces, and thermal runaway. To safely and efficiently charge the heavy-duty rigs highlighted in top industry reviews, you need a dedicated 240V, 50-amp NEMA 14-50 receptacle installed in your garage or workshop.
Charging Performance: 120V Standard vs. 240V NEMA 14-50
Below is a real-world comparison based on a standard wholesale 72V 50Ah (3.6 kWh) electric ATV battery pack, assuming an 85% charging efficiency rate.
| Charging Setup | Max Continuous Draw | Power Output | 0-100% Charge Time | Thermal Risk Level |
|---|---|---|---|---|
| Standard 120V 15A Outlet | 12 Amps | 1.44 kW | ~3.5 Hours | High (Prolonged heat) |
| Standard 120V 20A Outlet | 16 Amps | 1.92 kW | ~2.5 Hours | Moderate |
| 240V 50A NEMA 14-50 | 40 Amps | 9.60 kW | < 45 Minutes | Low (Optimal BMS temp) |
Materials and Tools Required for a 50A 240V Installation
Before pulling wire, ensure your main electrical panel has the physical space for a double-pole 50A breaker and the spare amperage capacity to support it. According to the National Fire Protection Association (NFPA), continuous loads (like EV and powersports charging lasting over 3 hours) must be derated to 80% of the breaker's capacity. Therefore, a 50A breaker safely delivers 40A continuous.
- Breaker: 50A Double-Pole GFCI Breaker (Required for garage receptacles per NEC 210.8).
- Wire: 6 AWG THHN/THWN-2 Copper (4 conductors: Black, Red, White, Green/Bare). Use 4 AWG if the run exceeds 75 feet to mitigate voltage drop.
- Conduit: 3/4-inch EMT (Electrical Metallic Tubing) or Schedule 80 PVC for physical protection.
- Receptacle: NEMA 14-50R (Heavy-duty, commercial grade, angled or straight blade depending on your charger plug).
- Enclosure: Extra-duty weatherproof "while-in-use" cover box.
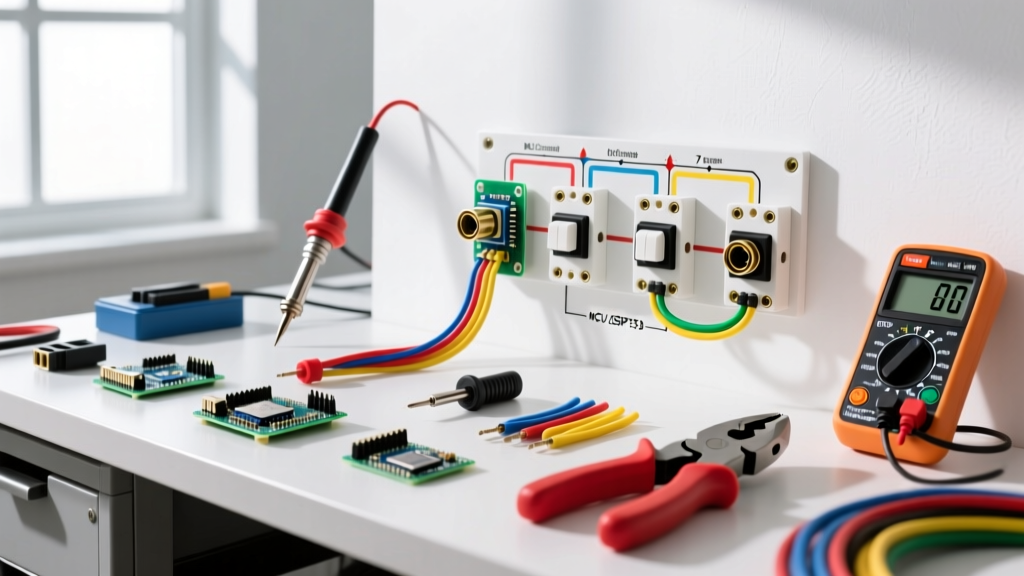
- Tools: Torque screwdriver, wire strippers, conduit bender, non-contact voltage tester, fish tape.
Step-by-Step NEMA 14-50 Installation Guide
Step 1: Panel Preparation and GFCI Integration
Shut off the main breaker to your electrical panel. Verify zero voltage at the bus bars using a CAT III or CAT IV multimeter. In 2026, the NEC strictly enforces Ground Fault Circuit Interrupter (GFCI) protection for all 240V garage receptacles where vehicles are charged, aligning with guidelines from the Alternative Fuels Data Center regarding residential charging safety. Install the 50A GFCI double-pole breaker into an available slot, connecting the coiled white neutral pigtail directly to the panel's neutral bar. Do not connect the load neutral to the ground bar.
Step 2: Pulling the 6 AWG Copper Conductors
Route your 3/4-inch conduit from the panel to the desired garage location, ideally 18 to 24 inches above the finished floor to protect the receptacle from impact and water pooling. Pull four individual 6 AWG THHN wires through the conduit using fish tape and wire lubricant.
Expert Warning: Never use standard Romex (NM-B) cable for exposed garage runs below 8 feet, as it lacks the physical crush resistance required by code in unfinished workshop spaces where powersports vehicles are stored.Leave at least 12 inches of slack inside the panel and 8 inches inside the receptacle box.
Step 3: Mounting the Extra-Duty Enclosure
Secure the extra-duty weatherproof box to a structural stud using 3-inch lag screws. Because wholesale electric ATVs and e-bikes are often hosed off or stored wet, a standard indoor cover plate is a severe shock hazard. Ensure the box is perfectly level. Feed the four wires through the knockout hub, securing them with a 3/4-inch compression connector tightened with a wrench to maintain the grounding path if using EMT conduit.
Step 4: Terminating the NEMA 14-50R Receptacle
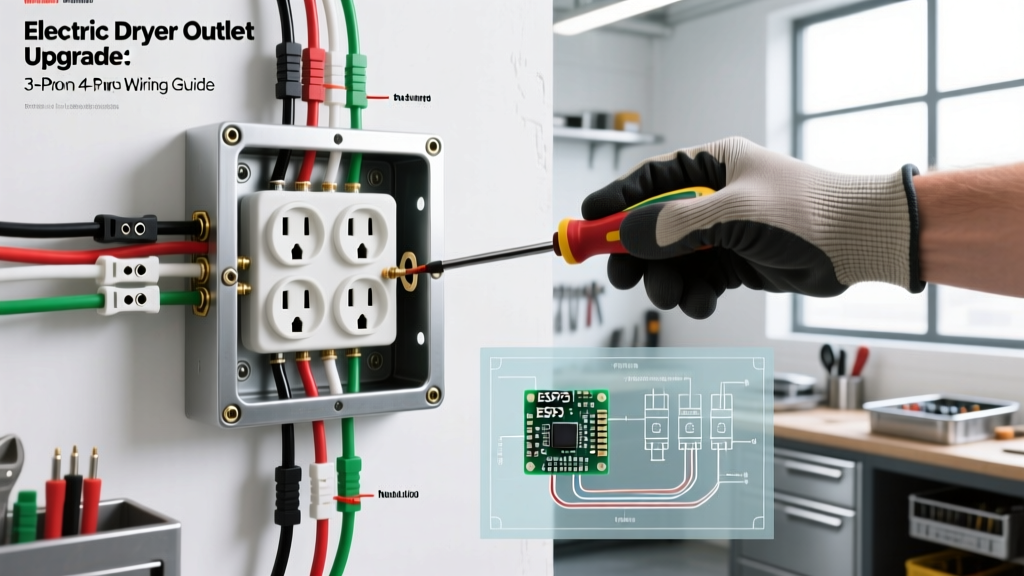
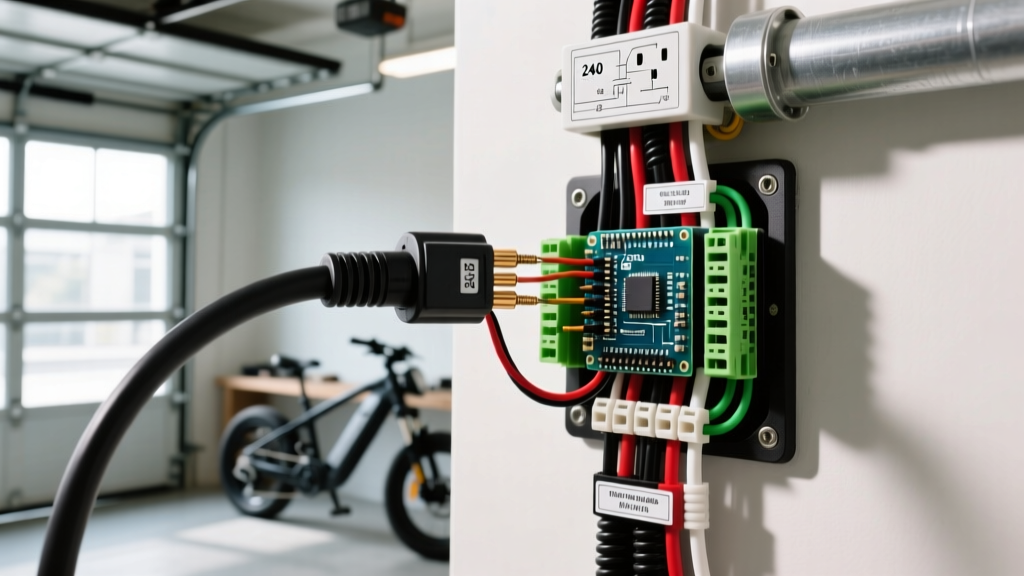
Strip exactly 3/4 inch of insulation from each 6 AWG wire. The NEMA 14-50R features four terminals: X (Black/Hot 1), Y (Red/Hot 2), W (White/Neutral), and G (Green/Ground).
- Ground (G): Connect the bare copper or green wire to the grounding terminal. Tighten to 45 in-lbs.
- Neutral (W): Connect the white wire to the silver-colored neutral terminal. This is critical for the charger's internal 120V logic boards.
- Hot Legs (X & Y): Connect the black and red wires to the brass hot terminals. Polarity between the two hot legs does not matter on a 240V circuit, but ensure no stray copper strands are exposed outside the terminal clamp.
- Torque Verification: Use a calibrated torque screwdriver set to the manufacturer's specification (typically 45 to 50 in-lbs for 50A commercial receptacles). Loose connections on a 40A continuous draw will arc, oxidize, and cause a fire within weeks.
Edge Cases and Troubleshooting Wholesale Chargers
Many direct-from-manufacturer chargers bundled with wholesale powersports units lack sophisticated power factor correction (PFC). When you first plug a 72V wholesale ATV charger into your newly installed NEMA 14-50 outlet, you may experience immediate GFCI tripping. This is often caused by high inrush current or internal capacitive leakage to ground within the cheap charger casing, rather than a wiring fault.
If your newly wired, code-compliant outlet trips the 50A GFCI breaker instantly upon plugging in a wholesale e-bike charger, do not bypass the GFCI. Instead, install an external hardwired EVSE (Electric Vehicle Supply Equipment) smart-charger that acts as a buffer, communicating via PWM (Pulse Width Modulation) to safely ramp up the amperage only after the charger's internal capacitors are stabilized. The Consumer Product Safety Commission (CPSC) strongly advises against using unlisted, direct-import lithium chargers on standard household circuits without smart-buffering due to the high risk of thermal events.
Final Verification
Before plugging in your electric ATV, turn the main panel back on, followed by the 50A GFCI breaker. Use a multimeter to verify 240V across the two hot slots, and 120V from each hot slot to the neutral slot. Press the "Test" button on the GFCI breaker to ensure the mechanical trip mechanism functions correctly. Once verified, your garage is now fully equipped to handle the most demanding machines featured in this year's powersports reviews, ensuring rapid, safe, and code-compliant charging for years to come.