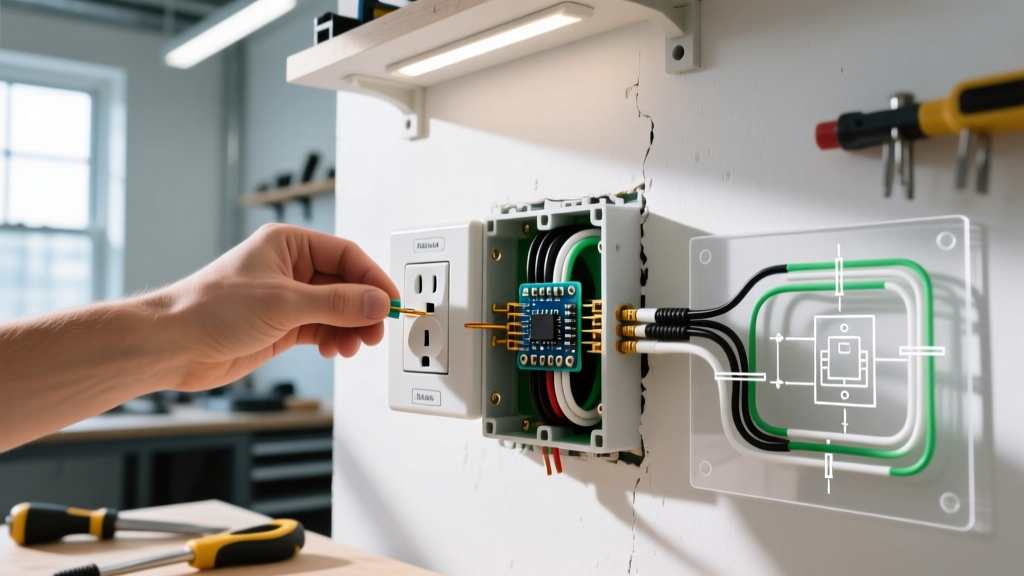

The Evolution of the Hardwired Electric Strip Outlet
In professional workshops, commercial kitchens, and heavy-duty garage workbenches, the standard duplex receptacle often falls short. When contractors and DIYers refer to an electric strip outlet, they are typically describing a hardwired multi-outlet assembly (surface raceway) governed by NEC Article 380. Unlike consumer plug-in power strips, these hardwired units provide permanent, high-capacity power distribution directly from your electrical panel.
However, older electric strip outlets installed in the 1990s and early 2000s are now reaching the end of their service life. Internal brass contacts lose their tension, ground paths degrade, and they lack modern arc-fault compatibility. Upgrading your hardwired electric strip outlet is not just about adding more plugs; it is a critical safety intervention to prevent thermal runaway and voltage drop under heavy inductive loads like table saws, welders, and commercial kitchen appliances.
Diagnostic Matrix: When to Replace vs. Repair
Before tearing out your existing setup, evaluate the failure mode. Use this diagnostic matrix to determine if a full replacement is necessary or if a simple component swap will suffice.
| Failure Mode | Visual / Operational Symptom | Required Action | Estimated Cost (2026) |
|---|---|---|---|
| Discolored Faceplates | Brown or black scorch marks around plug slots. | Replace Entire Strip. Internal bus bars or terminal screws have overheated. | $65 - $150 |
| Loose Plug Retention | Plugs fall out with minimal downward pressure. | Replace Receptacles or Strip. The internal wipers have lost spring tension. | $12 - $25 (per module) |
| Physical Damage | Cracked metal housing or missing cover plates. | Replace Housing. Exposed wiring violates OSHA workplace safety standards. | $45 - $90 |
| Constant GFCI Tripping | Upstream GFCI breaker trips when tools are plugged in. | Inspect & Repair. Check for pinched neutral wires or moisture ingress. | $0 - $15 (wire nuts) |
Top Multi-Outlet Assemblies for 2026 Upgrades
If your diagnostic points to a full replacement, you need a commercial-grade assembly. Avoid big-box store generic brands; opt for engineered raceway systems that support 20A circuits and 12 AWG wiring.
- Legrand Wiremold V7GB Series (Steel): The industry standard for workshop benches. Features a deep 1.25-inch wiring channel, ideal for pulling 12/2 NM-B or three 12 AWG THHN wires. Pricing ranges from $45 to $85 for a 5-foot section with pre-wired 20A duplex receptacles spaced every 12 inches.
- Hubbell SystemOne (Aluminum): A premium, modular system designed for commercial and high-end garage builds. The anodized aluminum housing acts as an excellent heat sink. It utilizes snap-in receptacle modules, allowing you to mix standard 20A outlets with USB-C PD (Power Delivery) fast-charging modules. Expect to pay $120 to $200 per 6-foot run.
- Leviton 4990 Series (Flush-Mount): Best for under-cabinet kitchen applications or finished drywall installations. Requires cutting into the wall but provides a seamless, low-profile look. Priced around $90 to $130.
NEC & OSHA Code Compliance
When upgrading an electric strip outlet, you must adhere to the latest National Electrical Code (NEC) and workplace safety regulations. According to the NFPA NEC guidelines, multi-outlet assemblies are covered under Article 380.
CRITICAL CODE WARNING: Under NEC 210.52(B)(2), a hardwired electric strip outlet cannot be used to satisfy the mandatory countertop receptacle requirements in a residential kitchen if it is mounted on the surface of the wall or cabinetry. It can only be used as supplemental power. Furthermore, OSHA standard 1910.305 strictly prohibits using flexible cord-and-plug power strips as a substitute for fixed building wiring in commercial environments.
Step-by-Step Upgrade Procedure
Follow this precise workflow to replace your old unit with a modern Wiremold or Hubbell assembly. This guide assumes you are upgrading a 20A, 120V circuit.
Phase 1: De-energize and Verify
- Turn off the 20A double-pole or single-pole breaker feeding the strip.
- Use a non-contact voltage tester (e.g., Klein Tools NCVT-3) on the outlets.
- Remove the cover plate and use a digital multimeter to verify 0.0V between Line-Neutral, Line-Ground, and Neutral-Ground.
Phase 2: Demolition and Wire Prep
- Unscrew the old metal housing from the workbench or wall.
- Carefully pull the feed wires out of the junction box or conduit entry point.
- Inspect the existing 12 AWG wires. If the insulation is brittle, cracked, or shows signs of thermal melting, you must cut back to fresh wire or pull new THHN through the conduit.
- Strip exactly 3/4 inch of insulation for back-wire clamp terminals, or 1/2 inch for side-wire screw terminals.
Phase 3: Termination and Torque
The most common cause of failure in hardwired strips is under-torqued terminal screws, which leads to arcing and fire. Do not rely on 'wrist torque'.
- Connect the bare copper ground to the green grounding screw on the strip's internal bus bar.
- Connect the white neutral to the silver terminal and the black line to the brass terminal.
- Use an insulated torque screwdriver set to 14 inch-pounds (the standard UL requirement for 15A/20A receptacles) to secure the connections.
- If your new electric strip outlet features a 'back-wire' clamp plate, insert the wire under the plate and tighten. This provides superior contact area compared to traditional side-wrapping.
Phase 4: Mounting and Testing
- Secure the base channel to the workbench using #10 wood screws or machine bolts, ensuring no screw pierces the internal wiring channel.
- Snap the pre-wired receptacle modules into place.
- Attach the metal cover plate.
- Restore power at the panel and test each receptacle with a digital circuit analyzer (e.g., Ideal SureTest) to verify correct wiring and ground impedance.
Pro-Troubleshooting & Edge Cases
Even professional electricians encounter edge cases when retrofitting older workshops. Here is how to handle the most common issues:
- Voltage Drop on Long Runs: If your electric strip outlet is located more than 75 feet from the subpanel, a 12 AWG wire may experience a voltage drop exceeding 3% under a 16A continuous load. Solution: Upgrade the feed wire to 10 AWG THHN and use a 20A receptacle with a 10 AWG-rated pigtail, or install a local subpanel closer to the workbench.
- GFCI Nuisance Tripping: If you are powering older brush-motor tools (like routers or shop vacs), the startup inrush current and minor brush arcing can trip a modern GFCI breaker. Solution: Ensure the circuit is protected by an AFCI/GFCI dual-function breaker rather than a standard GFCI, as AFCI algorithms are better tuned to ignore motor startup signatures while still catching dangerous parallel arcs.
- Shared Neutral (Multi-Wire Branch Circuit): If your old strip was fed by a 12/3 cable sharing a neutral between two 120V legs, you must use a handle-tied 2-pole breaker. Upgrading the strip requires carefully separating the two hot lines and ensuring the shared neutral is securely landed on an isolated ground bar or properly spliced with a WAGO 221 lever nut.
Frequently Asked Questions
Can I daisy-chain multiple electric strip outlets together?
Yes, but with strict limitations. Most commercial multi-outlet assemblies (like Wiremold) allow you to feed through to the next section. However, the total continuous load across the entire daisy-chained run cannot exceed the ampacity of the feed wire or the breaker rating (typically 16A continuous on a 20A breaker). Always use the manufacturer's internal coupling plates to maintain ground continuity between sections.
Do I need a surge protector built into the hardwired strip?
For sensitive CNC routers, 3D printers, or laser cutters, yes. Instead of buying a strip with built-in MOVs (Metal Oxide Varistors) which degrade over time and are difficult to replace in a hardwired unit, install a whole-panel Type 2 Surge Protective Device (SPD) like the Eaton Intellisense or Square D HEPD80 at your breaker box. This provides cleaner, more reliable protection for the entire circuit feeding your electric strip outlet.
For more general electrical safety tips and to ensure your home or shop meets current standards, always consult the CPSC Electrical Safety Center before beginning any major wiring project.