
Mastering the Wiring Diagram: How to Add Electrical Outlet from an Existing Circuit
Whether you are powering a new home office setup, installing a wall-mounted TV, or adding workshop capacity, learning how to add electrical outlet from an existing branch circuit is a foundational DIY electrical skill. In 2026, with smart home devices drawing continuous standby power and high-draw appliances becoming more common, understanding circuit capacity, National Electrical Code (NEC) compliance, and proper termination techniques is more critical than ever. This wiring diagram reference guide breaks down the exact schematics, box fill calculations, and physical execution steps required to safely extend a 15-amp or 20-amp receptacle circuit.
Pre-Wiring: Load Calculation and NEC Code Compliance
Before cutting into drywall, you must verify that the existing circuit can handle the additional load. The National Fire Protection Association (NFPA) outlines strict rules in NEC Article 210 regarding branch circuits. A standard 15-amp circuit (14 AWG wire) can safely handle 1,800 watts continuously (applying the 80% rule), while a 20-amp circuit (12 AWG wire) handles 2,400 watts.
| Circuit Breaker | Wire Gauge | Max Continuous Load (80%) | Typical Applications |
|---|---|---|---|
| 15 Amp | 14 AWG Copper | 1,440 Watts | Bedrooms, Living Rooms, Lighting |
| 20 Amp | 12 AWG Copper | 1,920 Watts | Kitchens, Bathrooms, Garages, Workshops |
Wiring Diagram 1: Daisy-Chaining from an Existing Receptacle
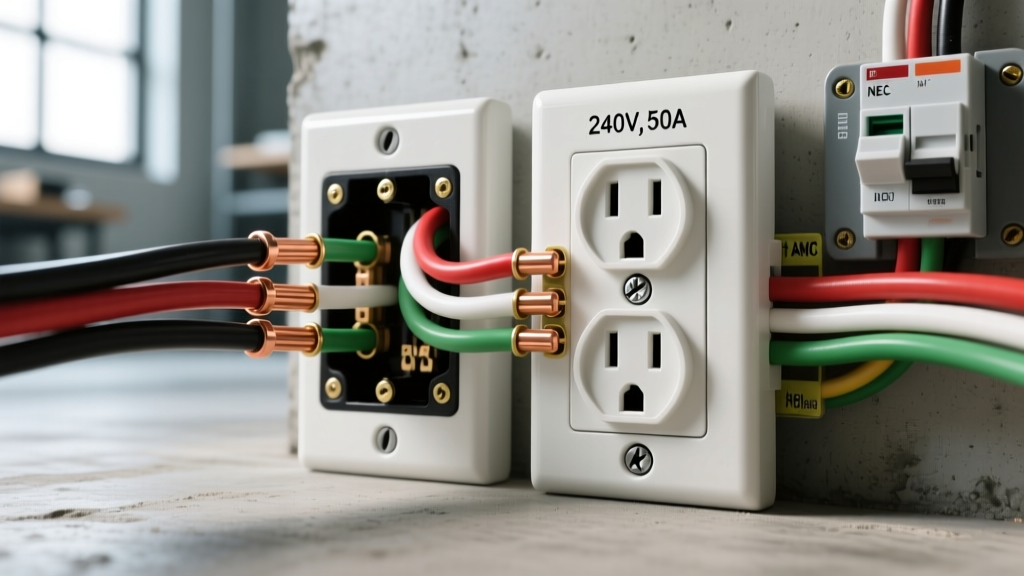
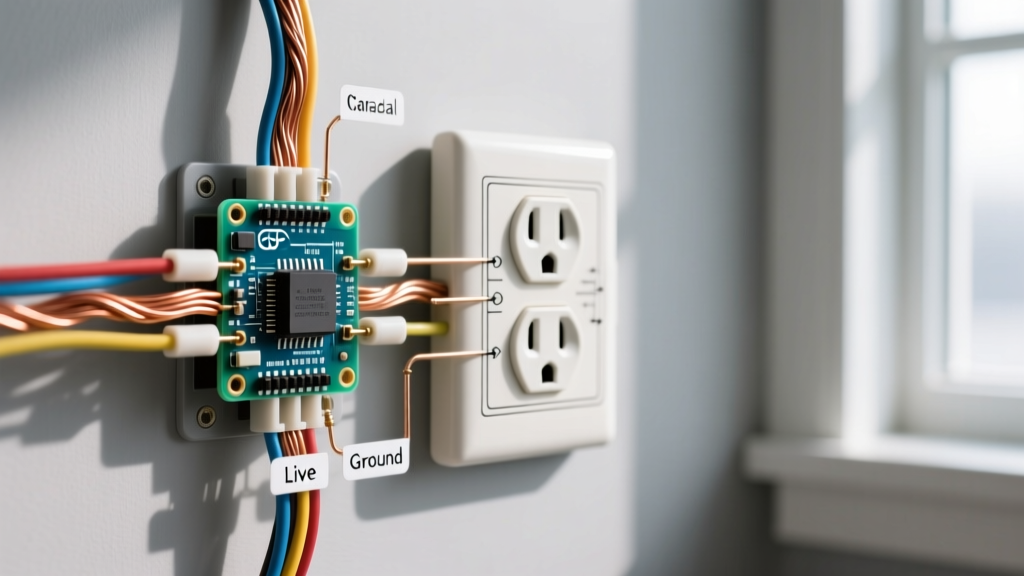
The most straightforward method to add an outlet is "daisy-chaining" from an existing, upstream receptacle. This involves running a new 12/2 or 14/2 NM-B (Romex) cable from the LINE side of the existing outlet to the new box.
Expert Note on Pigtailing: Never use the push-in backstab terminals on standard receptacles for downstream connections. The internal spring contacts degrade over time, leading to arcing and voltage drops. Instead, use WAGO 221 lever-nuts to create pigtails, ensuring a secure, vibration-proof connection that meets modern Consumer Product Safety Commission (CPSC) fire prevention guidelines.
Diagram Flow: Existing Box to New Box
- Existing Box (Upstream): Incoming Black (Hot) connects to existing receptacle brass screw AND a black pigtail to the new cable. Incoming White (Neutral) connects to silver screw AND a white pigtail to the new cable. Bare grounds are bonded together with a green wire nut or WAGO lever nut.
- New Box (Downstream): New Black connects to brass LINE terminal. New White connects to silver LINE terminal. New Bare Ground connects to green ground screw.
Wiring Diagram 2: Tapping into an Existing Switch Box
Adding an outlet from a light switch box is a common request, but it introduces a major wiring diagram variable: the neutral wire. Standard switch loops (especially in homes built before 2011) only route the hot and the switched leg to the box. Without a neutral (white) wire, you cannot legally or safely add a standard 120V receptacle.
How to verify: Turn off the breaker, remove the switch, and look inside the box. If you see a bundle of white wires capped together in the back of the box, you have a neutral. You can tap into this bundle to power your new outlet. If you only see a black, a white (which is actually a hot switched leg wrapped in black tape), and a ground, you must run a new home-run cable from the panel or find a different power source.
Box Fill Calculations: Avoiding Overcrowding
When you add wires to an existing box to feed a new outlet, you increase the "box fill" volume. NEC 314.16 dictates maximum wire counts based on box cubic inch capacity and wire gauge.
| Wire Gauge | Volume Allowance per Wire | Max 12 AWG Wires in Standard 18 cu in Box |
|---|---|---|
| 14 AWG | 2.0 cu inches | 9 wires |
| 12 AWG | 2.25 cu inches | 8 wires |
Note: The receptacle itself counts as 2 wire volumes, and all ground wires combined count as 1 wire volume.
GFCI and AFCI Requirements for New Outlets
When extending a circuit, the new outlet must comply with the latest protection requirements. Under NEC 2023 (widely adopted by municipalities through 2026), AFCI (Arc-Fault Circuit Interrupter) protection is required in virtually all living spaces, including bedrooms, living rooms, and hallways. GFCI (Ground-Fault Circuit Interrupter) protection is mandated for kitchens, bathrooms, garages, crawlspaces, and outdoor areas.
The Retrofit Rule: If you are adding an outlet to an older, ungrounded 2-wire circuit, you cannot simply install a standard 3-prong receptacle. You must either run a new ground wire or install a GFCI receptacle at the first point of entry, labeling the downstream outlets with the included "GFCI Protected / No Equipment Ground" sticker. This is a critical life-safety exception recognized by the Occupational Safety and Health Administration (OSHA) and local inspectors.
2026 Material & Tool Checklist
To ensure a professional, code-compliant installation, source the following specific materials:
- Receptacle: Leviton T5262 (15A Tamper-Resistant Duplex) or Leviton T6262 (20A). Price: $3.50 - $5.00 each.
- Cable: Southwire 12/2 SIMpull NM-B (for 20A circuits). Price: ~$0.75 per foot.
- Connectors: WAGO 221 Lever-Nuts (Assortment). Price: $15.00 per box. Far superior to traditional twist-on wire nuts for solid-to-stranded or tight-box pigtailing.
- Torque Screwdriver: Klein Tools 32308 or Wiha 60016. NEC 110.14(D) mandates that terminations be torqued to manufacturer specifications (typically 14 in-lbs for standard 15A/20A receptacles).
- Old Work Box: Carlon B114R (14 cu in) or B120R (20 cu in) PVC flip-bracket boxes for drywall retrofits.
Step-by-Step Execution Guide
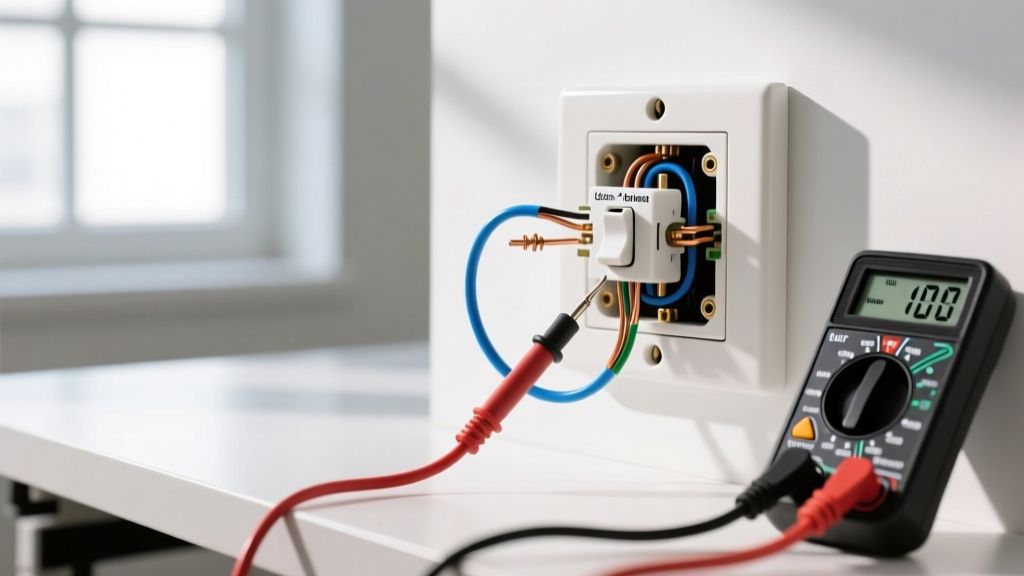
- Kill the Power & Verify: Switch off the breaker. Use a non-contact voltage tester (NCVT) and a digital multimeter to confirm 0V between hot and neutral, and hot and ground.
- Cut and Fish: Use a drywall saw to cut the opening for the old-work box. Drill a 3/4-inch hole through the wall studs or top plate to fish the 12/2 NM-B cable from the source box to the new box.
- Strip and Prep: Strip 3/4 inch of insulation from the black and white conductors. Do not score the copper, as nicks create thermal weak points that can snap under torque.
- Terminate & Torque: Form a shepherd's hook on the wire ends. Loop them clockwise around the brass (hot) and silver (neutral) terminal screws. Use your torque screwdriver set to 14 in-lbs to tighten the screws. This prevents loose connections that cause electrical fires.
- Test: Restore power and test with a receptacle tester (e.g., Gardner Bender GRT-13) to verify correct polarity and proper grounding.
Troubleshooting Common Wiring Errors
Even with a perfect wiring diagram, physical execution errors occur. Here is how to diagnose them:
- Reversed Polarity: The tester shows a red light on the right. This means the hot and neutral are swapped. Immediately kill power and verify the black wire is on the brass screw and white is on the silver.
- Open Ground: Common in retrofits where the ground wire wasn't bonded to the metal box or the receptacle ground screw. Ensure the bare copper is tightly secured under the green hex screw.
- AFCI Tripping: If the circuit is protected by an AFCI breaker and it trips immediately upon adding the new outlet, you likely have a "shared neutral" or a ground fault. Ensure the neutral from the new outlet returns to the exact same breaker and neutral bar as the hot wire.
By strictly adhering to these wiring diagrams and respecting NEC box fill and torque requirements, you can confidently add electrical outlet capacity to any room in your home while maintaining the highest safety standards.