
Mastering the Wiring Diagram for 5 Wire Trailer Plug Setups
Upgrading your tow vehicle's electrical harness from a standard 4-way flat to a 5-way flat connector is one of the most practical modifications you can make for hauling boat trailers, equipment trailers, or any rig equipped with surge brakes. While the standard 4-way connector handles basic illumination, understanding the wiring diagram for 5 wire trailer plug configurations is essential for enabling auxiliary functions—most notably, the reverse lockout solenoid that prevents your trailer brakes from engaging while backing up.
In this 2026 upgrade and replacement guide, we will break down the exact pinout, compare adapter versus hardwire replacement strategies, and provide an expert-level troubleshooting matrix for the most common failure modes associated with the 5th wire circuit.
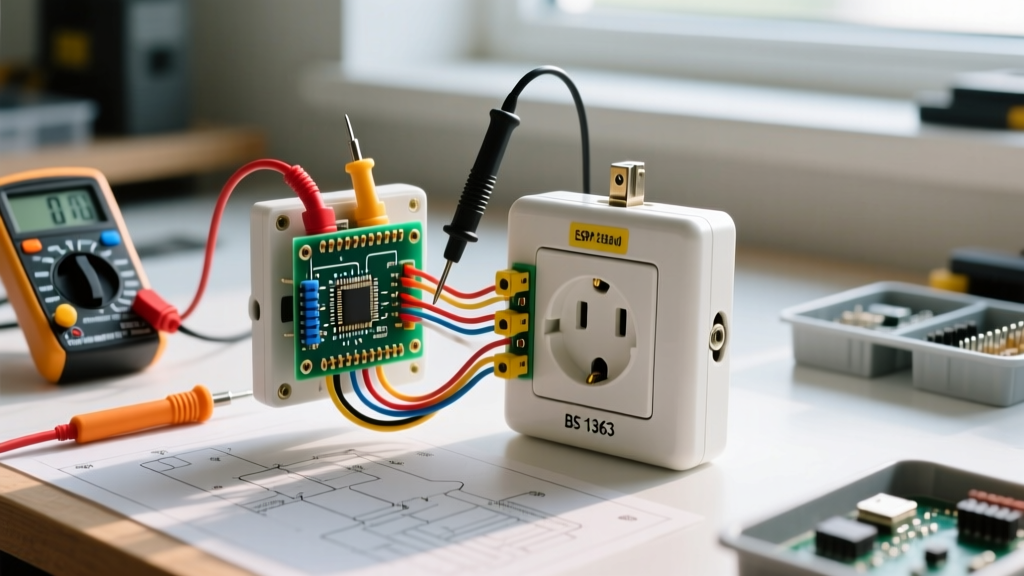
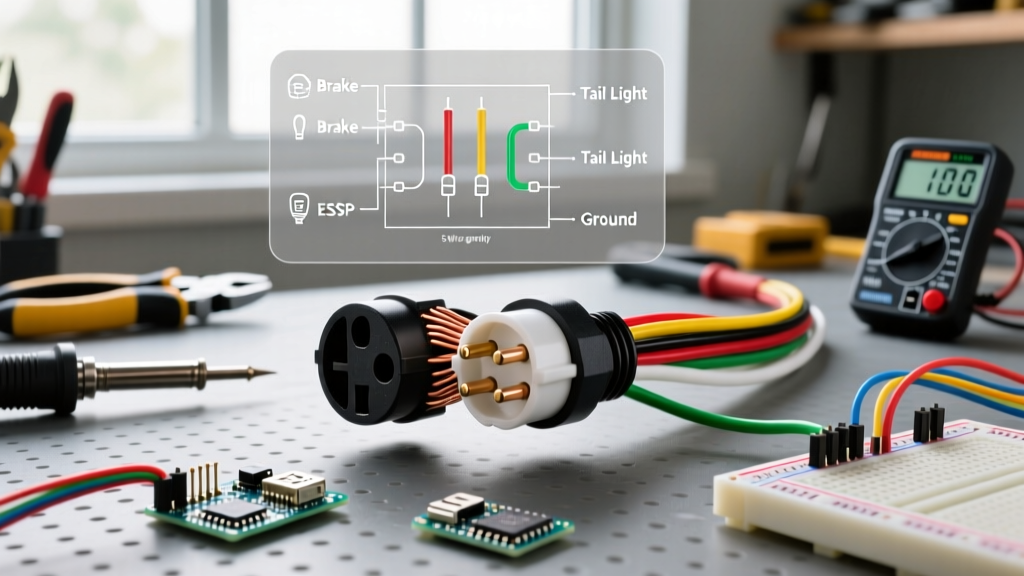
The 5-Way Flat Pinout & Color Code Matrix
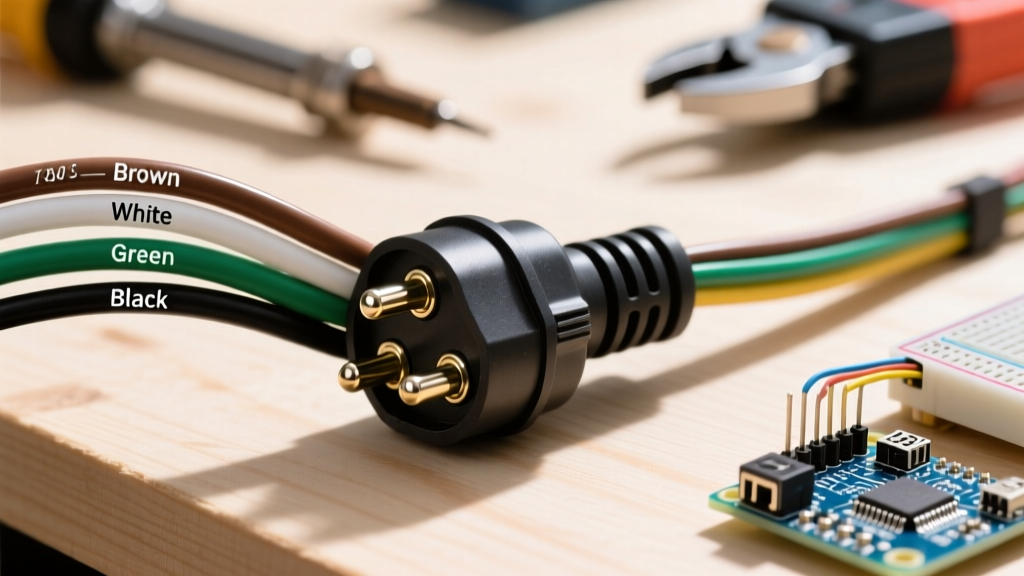
Before cutting any wires, you must understand the standardized SAE (Society of Automotive Engineers) color codes for the 5-way flat connector. Unlike proprietary 7-way RV blade connectors, the 5-way flat relies on a simple, linear pinout.
| Pin Position | Wire Color | Function | Typical Draw (LED) |
|---|---|---|---|
| Pin 1 (Far Left) | White | Ground (Chassis) | N/A (Return Path) |
| Pin 2 | Brown | Tail / Running / Marker Lights | 0.5A - 1.5A |
| Pin 3 | Yellow | Left Turn Signal & Brake Light | 0.8A - 2.0A |
| Pin 4 | Green | Right Turn Signal & Brake Light | 0.8A - 2.0A |
| Pin 5 (Far Right) | Blue | Auxiliary (Reverse Lockout / Backup) | 2.5A - 3.5A (Solenoid) |
Upgrade Paths: Adapter vs. Hardwire Replacement
When transitioning from a 4-way to a 5-way setup, or replacing a corroded 5-way plug, you have two primary routes. Your choice depends on your budget, technical comfort, and whether you want a permanent or semi-permanent solution.
Option 1: The Plug-and-Play Adapter Route
If your vehicle already has a functioning 4-way flat harness and you simply need to add the 5th wire for a surge brake lockout, an adapter is the fastest route. Products like the Tow Ready 118382 or Hopkins 47515 4-Way to 5-Way adapter (typically priced between $18 and $25) plug directly into your existing 4-way vehicle harness.
The Catch: You still must splice the adapter's loose blue wire into your vehicle's reverse light circuit. The adapter only saves you from splicing the four standard lighting wires.
Option 2: The Hardwire Replacement Route
If your current 5-way plug is corroded, melted, or suffering from internal continuity loss, you must cut it off and hardwire a replacement. We recommend the CURT 58160 5-Way Flat Wiring Harness (approx. $12) or the Hopkins 47905 (approx. $14). Both feature heavy-duty molded rubber boots that resist water intrusion far better than older hard-shell screw-terminal designs.
Step-by-Step Hardwire Replacement Procedure
Replacing a 5-way plug requires creating gas-tight, weatherproof connections. Standard twist-on wire nuts or cheap vinyl tape will fail within a single season of exposure to road salt and moisture.
Required Tools & Materials
- Wire Strippers: Klein Tools 11057 (specifically gauged for 14-16 AWG stranded wire).
- Crimping Tool: Titan 11904 Ratcheting Crimper (ensures consistent pressure).
- Connectors: 14-16 AWG Heat Shrink Butt Connectors (with dual-wall adhesive lining).
- Heat Source: Butane micro-torch or dedicated heat gun (do not use a lighter).
- Dielectric Grease: Permatex 22058 for final terminal coating.
Execution Steps
- Sever the Old Connector: Cut the damaged 5-way plug off the vehicle or trailer harness, leaving at least 6 inches of slack to work with.
- Strip the Jacket: Carefully score and remove 1.5 inches of the outer black PVC jacket without nicking the inner 16 AWG stranded copper wires.
- Strip Individual Wires: Strip exactly 3/8 inch of insulation from the White, Brown, Yellow, Green, and Blue wires.
- Match and Crimp: Slide the heat shrink butt connector onto the vehicle-side wire. Insert the corresponding color-coded wire from the new CURT 58160 harness. Crimp using the 14-16 AWG die on your ratcheting crimper until the tool releases.
- Seal the Connection: Apply heat evenly to the butt connector until the adhesive melts and oozes slightly from the ends. This creates a 100% waterproof seal.
- Route the Blue Wire: Tap the Blue wire into the vehicle's reverse light circuit (usually found at the tail light housing or via a dedicated reverse light tap module behind the dash).
Deep Dive: The 5th Wire (Blue) and Reverse Lockout Solenoids
The defining feature of the wiring diagram for 5 wire trailer plug systems is the Blue auxiliary wire. In 95% of applications, this wire powers a reverse lockout solenoid located inside the trailer's surge brake actuator (such as those made by Dexter or UFP).
When you shift your tow vehicle into reverse, the backup lights illuminate, sending 12V down the blue wire. This energizes the solenoid, which pushes a pin that physically blocks the master cylinder from pushing brake fluid to the trailer's wheel cylinders. This allows you to back up a boat trailer without the brakes instantly locking up.
Expert Insight: The Voltage Drop Trap
A common failure mode in 2026 is the solenoid "clicking" but failing to disengage the brakes. This is almost always caused by voltage drop. A standard 16 AWG blue wire running 25 feet from the tow vehicle to the trailer actuator will experience significant resistance, dropping the voltage at the solenoid to roughly 10.5V. While 10.5V is enough to make the solenoid click, it lacks the amperage required to fully open the internal hydraulic bypass valve. The Fix: Always upgrade the blue wire circuit to 12 AWG or 10 AWG for runs exceeding 15 feet to ensure a solid 12V delivery.
Advanced Troubleshooting Matrix
When your 5-way flat connector fails, use this diagnostic matrix to isolate the issue before replacing parts unnecessarily.
| Symptom | Probable Root Cause | Expert Fix |
|---|---|---|
| Trailer brakes lock up when reversing | Blown reverse light fuse in tow vehicle OR broken Blue wire. | Check vehicle reverse light fuse. Use a multimeter to test for 12V at Pin 5 while vehicle is in reverse. |
| Running lights (Brown) are dim or flickering | Overloaded circuit or poor ground on Pin 1 (White). | Upgrade trailer lights to LED (draws 80% less current). Sand the vehicle frame ground point to bare metal. |
| Left turn signal (Yellow) activates right trailer light | Crossed wires during previous repair or melted plug internals. | Perform a continuity test with a multimeter from the plug prongs to the wire ends to verify pinout mapping. |
| Solenoid clicks weakly but brakes still engage | Voltage drop due to undersized Blue wire. | Replace 16 AWG Blue wire with 12 AWG. Clean solenoid ground connection. |
Safety and Compliance Standards
When modifying or replacing trailer wiring, your setup must comply with federal lighting regulations. According to the Federal Motor Vehicle Safety Standard (FMVSS) 108, all trailers must have functioning stop lamps, turn signals, and tail lamps that meet specific candela requirements. Furthermore, ensuring your ground circuit (White wire) is tied directly to the vehicle frame—rather than relying on the hitch ball for grounding—is critical for preventing erratic lighting behavior and ensuring compliance.
For comprehensive wiring schematics and vehicle-specific routing guides, the CURT Manufacturing Trailer Wiring Guide remains an industry-standard reference for both DIYers and professional installers.
Final Thoughts on 5-Way Maintenance
A 5-way flat connector is a robust, weather-resistant solution for surge-brake trailers, provided it is wired correctly. By adhering to the standard color codes, utilizing adhesive-lined heat shrink connectors, and paying special attention to the gauge of your Blue auxiliary wire, you will build a trailer lighting and braking harness that withstands the harshest marine and highway environments for years to come.