
Understanding the 15 Amp vs 20 Amp Electrical Outlet Divide
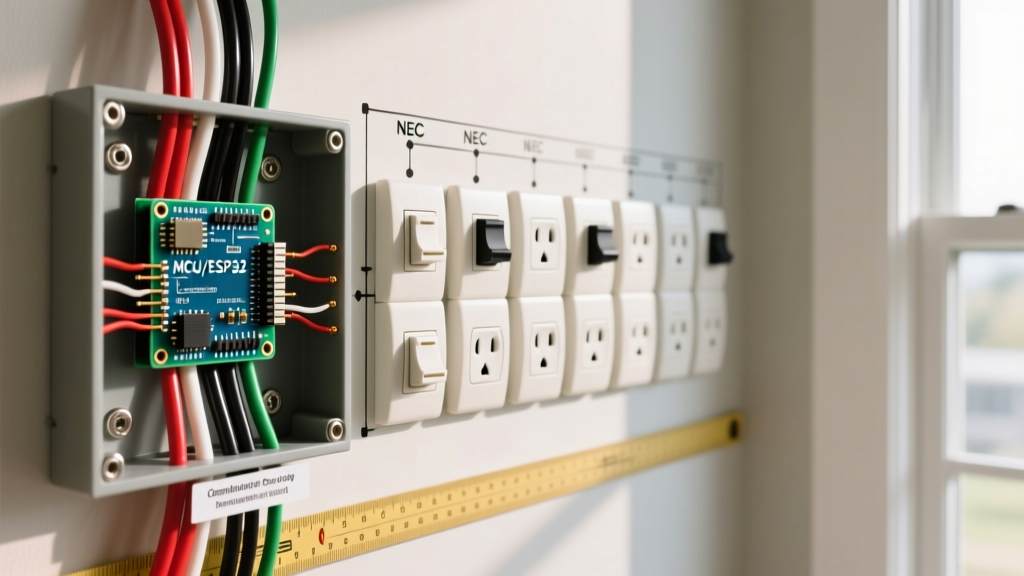
When wiring a residential or commercial space, choosing the correct receptacle is not just a matter of preference; it is a strict safety requirement governed by the National Electrical Code (NEC). The debate of a 15 amp vs 20 amp electrical outlet centers on wire gauge, breaker sizing, and the physical NEMA configurations of the receptacles themselves. As of 2026, modern electrical loads—from high-wattage kitchen appliances to heavy-duty power tools—demand precise circuit sizing to prevent thermal overload and arc faults.
In this comprehensive guide, we will break down the anatomical differences, outline the exact NEC rules you must follow, and provide a professional-grade, step-by-step installation workflow for both 15A and 20A receptacles.
Safety Warning: Working inside an electrical panel or junction box carries a risk of fatal shock. Always verify the circuit is de-energized using a non-contact voltage tester (NCVT) and a multimeter before touching any bare copper. For detailed lockout/tagout procedures, refer to the Occupational Safety and Health Administration (OSHA) electrical safety guidelines.
Core Differences: NEMA 5-15R vs. NEMA 5-20R
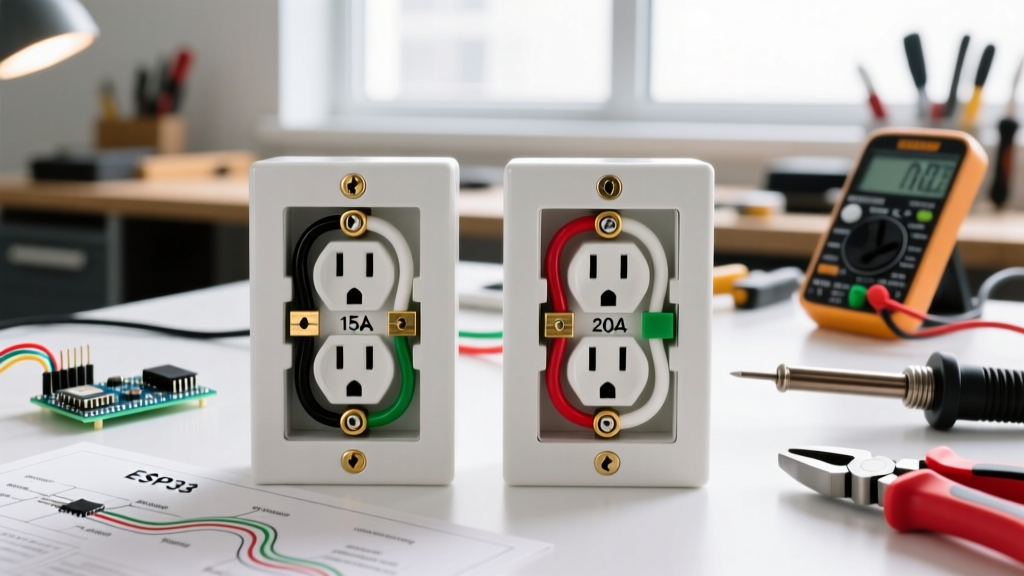
Before stripping any wires, you must understand the physical and electrical distinctions between these two standard 120V receptacles. The primary visual difference lies in the neutral slot.
| Feature | 15 Amp Receptacle (NEMA 5-15R) | 20 Amp Receptacle (NEMA 5-20R) |
|---|---|---|
| Neutral Slot | Vertical (Standard) | T-Shape (Horizontal cross) |
| Minimum Wire Gauge | 14 AWG Copper | 12 AWG Copper |
| Required Breaker | 15 Amp | 20 Amp |
| Max Continuous Load | 12 Amps (1,440W) | 16 Amps (1,920W) |
| Avg. Cost (2026) | $1.50 - $3.00 (Residential Grade) | $8.00 - $14.00 (Commercial Grade) |
| Typical Use Case | Bedrooms, living rooms, hallways | Kitchens, bathrooms, garages, workshops |
NEC Rules and Circuit Sizing Framework
The National Fire Protection Association (NFPA) updates the NEC every three years, and the rules regarding receptacle sizing are rigid. Here is the decision framework you must use before installation:
- The 20A Receptacle Rule: You can never install a 20A receptacle (NEMA 5-20R) on a 15A breaker circuit. The breaker will not protect the downstream appliance if it draws 18 amps, but the 14 AWG wire on a 15A circuit could melt.
- The 15A Receptacle Exception (NEC 210.21(B)(3)): You are legally allowed to install standard 15A receptacles on a 20A circuit, provided the circuit feeds multiple receptacles. This is standard practice in modern kitchen and bathroom wiring, where 12 AWG wire is run to a 20A breaker, but the actual wall outlets are standard 15A NEMA 5-15R models.
- Continuous Load Rule: If an appliance runs for 3 hours or more, you must derate the circuit by 20%. A 15A circuit can only handle 12A continuously; a 20A circuit can handle 16A.
Step-by-Step Installation: 15 Amp Receptacle (NEMA 5-15R)
For this installation, we are using a commercial-spec grade Leviton 5262-SW (approx. $3.50), which features superior brass contacts and back-wire clamps compared to cheap residential builder-grade models.
Step 1: Power Verification and Prep
Turn off the 15A breaker at the main panel. Insert a Klein Tools NCVT-3 into the existing outlet slots to confirm zero voltage. Remove the faceplate and unscrew the old receptacle. Pull it gently from the box to expose the wiring.
Step 2: Wire Stripping and Conditioning
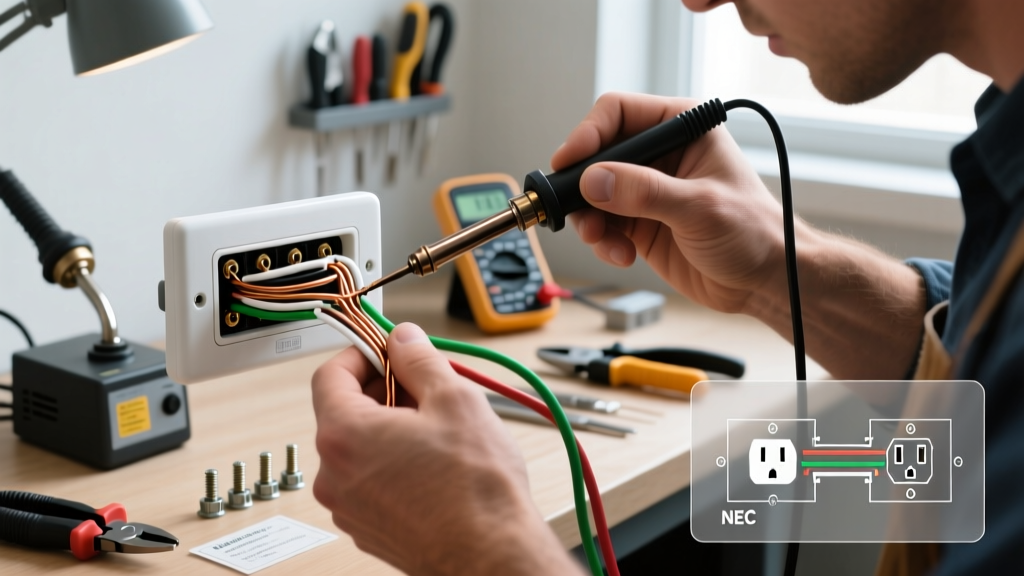
Using precision wire strippers (like the Klein 11055), strip exactly 3/4 inch of insulation from the 14 AWG solid copper wires. If the existing copper is oxidized or deeply grooved from previous terminal screws, snip the end and re-strip to ensure a pristine contact surface.
Step 3: Termination (Side-Wiring vs. Back-Wiring)
Never use push-in backstab terminals. The U.S. Consumer Product Safety Commission (CPSC) notes that push-in connections are a leading cause of residential electrical fires due to thermal expansion loosening the internal spring grips over time.
- Side-Wiring (Hook Method): Form a J-hook with your needle-nose pliers. Loop the bare wire clockwise around the brass (hot) and silver (neutral) terminal screws. This ensures the screw pulls the wire tighter as it is torqued.
- Back-Wiring (Screw-Clamp): If your Leviton 5262 has internal clamp plates, insert the straight stripped wire into the back hole and tighten the screw. This provides a massive surface area contact and is the preferred method for 2026 commercial installs.
Step 4: Torque and Grounding
Connect the bare copper ground wire to the green screw. Using a calibrated torque screwdriver set to 14 inch-pounds (the UL 498 standard for most 15A receptacles), tighten all terminal screws. Over-torquing can strip the brass threads; under-torquing causes arcing.
Step-by-Step Installation: 20 Amp Receptacle (NEMA 5-20R)
When wiring a dedicated 20A circuit for a garage workbench or a kitchen island, you will use a 20A receptacle like the Hubbell HBL5266 (approx. $11.00) paired with 12 AWG wire.
Step 1: Managing 12 AWG Stiffness
12 AWG solid copper wire is significantly stiffer than 14 AWG. When folding the wires back into a standard single-gang junction box, use the 'push-and-fold' technique: push the ground wire deep into the back corners first, followed by the neutral (white), and finally the hot (black). This prevents the stiff wires from pushing the receptacle out of alignment.
Step 2: T-Slot Neutral Alignment
Wire the black (hot) to the brass screw and the white (neutral) to the silver screw adjacent to the T-shaped slot. The T-slot allows 20A appliance plugs (which have a horizontal neutral blade) to enter, while still accepting standard 15A plugs.
Step 3: Box Pigtailing for Deep Setups
If you are continuing the 20A circuit to the next outlet, you must pigtail the wires. Do not use the receptacle itself as a daisy-chain pass-through for 12 AWG wire if the box is crowded. Use red or grey Wago 221 lever-nuts to splice a 6-inch 12 AWG pigtail to the receptacle. This ensures that if the receptacle is ever removed for replacement, the downstream circuit remains intact.
Step 4: Final Torque and Faceplate
Torque all terminal screws to 14 inch-pounds. Mount the receptacle to the box using the included 6-32 mounting screws. Attach a nylon unbreakable faceplate (like a Leviton 80401), which flexes rather than cracking if the drywall cutout is slightly uneven.
Common Failure Modes and Expert Troubleshooting
Even experienced DIYers make critical errors when navigating the 15 amp vs 20 amp electrical outlet landscape. Watch out for these specific failure modes:
1. The 12 AWG on 15A Receptacle Mismatch
Many cheap, residential-grade 15A receptacles have terminal screw holes that are physically too small to accept 12 AWG solid wire. Do not shave the copper down to make it fit. Instead, use a 14 AWG copper pigtail to bridge the 12 AWG circuit wire to the 15A receptacle, or upgrade to a commercial-grade 15A receptacle specifically rated for 12 AWG wire.
2. Shared Neutral (Multi-Wire Branch Circuits)
If you open a box and find two hot wires (one black, one red) sharing a single white neutral wire, you are dealing with a Multi-Wire Branch Circuit (MWBC). You must use a 2-pole breaker or handle-tied breakers for this setup. If you turn off only one breaker to swap the outlet, the shared neutral will carry the return current from the active leg, presenting a lethal shock hazard.
3. GFCI Load vs. Line Confusion
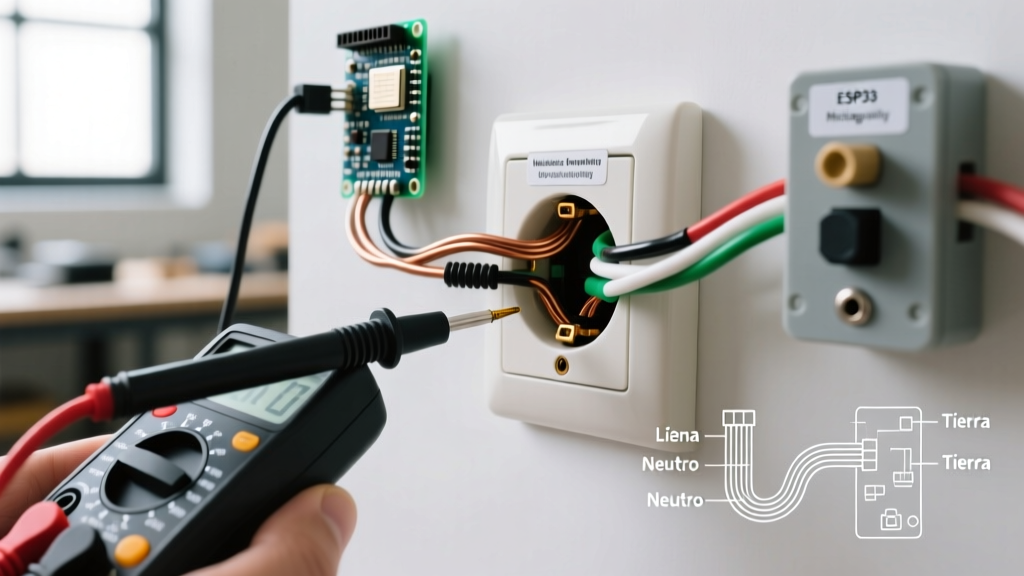
When installing 15A or 20A GFCI receptacles in wet locations (kitchens, bathrooms), confusing the LINE (power from panel) and LOAD (power to downstream outlets) terminals is the most common error. Always use a multimeter to identify the incoming hot wire before connecting it to the LINE terminals. If connected backward, the GFCI will power the outlet but will not provide ground-fault protection.
Final Thoughts on Receptacle Selection
Choosing between a 15 amp vs 20 amp electrical outlet ultimately depends on your circuit's wire gauge and breaker size. By adhering to NEC guidelines, utilizing commercial-spec grade components, and employing a calibrated torque screwdriver, you ensure a safe, fire-resistant installation that will reliably serve your home or workshop for decades.