
The Shift to Matte Black: 2026 Interior Design Meets Electrical Upgrades
As we move through 2026, the stark white plastic receptacle is increasingly viewed as an aesthetic interruption in modern interior design. Homeowners and interior designers are actively specifying the black electrical outlet to seamlessly blend with dark accent walls, matte black cabinet hardware, and premium smart switches like the Lutron Caseta Divia or Legrand Adorne collections. However, upgrading your receptacles is not just about swapping colors; it is a critical opportunity to update aging infrastructure, ensure National Electrical Code (NEC) compliance, and eliminate fire hazards associated with loose internal contacts.
At ElectricalFlux, we treat aesthetic upgrades as functional overhauls. This guide provides a master-class approach to selecting, wiring, and troubleshooting a black electrical outlet, ensuring your home remains as safe as it is stylish.
15-Amp vs. 20-Amp Black Receptacles: Specifying the Right Hardware
Before purchasing your black electrical outlet, you must verify the circuit's amperage. Installing a 15-amp receptacle on a 20-amp circuit is a direct violation of NEC Article 210.21(B) and poses a severe overheating risk. Conversely, a 20-amp receptacle on a 15-amp circuit is permissible but physically unnecessary for standard rooms.
| Feature | 15-Amp Black Outlet (e.g., Leviton T5325-2BM) | 20-Amp Black Outlet (e.g., Eaton 8200BK) |
|---|---|---|
| Breaker Size | 15 Amp | 20 Amp |
| Wire Gauge Required | 14 AWG (or 12 AWG) | 12 AWG strictly |
| Slot Configuration | Two parallel vertical slots | One vertical, one horizontal (T-slot) |
| Typical Use Case | Bedrooms, living rooms, hallways | Kitchens, garages, workshops, outdoor patios |
| Avg. Retail Cost (2026) | $3.50 - $5.00 per unit | $5.50 - $8.50 per unit |
Tools and Materials Required
Do not rely on improvised tools for electrical work. To ensure a secure termination and prevent arc faults, gather the following professional-grade equipment:
- Voltage Tester: Klein Tools NCVT-2 non-contact voltage tester (dual-range for 12-1000V).
- Wire Strippers: Klein 11055 (for 14-12 AWG solid copper).
- Screwdrivers: Insulated Phillips #2 and Flathead 5/16-inch.
- Receptacle Tester: Gardner Bender GRT-500 to verify wiring post-installation.
- The Receptacle: A spec-grade, Tamper-Resistant (TR) matte black duplex receptacle.
Step-by-Step Replacement Guide
Phase 1: Isolation and Verification
- Kill the Power: Turn off the corresponding breaker at the main service panel. Never rely on a wall switch to isolate a receptacle.
- Test for Dead: Insert the non-contact voltage tester into both the top and bottom slots of the existing outlet. The tool must remain completely dark and silent.
- Extract the Old Device: Remove the wallplate and the two mounting screws. Gently pull the old receptacle out of the junction box to expose the wiring.
Phase 2: Wire Preparation and Termination
Expert electricians universally condemn the use of standard 'push-in' backstab terminals found on cheap builder-grade outlets. These spring-loaded contacts lose tension over time, leading to high-resistance connections, arcing, and melted plastic. When wiring your new black electrical outlet, always use the side-binding screw terminals or the internal screw-clamp back-wiring feature found on spec-grade models.
Pro-Tip: When forming a J-hook for the side-binding screws, strip exactly 3/4-inch of insulation using the built-in gauge on the back of the outlet. Loop the wire clockwise around the screw so that tightening the screw pulls the loop tighter rather than pushing it out.
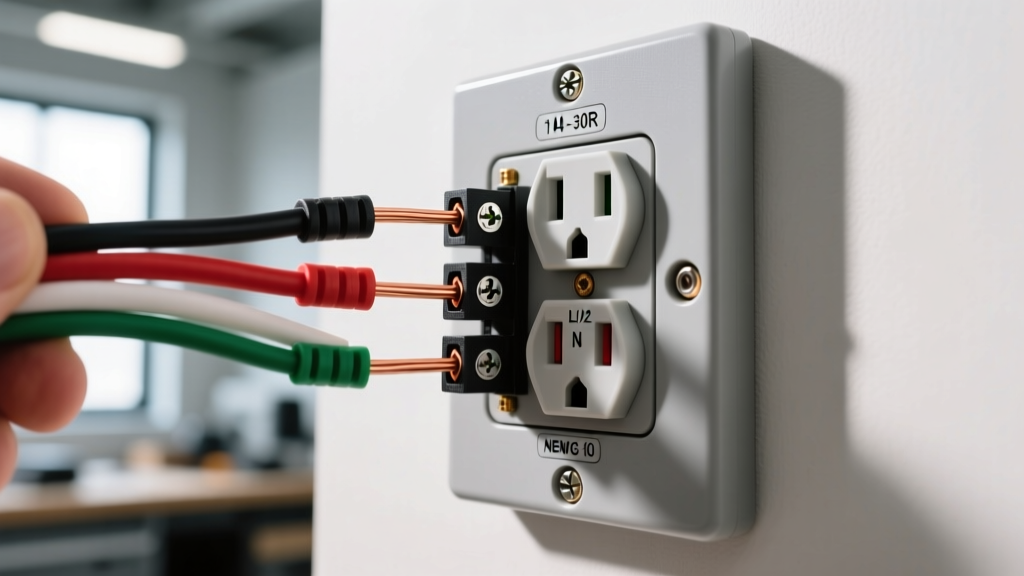
- Identify the Wires: You will typically see a black (hot), white (neutral), and bare/green (ground) wire. If there are two sets of these wires, the circuit is 'daisy-chained' to feed downstream outlets.
- Terminate the Ground: Connect the bare copper ground wire(s) to the green grounding screw at the bottom of the receptacle. Tighten to approximately 12-14 in-lbs.
- Terminate the Neutral: Connect the white wire(s) to the silver-colored screws.
- Terminate the Hot: Connect the black wire(s) to the brass-colored screws.
Phase 3: Box Make-Up and Testing
Carefully fold the wires back into the junction box. The U.S. Consumer Product Safety Commission (CPSC) notes that cramped junction boxes cause excessive heat buildup; ensure your box meets the minimum cubic inch fill capacity requirements. Secure the black receptacle to the box using the provided mounting screws, ensuring the strap sits flush against the drywall or plaster. Snap on a matching matte black wallplate and restore power at the breaker. Use your receptacle tester to confirm two yellow lights (correct wiring).
Code Compliance: The TR Mandate
When upgrading any receptacle in a modern dwelling, you must adhere to NEC 406.4(D) Tamper-Resistant (TR) requirements. All 15A and 20A, 125V and 250V non-locking receptacles must be TR listed. TR outlets feature internal shutters that only open when equal pressure is applied to both slots simultaneously, preventing children from inserting foreign objects. Never purchase or install non-TR black outlets for residential living spaces, as this will fail a home inspection and void insurance claims in the event of an electrical fire.
Edge Cases and Troubleshooting
Even with meticulous preparation, older homes present unique wiring anomalies. Here is how to handle common edge cases when installing a black electrical outlet:
- Switched Receptacles (Half-Hot): If the top half of your old outlet was controlled by a wall switch, you will find a broken brass fin (the break-off tab) between the two brass screws. You must use needle-nose pliers to snap the brass tab off your new black outlet, otherwise the switch will not function independently of the bottom receptacle.
- Reverse Polarity: If your tester reads 'Reverse Polarity' after installation, you have swapped the hot (black) and neutral (white) wires. This is a severe shock hazard; turn off the breaker and swap the wires on the brass and silver screws immediately.
- Aluminum Wiring: If you encounter silver-colored aluminum wire (common in homes built between 1965 and 1973), standard copper-rated black outlets are a fire hazard due to galvanic corrosion and thermal expansion differences. You must use CO/ALR rated receptacles or have a licensed electrician pigtail the aluminum to copper using Alumiconn connectors before attaching your black outlet.
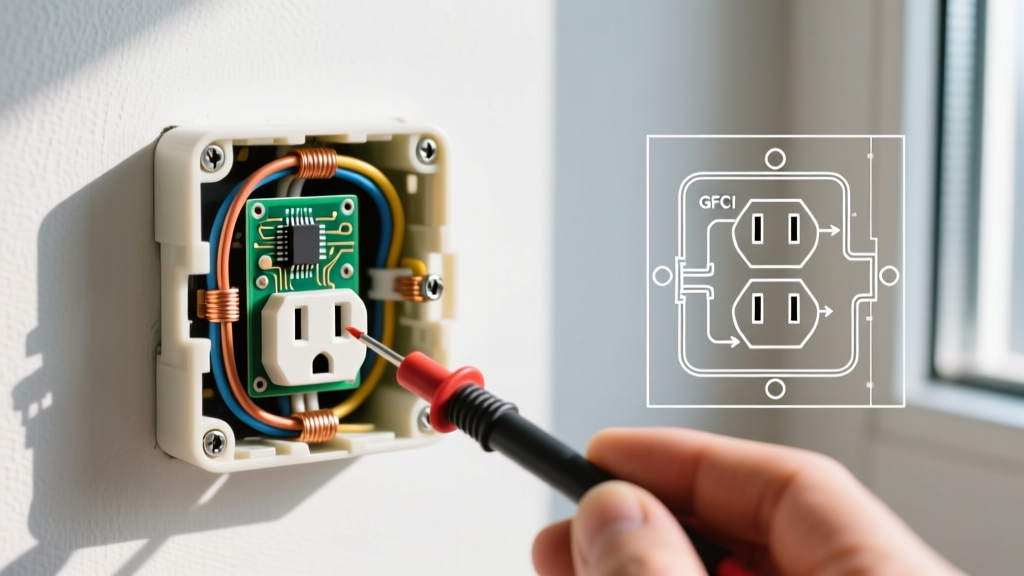
- Open Ground in Older Homes: If your tester shows an 'Open Ground' (only one yellow light), your home's wiring lacks a ground path. While NEC allows replacing a 2-prong ungrounded outlet with a 3-prong receptacle if it is GFCI protected, you must label it 'No Equipment Ground'. For aesthetic consistency, you can find matte black GFCI outlets (e.g., Leviton GFNT1-2BM) to solve this safely.
Final Thoughts on Aesthetic Electrical Upgrades
Upgrading to a black electrical outlet is one of the highest-ROI micro-renovations you can perform in 2026. By pairing premium matte black hardware with rigorous, code-compliant termination techniques, you elevate the visual continuity of your space while hardening your home's electrical infrastructure against arc faults and thermal degradation. Always prioritize spec-grade materials over builder-grade alternatives, and never compromise on torque and wire preparation.