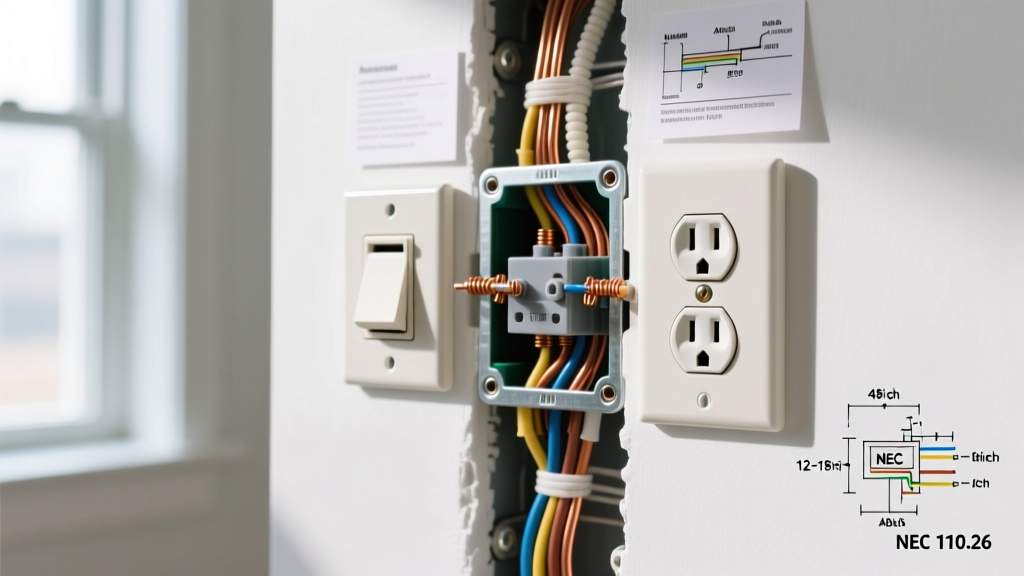

The Intersection of Schematics and Electrical Outlet Safety
When professionals and advanced DIYers approach a residential wiring project, electrical outlet safety is never left to chance or memory. It is dictated by the wiring diagram. A schematic is more than a map of where wires go; it is a critical safety document that dictates fault-clearing pathways, load balancing, and arc-fault mitigation. Misinterpreting a single symbol or ignoring a schematic note can transform a standard NEMA 5-15R receptacle into a severe fire or shock hazard.
In 2026, with the widespread adoption of the latest National Electrical Code (NEC) cycles across most US jurisdictions, the complexity of outlet wiring has increased. Modern diagrams must account for Tamper-Resistant (TR) shutters, Dual-Function (AFCI/GFCI) circuitry, and strict torque specifications. According to the National Fire Protection Association (NFPA), electrical failures and malfunctions account for tens of thousands of home fires annually, many of which stem from improper receptacle wiring that deviates from approved diagrams.
This guide serves as your wiring diagram reference, translating schematic symbols and notes into actionable, real-world safety protocols.
Anatomy of a Safe Outlet Wiring Diagram
Before stripping a single wire, you must understand the standard annotations found on modern receptacle schematics. A safe wiring diagram will explicitly detail the following nodes:
- LINE vs. LOAD Designations: Crucial for any downstream protection. The diagram will show the power source entering the brass (hot) and silver (neutral) LINE screws, while downstream devices connect to the LOAD screws.
- Equipment Grounding Conductor (EGC): Represented by a solid green line or bare copper symbol, terminating on the green grounding screw. Safe diagrams for multi-gang boxes will explicitly show pigtailing rather than daisy-chaining the ground through the device yoke.
- Shared Neutral Warnings: Multi-wire branch circuit (MWBC) diagrams will include explicit warnings or handle-tie symbols to prevent shared-neutral overloads, which can cause the neutral wire to carry return current from two hot legs, leading to thermal meltdown.
CRITICAL NEC CODE UPDATE: Under recent NEC Article 406.12, all 15A and 20A, 125V and 250V non-locking receptacles installed in residential dwellings must be Tamper-Resistant (TR). Your wiring diagram should specify TR-rated devices (e.g., Leviton T5320-W) to prevent foreign object insertion, a leading cause of pediatric electrical burns.
Hazard Identification: Diagram Intent vs. Field Reality
Even the most robust electrical outlet safety plan fails if the field installation deviates from the schematic. Below is a diagnostic matrix comparing diagram specifications against common, hazardous field deviations.
| Diagram Specification | Common Field Deviation | Resulting Safety Hazard |
|---|---|---|
| Termination Torque: 14 in-lbs | Hand-tightened with standard screwdriver | Thermal expansion/contraction loosens connection, causing arcing and receptacle melt-down. |
| GFCI LOAD terminals utilized | All downstream wires stuffed into LINE terminals | Downstream receptacles lose ground-fault protection; false sense of safety. |
| EGC Pigtailed in multi-device box | Ground wire daisy-chained through device screws | Removing one receptacle breaks the ground path for all downstream devices. |
| Dedicated Neutral for AFCI | Shared neutral with adjacent circuit | AFCI nuisance tripping or failure to detect parallel arc faults. |
Decoding GFCI and AFCI Schematics
Advanced electrical outlet safety relies heavily on Ground Fault Circuit Interrupters (GFCI) and Arc Fault Circuit Interrupters (AFCI). The wiring diagrams for these devices are distinctly different from standard receptacles, and miswiring them is a frequent cause of safety failures.
The GFCI Line/Load Trap
Take the popular Leviton 8599-W (15A GFCI, typically priced around $18-$22). The wiring diagram on the back of the device clearly separates LINE (source) and LOAD (downstream). A common failure mode occurs when an installer connects both the source and downstream wires to the LINE terminals using wire nuts. While the receptacle will power on and the internal TEST button will trip the local device, the downstream receptacles will not be protected. The diagram's safety intent is completely bypassed.
Dual-Function (AFCI/GFCI) Complexity
Devices like the Eaton AFTR15 (Dual Function AFCI/GFCI, ~$38-$42) combine both protections. The wiring diagram for these devices requires strict adherence to neutral isolation. If the diagram shows a dedicated neutral wire returning directly to the panel, and the installer inadvertently bonds the neutral to ground anywhere downstream of the device, the internal microprocessor will detect a ground fault and refuse to reset. Always trace the neutral path on the schematic to ensure it remains isolated from the EGC past the point of the dual-function receptacle.
Unmasking 'Bootleg Grounds' via Schematic Analysis
One of the most insidious threats to electrical outlet safety is the 'bootleg ground.' This occurs when a previous worker installs a 3-prong receptacle on an older 2-wire (ungrounded) circuit and places a jumper wire between the neutral (silver) screw and the ground (green) screw to trick a standard plug tester into showing 'Correct Wiring.'
A proper wiring diagram for an ungrounded circuit will never show a connection between neutral and ground at the receptacle. Instead, the diagram will specify either:
- Installing a 2-prong receptacle (NEMA 1-15R).
- Installing a GFCI receptacle and applying the included 'No Equipment Ground' sticker, which provides shock protection via the GFCI mechanism without requiring an EGC.
How to verify: Use a True RMS multimeter, such as the Fluke 117 (~$210-$230). Measure the voltage between Neutral and Ground. A safe, properly wired diagram will yield a reading of less than 1.0V. If you read 120V, or if the voltage fluctuates wildly when a load is applied, you have identified a bootleg ground or a severe neutral fault.
The Torque Mandate: A New Diagram Standard
Modern electrical outlet safety diagrams now frequently include torque specifications, driven by NEC Article 110.14(D). This code requires that terminations be tightened to the manufacturer's specified torque using a calibrated tool. For standard 15A and 20A residential receptacles, this value is typically 14 inch-pounds.
Hand-tightening is no longer acceptable for code-compliant, safe installations. Under-torqued wires loosen over time due to thermal cycling (the heating and cooling of the wire as current flows), leading to high-resistance connections. These connections generate immense heat, eventually melting the receptacle face and igniting surrounding materials. Investing in an insulated torque screwdriver, like the Klein Tools 32500INS (~$45), ensures the physical installation matches the safety parameters of the diagram.
Frequently Asked Questions (FAQ)
Can I use a standard receptacle diagram for a kitchen island outlet?
No. Kitchen island and peninsular receptacle requirements have undergone massive changes in recent NEC cycles to prevent cords from stretching across hot stovetops or sinks. Your diagram must reflect the specific placement rules (e.g., within 12 inches of the countertop edge) and mandate GFCI protection, often requiring a dedicated 20A small-appliance branch circuit.
What does a dashed line mean on an outlet wiring schematic?
In standard electrical drafting, a dashed line typically indicates a switched hot conductor (a wire controlled by a wall switch) or a mechanical linkage. If you see a dashed line connecting to the brass tab of a split-wired receptacle, it means the tab must be broken off, and that specific terminal is controlled by a switch, while the other remains constantly hot.
How do I verify a wiring diagram is compliant with local codes?
Always cross-reference your schematic with the local Authority Having Jurisdiction (AHJ). While the Occupational Safety and Health Administration (OSHA) and the NFPA set the baseline federal and industry standards, local municipalities often have amendments regarding AFCI requirements, grounding electrode systems, and specific receptacle spacing that your diagram must reflect.
Final Thoughts on Schematic-Driven Safety
Electrical outlet safety is not achieved by simply buying expensive, high-grade receptacles; it is achieved by executing the wiring diagram with uncompromising precision. By understanding the critical distinctions between line and load, respecting torque specifications, and actively testing for schematic deviations like bootleg grounds, you ensure that the theoretical safety of the blueprint translates into the physical safety of the home. Always treat the wiring diagram as your primary safety tool, and verify every termination before energizing the circuit.