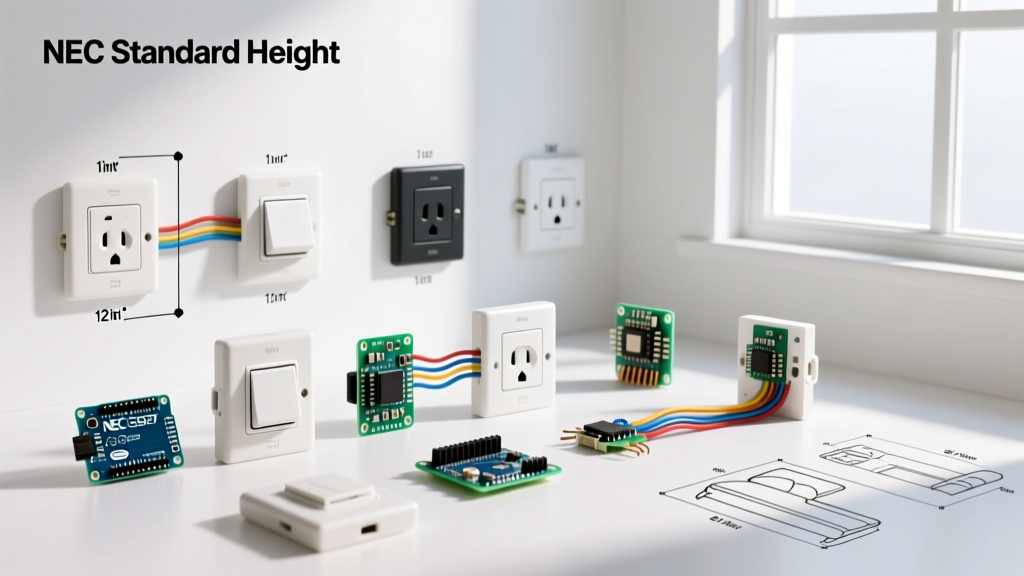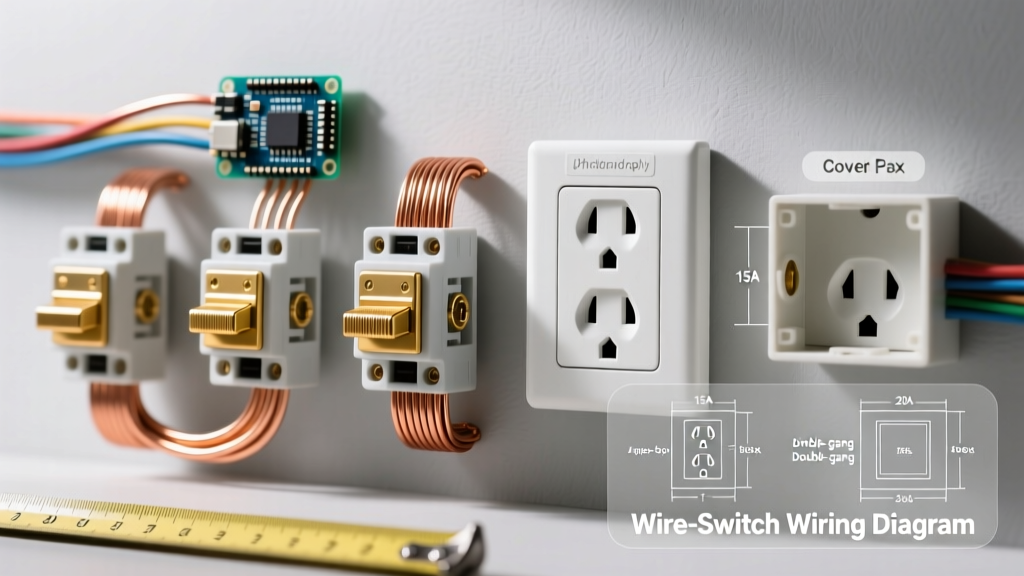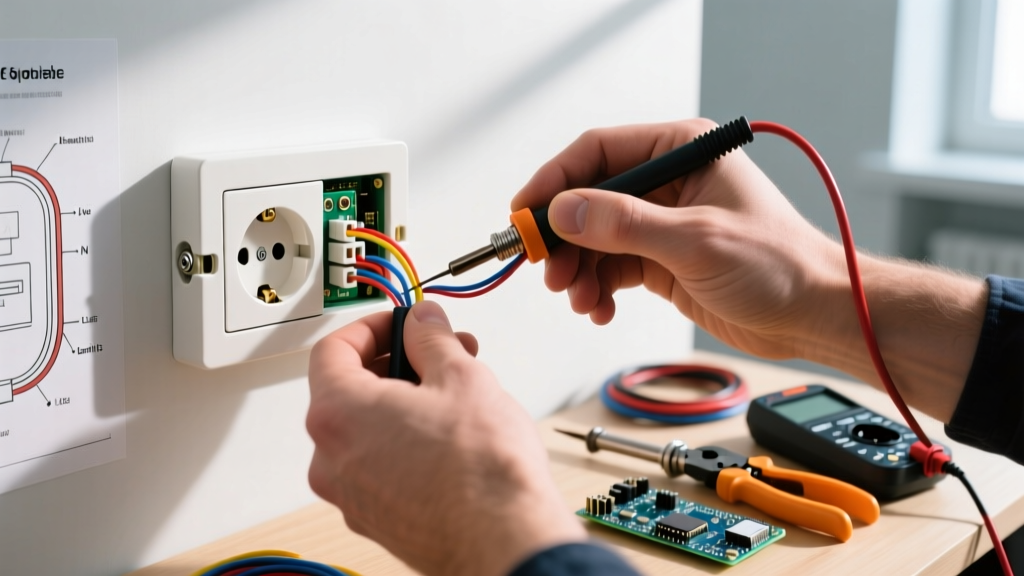

Understanding the Standard Iceland Electric Outlet
Iceland operates on a 230V, 50Hz electrical grid, harmonized with the broader European standard. If you are upgrading a property in Reykjavik, building a new summer house in Akureyri, or adapting a 240V circuit in North America for European appliances, you need to understand the standard Iceland electric outlet. The country exclusively uses the Type F (Schuko) receptacle, defined by the CEE 7/3 standard, alongside the ungrounded Type C (Europlug) for low-power devices.
Unlike the North American NEMA 5-15 (120V) or NEMA 6-15 (240V) configurations, the Type F outlet features two round pins (4.8mm diameter) and two grounding clips on the top and bottom edges of the recessed socket. This recessed design is a critical safety feature, preventing users from touching the pins while they are partially inserted and energized.
Type F vs. Type C: Quick Comparison
| Feature | Type F (Schuko) | Type C (Europlug) |
|---|---|---|
| Grounding | Yes (Side clips) | No |
| Max Current | 16A (Standard) | 2.5A (Max) |
| Pin Diameter | 4.8 mm | 4.0 mm |
| Typical Use | Heavy appliances, general wall sockets | Phone chargers, shavers, small electronics |
For any permanent wall installation in Iceland, the Type F is the mandatory choice for standard 16A circuits. According to the International Electrotechnical Commission (IEC), Type F is the dominant standard across most of continental Europe and Iceland.
Tools and Materials Required for 230V Installation
Working with 230V systems requires strict adherence to safety protocols and the use of properly rated tools. Do not use standard 1000V-unrated hardware store tools. As of 2026, a professional-grade beginner kit for European outlet installation will cost between $120 and $180.
- Voltage Tester: Fluke 1AC-II VoltAlert (Non-contact) and a Fluke T5-600 for live/dead verification.
- Wire Strippers: Knipex 12 62 180 (Precisely strips 1.5mm² and 2.5mm² solid copper without nicking the conductor).
- Torque Screwdriver: Wera 030150 or similar, calibrated to 1.2 Nm (Newton-meters) for terminal screws.
- Outlet Receptacle: Legrand Valena Life or Schneider Electric Exxact Type F (IP21 for dry rooms, IP44 for damp areas).
- Wiring: 2.5mm² solid copper cable (Standard for 16A socket circuits in Iceland) or 1.5mm² for 10A lighting circuits.
Safety Warning: Never work on a live 230V circuit. The lethal threshold for ventricular fibrillation is as low as 30-50mA. Always isolate the circuit at the main distribution board (Tafla) and lock out the breaker.
Step-by-Step Installation Guide
Follow this systematic approach to wire your Iceland electric outlet safely and in compliance with modern electrical codes.
Step 1: Isolate the Circuit and Verify Zero Energy
- Locate the main distribution board and switch off the specific MCB (Miniature Circuit Breaker) controlling the room's sockets. In Iceland, socket circuits are typically protected by a 16A Type C or Type B breaker.
- Ensure the circuit is also protected by a 30mA RCD (Residual Current Device), which is mandatory for all socket outlets in Iceland.
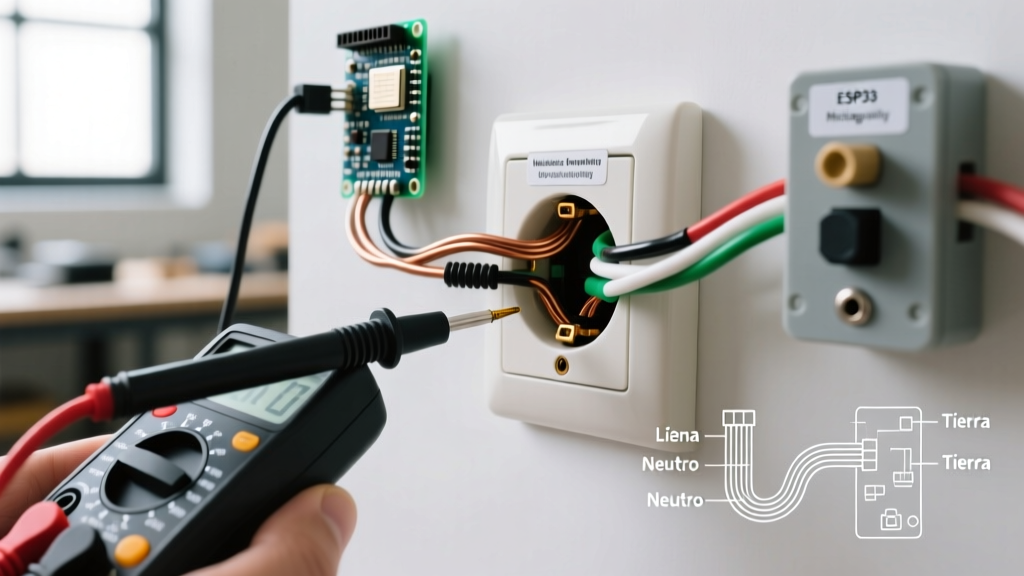
- Use your two-pole voltage tester to verify zero voltage between Line and Neutral, Line and Earth, and Neutral and Earth at the existing outlet or junction box.
Step 2: Prepare the Wires (Stripping and Dressing)
European 230V wiring uses a strict color code. You will be working with three wires:
- Brown: Line (Phase / Live)
- Blue: Neutral
- Green/Yellow: Protective Earth (PE)
Using your Knipex strippers, strip exactly 12mm of insulation from the end of each solid copper wire. Do not strip more than 14mm, as exposed copper outside the terminal block is a severe shock and short-circuit hazard. If you are using stranded wire (flexible cable), you must crimp a ferrule (e.g., Weidmüller H1,5/14) onto the ends before insertion to prevent stray strands from causing a short.
Step 3: Terminate the Connections
Modern Type F outlets use push-in or screw-clamp terminals. For the highest reliability, especially in high-load scenarios like space heaters or EV chargers, screw-clamp terminals are preferred.
- Connect Earth (PE): Insert the Green/Yellow wire into the central terminal marked with the Earth symbol (⏚). This is usually located in the middle of the chassis.
- Connect Line (L): Insert the Brown wire into the terminal marked 'L' (usually on the right side when facing the front of the outlet).
- Connect Neutral (N): Insert the Blue wire into the terminal marked 'N' (usually on the left side).
- Apply Torque: Tighten the terminal screws using your torque screwdriver set to 1.2 Nm. Under-torquing causes arcing and fires; over-torquing strips the brass threads or crushes the copper, increasing resistance.
Step 4: Mount and Secure the Outlet
Carefully fold the wires into the backbox (usually a 60mm deep European flush-mounted box). Ensure the Green/Yellow earth wire has enough slack and is not pinched against the sharp edges of the mounting brackets. Drive the two M3.5 mounting screws through the outlet chassis claws into the backbox. Use a spirit level to ensure the outlet is perfectly horizontal before fully tightening the claws.
North American Adaptation: Wiring a 240V Schuko Outlet
A common DIY scenario in 2026 is North American homeowners installing an Iceland electric outlet (Type F) to power imported European appliances, such as high-end espresso machines, 230V server racks, or European EV chargers. Because North America uses a split-phase 120/240V system, you can derive 240V to run 230V European equipment (the 10V difference is well within the ±10% tolerance of modern appliance power supplies).
Wiring a NEMA 6-15 to Type F Adapter or Direct Wall Socket
If you are wiring a dedicated 240V circuit in the US or Canada to terminate at a Type F receptacle:
- Breaker: Install a 15A or 20A double-pole breaker in your main panel.
- Wire Colors (US/CA): You will use Black (Hot 1), White (Hot 2 - must be marked with black tape at both ends), and Bare/Green (Ground). There is no Neutral in a pure 240V circuit.
- Termination: Connect Black to 'L', the re-marked White to 'N', and Bare/Green to '⏚'. Note: In a pure 240V setup, L and N are interchangeable as both are carrying 120V relative to ground, but maintaining the color code at the terminal is best practice.
- GFCI Requirement: The 2023 and 2026 NEC updates require GFCI protection for most 240V receptacles. Ensure your double-pole breaker has built-in GFCI protection, as standard European RCDs will not fit in a North American panel.
Testing and Commissioning
Once the faceplate is secured, restore power at the distribution board. Do not immediately plug in a high-value appliance.
- Visual Check: Ensure the outlet is flush with the wall and the recessed cavity is free of debris.
- Voltage Verification: Insert a multimeter probe into the L and N slots. You should read between 225V and 240V (in Iceland, typically 230V ±5%).
- Earth Loop Impedance: If you have an Earth Loop Impedance tester, verify that the Ze (external loop impedance) and Zs (total loop impedance) are low enough to trip the 16A breaker within the required 0.4 seconds under a fault condition. For a 16A Type C breaker, Zs should typically be under 1.44 Ohms.
- RCD Trip Test: Press the 'Test' button on the RCD in your distribution board, or use a dedicated RCD tester at the socket to ensure it trips at < 30mA within 40 milliseconds.
Troubleshooting Common Installation Errors
Even beginners can make mistakes. Here is how to identify and fix the most common issues when installing an Iceland electric outlet:
| Symptom | Probable Cause | Solution |
|---|---|---|
| Breaker trips immediately upon resetting | Short circuit between L and N, or L and PE. Often caused by over-stripped wires touching. | Isolate power, remove outlet, and inspect terminal connections. Trim wires back to 12mm. |
| RCD trips, but MCB does not | Earth leakage. Neutral and Earth are touching downstream, or the N wire is pinched against the metal backbox. | Check for pinched wires in the backbox. Ensure the Neutral wire is fully seated in the 'N' terminal and no stray strands are escaping. |
| Outlet feels warm to the touch under load | Loose terminal connection causing high resistance and arcing. Usually due to under-torquing. | Isolate power and re-torque all terminal screws to exactly 1.2 Nm. Inspect for heat discoloration on the brass terminals. |
| Plugs feel loose or fall out | The internal phosphor-bronze contacts in the Type F socket have been deformed, or a non-compliant cheap outlet was used. | Replace the outlet with a premium brand (Schneider, Legrand, or Gira). Do not attempt to bend the internal clips back into shape. |
By following these precise specifications and utilizing the correct torque and stripping measurements, your Type F installation will be safe, code-compliant, and built to last. For further reading on international plug configurations and safety standards, refer to the comprehensive guides provided by World Standards.