
The Reality of '110v' Wiring: Terminology and Safety First
If you are searching for a guide on 110v electrical plug wiring, you are likely preparing to install or replace a standard household receptacle. Before we strip a single wire, a crucial clarification is in order: in modern North American electrical systems, the nominal voltage is actually 120 volts, not 110. The term '110v' is a legacy holdover from the mid-20th century. The standard receptacle you are working with is technically classified as a NEMA 5-15R (15-amp, 125-volt, 2-pole, 3-wire grounding).
Working with residential AC power is unforgiving. According to the Occupational Safety and Health Administration (OSHA), electrocution remains a leading cause of fatal occupational injuries in construction and maintenance. As a beginner, your absolute first step is never to trust a wall switch or a previous homeowner's labeling. You must verify the absence of voltage at the source.
⚠️ CRITICAL SAFETY WARNING: Never begin 110v electrical plug wiring without turning off the circuit breaker at the main panel and verifying zero voltage using a non-contact tester. If you live in a home built before 1972 with aluminum branch wiring, you must use CO/ALR-rated receptacles and apply anti-oxidant paste to prevent catastrophic arcing fires.
Essential Tools and Materials for 2026
Skip the bargain-bin tools when working with electricity. Poorly stripped wires or under-torqued terminals are the leading causes of outlet fires. Here is the professional-grade, yet budget-friendly, toolkit you need for a standard NEMA 5-15R installation.
| Category | Recommended Model | Est. Cost (2026) | Purpose & E-E-A-T Insight |
|---|---|---|---|
| Receptacle | Leviton 5320-WMP (Residential) or Hubbell 5262 (Commercial) | $2.50 - $7.50 | The outlet itself. Commercial grade features thicker brass contacts for tighter plug grip. |
| Wire Strippers | Klein Tools 11055 | $29.00 | Strips 14 & 12 AWG solid copper without nicking the conductor. |
| Voltage Tester | Milwaukee 2202-20 | $25.00 | Non-contact voltage detection with dual-range sensitivity. |
| Torque Screwdriver | CDI 401SM (or Wiha 28501) | $115.00 | Required by modern NEC code to ensure precise terminal tightness. |
| Wire Connectors | Ideal 341 Yellow Wing-Nuts | $8.00 / box | For pigtailing neutrals and grounds securely inside the junction box. |
Understanding Wire Anatomy and Box Preparation
A standard 120-volt circuit utilizes three distinct conductors. Misidentifying these will result in a shock hazard or a tripped GFCI/AFCI breaker.
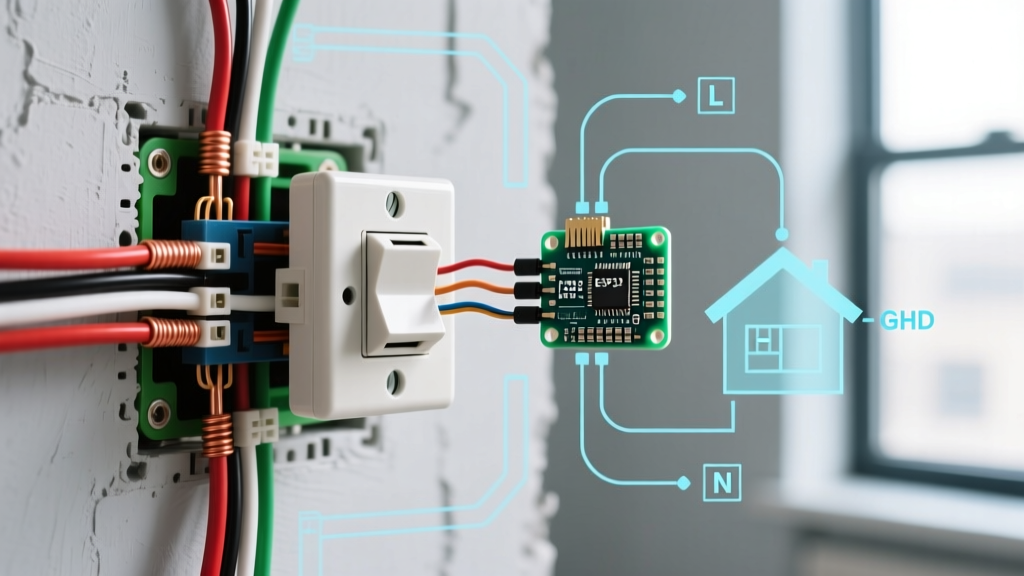
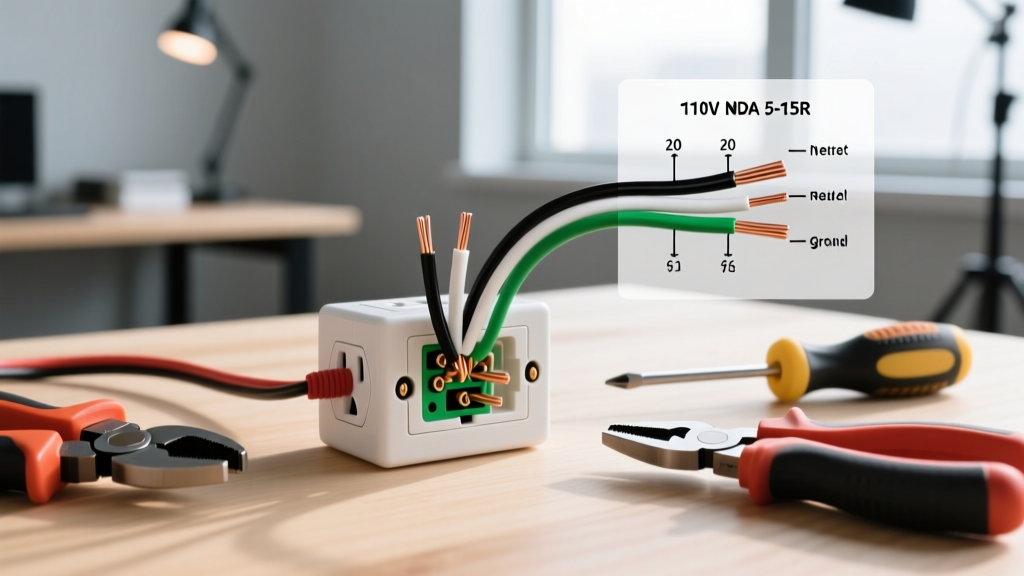
- Hot (Line): Typically Black (or Red). This carries the 120v current from the panel to the receptacle. It connects to the Brass screw.
- Neutral: Typically White. This completes the circuit back to the panel. It connects to the Silver screw.
- Ground: Typically Bare Copper or Green. This provides a safe path for fault currents. It connects to the Green screw on the outlet yoke.
Matching Wire Gauge to Breaker Size
Before wiring, verify your wire gauge matches the circuit breaker. Installing a 15-amp receptacle on a 20-amp circuit is permitted by the National Electrical Code (NEC) under specific conditions, but the wire gauge must always match the breaker.
- 14 AWG Wire: Maximum 15-Amp Breaker. (Common in older homes or bedroom lighting circuits).
- 12 AWG Wire: Maximum 20-Amp Breaker. (Standard for modern kitchens, bathrooms, and general living areas).
Step-by-Step 110v Electrical Plug Wiring Tutorial
Step 1: Kill the Power and Verify
Locate your main electrical panel and switch off the breaker controlling the room. Place a piece of painter's tape over the breaker so no one accidentally turns it back on. Insert your Milwaukee non-contact tester into the top and bottom slots of the existing receptacle. The tool should remain completely dark and silent. If it beeps, stop immediately; you have the wrong breaker or a multi-wire branch circuit (MWBC) sharing a neutral.
Step 2: Extract and Prep the Wires
Unscrew the center cover plate and the top/bottom mounting screws of the old receptacle. Gently pull the device out of the gang box. If you are replacing an old outlet, unscrew the terminals and remove it. Using your Klein Tools 11055 strippers, strip exactly 3/4 of an inch of insulation off the black, white, and ground wires. Do not exceed 3/4 inch, or you will leave exposed, uninsulated copper outside the terminal, creating a severe shock and short-circuit risk.
Step 3: The 'Backstab' vs. 'Side-Wire' Debate
Look at the back of your new Leviton or Hubbell receptacle. You will see small holes designed for 'push-in' or 'backstab' wiring. Do not use them. Backstab connections rely on a tiny internal spring-metal wedge to grip the wire. Over years of thermal expansion and contraction (especially when plugging in high-draw appliances like vacuums or space heaters), these springs loosen, causing high-resistance connections, arcing, and melted plastic faces. Always use the side-wiring (screw terminal) method.
Step 4: Forming the J-Hook and Making Connections
Using needle-nose pliers, bend the exposed 3/4 inch of copper into a tight 'J-hook' or shepherd's hook.
- Ground First: Loop the bare copper around the green ground screw. The hook must face clockwise. When you tighten the screw, the clockwise motion pulls the loop tighter rather than pushing it out.
- Neutral Second: Loop the white wire around the silver screw (clockwise).
- Hot Last: Loop the black wire around the brass screw (clockwise).
Step 5: Torque to Code Specifications
As highlighted by the National Fire Protection Association (NFPA), modern NEC Article 110.14(D) requires that electrical connections be tightened to the manufacturer's specified torque. Under-tightening causes arcing; over-tightening strips the screw or snaps the wire. Set your torque screwdriver to the value stamped on the back of the receptacle (usually between 14 and 16 inch-pounds for standard 15A devices) and tighten until the driver clicks.
Step 6: Pigtailing (If in the Middle of a Run)
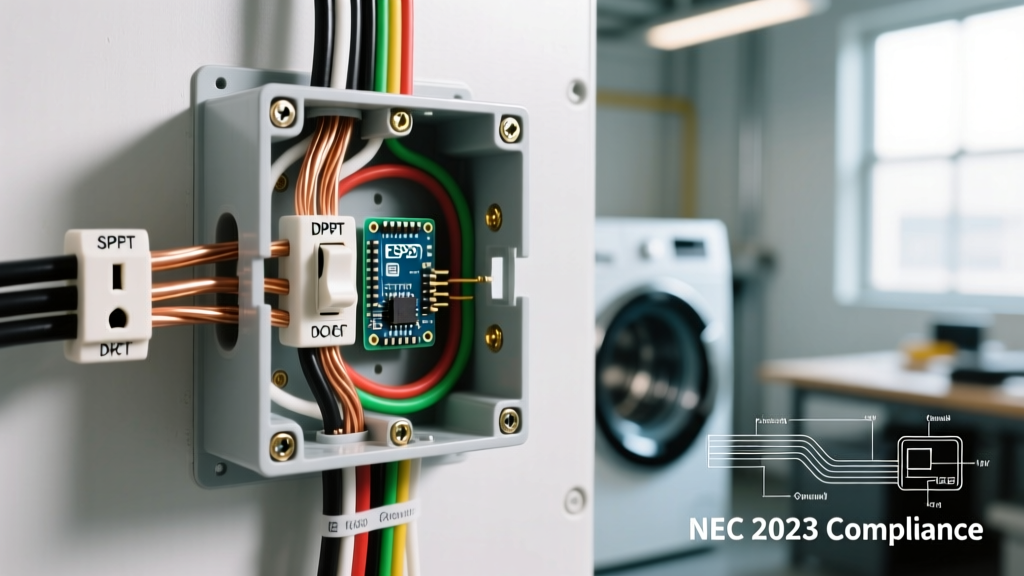
If your wall box has two black wires, two white wires, and two ground wires, your outlet is in the 'middle of a run' and acts as a junction for downstream outlets. Do not cram four wires under one screw. Instead, use a pigtail: connect the two incoming/outgoing wires together with a 6-inch piece of matching wire using a wire nut, and connect the single tail to the receptacle screw. This ensures that if the receptacle fails, downstream outlets do not lose power.
Step 7: Fold, Mount, and Test
Carefully fold the wires into the back of the box in a 'Z' pattern (ground in back, neutral in middle, hot in front) to avoid pinching. Mount the receptacle using the provided 6-32 machine screws. Use the 'plaster ears' (the small metal tabs on the yoke) to rest on the drywall for a flush fit. Attach the cover plate, remove the breaker tape, and flip the breaker on. Test with a $15 receptacle tester (like the Klein RT210) to confirm correct wiring.
Troubleshooting Common Beginner Mistakes
Even with careful preparation, beginners occasionally encounter issues. Here is how to diagnose the most common failure modes when your receptacle tester lights up incorrectly.
- Reverse Polarity (Hot/Neutral Swapped): The tester shows the black wire is on the silver screw and the white on the brass. This is highly dangerous because the internal switch of an appliance will disconnect the neutral, leaving the device fully energized even when turned 'off'. Swap the wires immediately.
- Open Ground: The bare copper wire is disconnected or broken. While the outlet will function, it provides no fault protection. If a hot wire touches the metal casing of a toaster, the casing becomes lethal. Check your wire nut connections in the back of the box.
- Tripped AFCI/GFCI Breaker Upon Energizing: You likely have a 'bootleg ground' (a jumper wire between the neutral and ground screws) or a pinched wire touching the metal gang box. Remove the receptacle and inspect for exposed copper touching the box.
Final Thoughts on Code Compliance and Safety
Mastering 110v electrical plug wiring is the gateway to more advanced residential electrical projects. However, electricity demands respect. Always adhere to the guidelines set forth by the Consumer Product Safety Commission (CPSC) regarding home electrical safety, and never hesitate to pull a permit and call a licensed master electrician if you encounter degraded insulation, knob-and-tube wiring, or panels that lack adequate space for new breakers. Safe wiring is invisible wiring—it works perfectly, stays cool, and protects your home for decades.