
The Foundation of Safe Wiring: Tools and Materials for 120v Electrical Outlets
The standard 120v electrical outlet is the undisputed workhorse of North American residential and commercial electrical systems. Whether you are upgrading a single damaged receptacle in a kitchen or wiring an entire basement renovation, the margin for error is zero. A poorly terminated connection on a $3 receptacle can lead to arc faults, thermal runaway, and structural fires. According to the National Fire Protection Association (NFPA), electrical distribution and lighting equipment are consistently among the leading causes of home structure fires.
This guide moves beyond basic DIY fluff. We will break down the exact diagnostic instruments, precision hand tools, and material grades required to install a 120v electrical outlet to commercial standards in 2026, ensuring compliance with the latest National Electrical Code (NEC) requirements.
Phase 1: Diagnostic and Safety Equipment
Before a single wire is stripped, you must verify the circuit is dead and understand the environment. The Occupational Safety and Health Administration (OSHA) mandates strict lockout/tagout procedures for commercial work, but residential DIYers must adopt a similar "test before you touch" mentality.
1. Non-Contact Voltage Testers (NCVT)
Do not rely on a single method to verify a de-energized circuit. A dual-range NCVT is mandatory. The Klein Tools NCVT-3 (approx. $32) is the industry standard because it detects both standard 120V-1000V AC and low-voltage 12V-70V AC (useful for troubleshooting doorbell or thermostat wires sharing a gang box).
- Pro Tip: Always test your NCVT on a known live 120v electrical outlet before and after testing the target circuit to verify the tool's battery and sensor are functioning.
2. Digital Multimeters (DMM) and Solenoid Testers
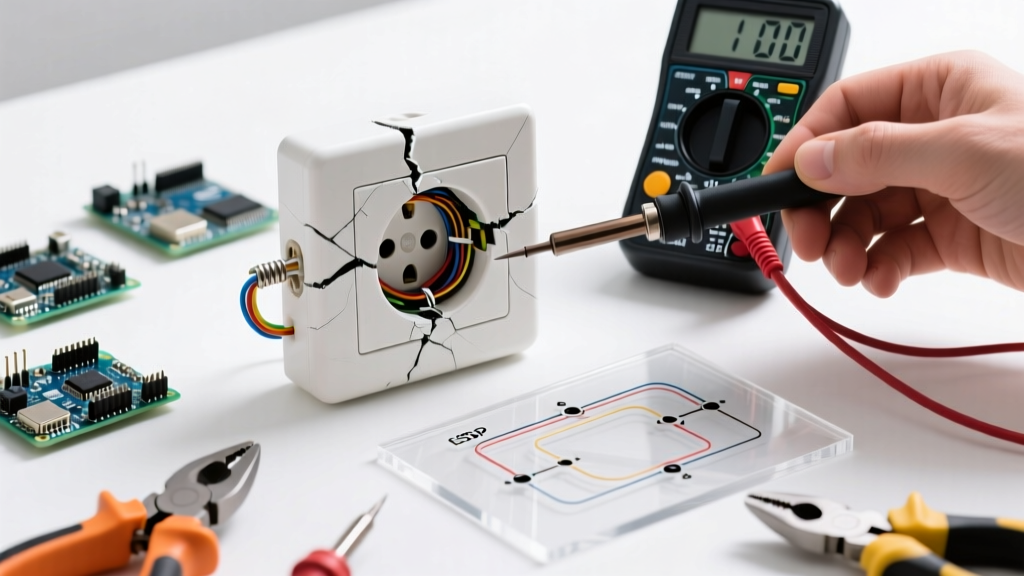
NCVTs can be fooled by phantom voltage or shielded cables. For absolute certainty, use a solenoid voltage tester (like the Greenlee GT-12, approx. $45) or a CAT III rated Digital Multimeter like the Fluke 117 (approx. $210). Solenoid testers draw a tiny amount of current, eliminating false positives from capacitive coupling in multi-gang boxes.
Phase 2: Precision Hand Tools for Termination
The physical connection between the copper conductor and the brass/nickel terminal screw dictates the lifespan of your 120v electrical outlet. Nicked wires or loose screws are the primary culprits of outlet failure.
Wire Strippers: Avoiding Conductor Damage
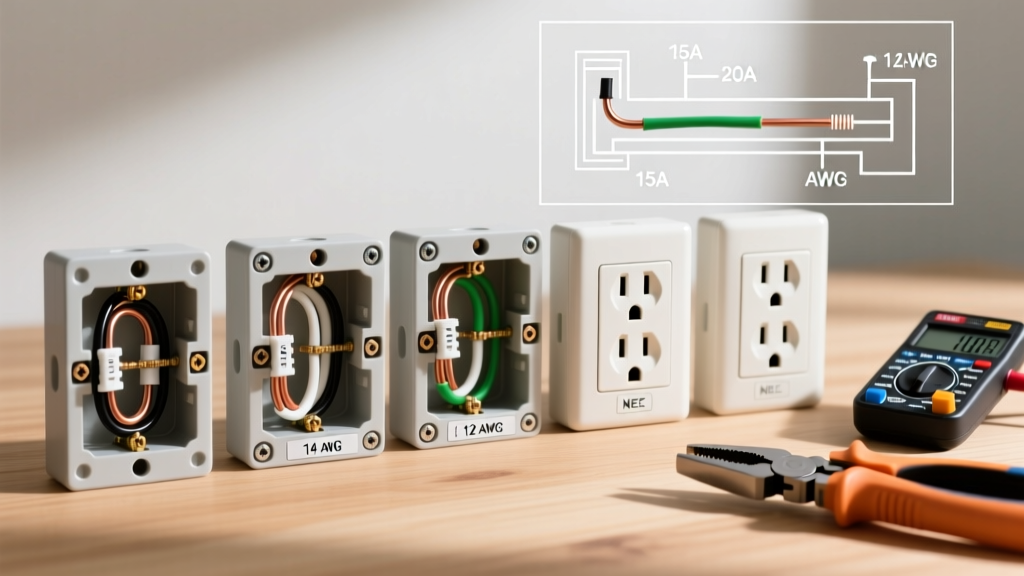
Using the wrong gauge hole on a standard stripper will gouge 14 AWG or 12 AWG solid copper, creating a mechanical weak point that will snap when folded into the back of the junction box.
- Top Pick: Knipex TwinCut 85 62 200 (approx. $75). These shear cleanly without scoring the copper.
- Budget Pick: Klein Tools 11063W Katapult (approx. $30). Excellent for rapid stripping of 14 and 12 AWG solid wire without wrapping the wire around the tool.
Insulated Screwdrivers and Torque Control
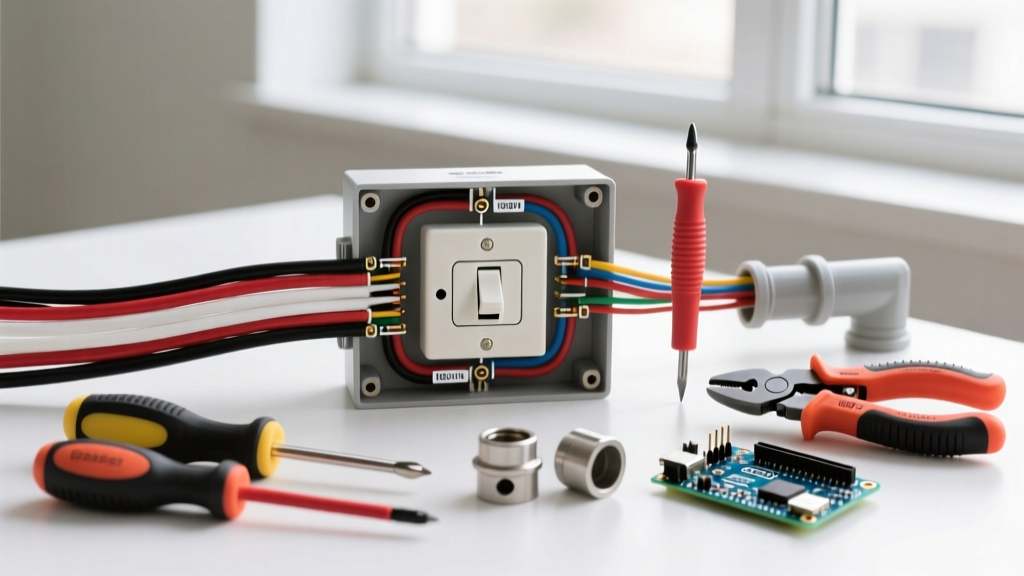
You need a #2 Phillips and a 1/4-inch slotted screwdriver, both rated for 1000V insulation (e.g., Wera 160i/165i series). However, the modern mark of a true professional is torque control. NEC 110.14(D) requires electrical connections to be torqued to manufacturer specifications. While primarily enforced on panel lugs, high-end receptacle manufacturers like Hubbell specify terminal screw torques between 12 to 14 inch-pounds. Using a calibrated inch-pound torque screwdriver (like the Klein 32500) prevents terminal screws from loosening due to years of thermal expansion and contraction.
Phase 3: Material Selection – The Receptacle Hierarchy
Not all 120v electrical outlets are created equal. The internal contacts, the thickness of the mounting yoke, and the plastics used vary wildly across grades. Furthermore, the NEC mandates Tamper-Resistant (TR) shutters on all 15A and 20A, 125V and 250V non-locking receptacles in dwelling units to prevent childhood shock injuries, a standard heavily supported by the Consumer Product Safety Commission (CPSC).
Receptacle Grade Comparison Matrix
| Grade | Example Model | Est. Price (2026) | Yoke Material | Contact Grip Force | Best Application |
|---|---|---|---|---|---|
| Residential | Leviton 5320-WMP (TR) | $3.25 | Thin Steel | Standard | Bedrooms, living rooms, low-draw areas. |
| Commercial / Spec Grade | Hubbell HBL5262 (TR) | $9.50 | Thick Steel | High Retention | Kitchens, workshops, offices, high-use areas. |
| Hospital Grade | Hubbell 8300-I (TR) | $24.00 | Reinforced Steel | Extreme (UL Tested) | Healthcare, critical home medical equipment. |
Material Rule of Thumb: For a kitchen or garage where heavy appliances and power tools are frequently plugged and unplugged, always spend the extra $6 per outlet for Commercial Spec Grade. The internal phosphor bronze contacts maintain their tension for decades, whereas cheap residential contacts loosen after 3-5 years of heavy use.
Phase 4: Wire Connectors and Pigtailing
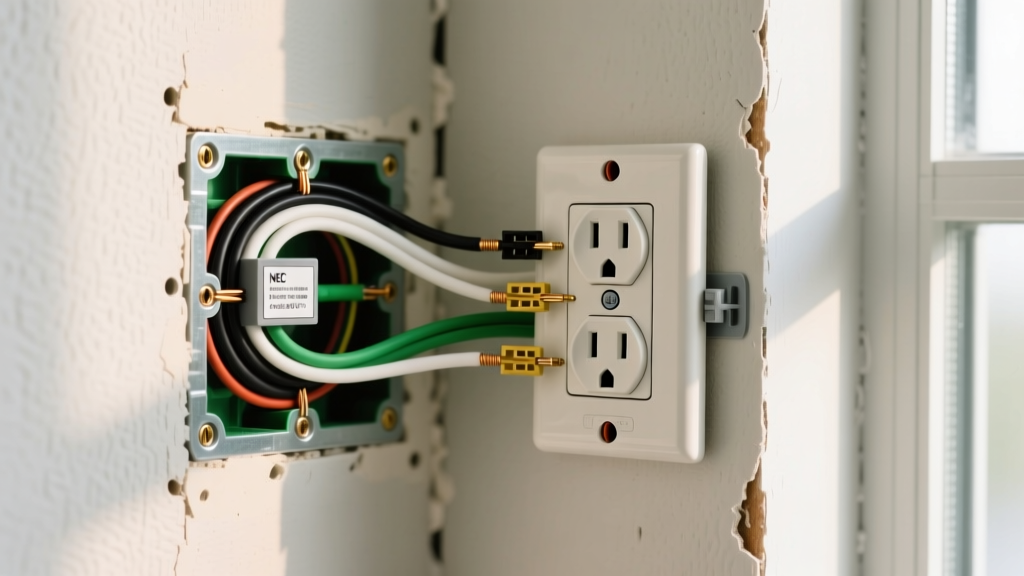
Daisy-chaining wires through the outlet's side terminals (using the device as a splice point) is a controversial practice. If the outlet fails or is removed for painting, the downstream circuit dies. Pigtailing is the superior method.
Traditional Wire Nuts vs. Lever Connectors
- Traditional Wire Nuts: The Ideal 33 Orange Wire-Nut is rated for three 12 AWG solid wires. They require significant wrist torque and must be tugged to verify the connection. If installed incorrectly, they can arc internally.
- Lever Connectors: The Wago 221 Series (e.g., 221-413 for 3 conductors) (approx. $0.65 each) have revolutionized 120v electrical outlet wiring. They accept solid, stranded, and fine-stranded wire, provide a visual inspection window, and feature built-in test ports for your multimeter probes. They are slightly bulkier, requiring a deep junction box (at least 20 cubic inches), but they eliminate human error in twisting wires.
Common Failure Modes to Avoid
CRITICAL WARNING: Never Use "Backstab" Push-In Terminals
Many budget 120v electrical outlets feature push-in holes on the back. These rely on a tiny internal leaf-spring to grip the wire. Over time, thermal cycling (the heating and cooling of the wire under load) causes the spring to relax. This creates a high-resistance connection, leading to localized melting and arc faults. Always use the side screw terminals or the newer "screw-clamp" back-wire plates found on commercial-grade receptacles.
Managing Box Fill and Wire Bending Radius
A common edge case in older homes is the 14-cubic-inch shallow junction box. If you are installing a modern GFCI or AFCI 120v electrical outlet, the device body is nearly 1.5 inches deep. Cramming four 12 AWG wires, three Wago connectors, and a deep GFCI into a shallow box violates NEC box-fill calculations and crushes the wires against the metal box edge, risking a short circuit. Solution: Use a box extender ring or replace the shallow box with a 22-cubic-inch "old work" deep box before installing the new device.
Summary Checklist for Your Next Installation
- Shut off the breaker and verify zero voltage with a solenoid tester or CAT III DMM.
- Strip exactly 3/4 inch of insulation using precision strippers to avoid nicking the copper.
- Form a perfect clockwise shepherd's hook on solid wire, or use a screw-clamp receptacle for stranded wire.
- Torque terminal screws to 12-14 in-lbs to prevent thermal loosening.
- Use Wago 221 lever nuts to pigtail the ground, neutral, and hot wires, ensuring the receptacle itself is not used as a splice block.
- Verify TR (Tamper Resistant) shutters are present and functioning before snapping on the wall plate.
By investing in the right diagnostic tools, respecting torque specifications, and selecting commercial-grade materials, your 120v electrical outlet installations will remain safe, code-compliant, and maintenance-free for decades.