
The Modern Standard: Wiring an Electrical Outlet Type C (USB-C PD)
When homeowners and DIYers search for an electrical outlet type c, there is often a collision of terminology. In international electrical standards, a 'Type C' outlet refers to the ungrounded CEE 7/1 Europlug socket. However, in modern North American electrical wiring and DIY contexts, this term almost exclusively refers to a NEMA 5-15R receptacle with integrated USB Type-C Power Delivery (PD). As of 2026, with the USB-C PD 3.1 standard powering everything from smartphones to 45W laptops, integrating these high-wattage charging ports directly into your wall is one of the most practical home upgrades you can make.
This guide focuses entirely on the step-by-step installation of a North American NEMA 5-15R USB-C PD wall receptacle. We will cover the exact box depth requirements, National Electrical Code (NEC) torque specifications, and the precise wiring sequence required to safely upgrade your standard outlets.
Pre-Installation: Tools, Materials, and NEC Compliance
Installing a USB-C integrated outlet is not fundamentally different from wiring a standard duplex receptacle, but the internal step-down transformer changes the physical footprint and the electrical termination requirements. According to the National Fire Protection Association (NFPA), all 15A and 20A residential receptacles must be Tamper-Resistant (TR) and properly torqued.
Required Tools and Materials
- Receptacle: Spec-grade USB-C PD outlet (e.g., Leviton T5635 or Eaton CFS15USB-C). Expect to pay between $22 and $38 per unit in 2026.
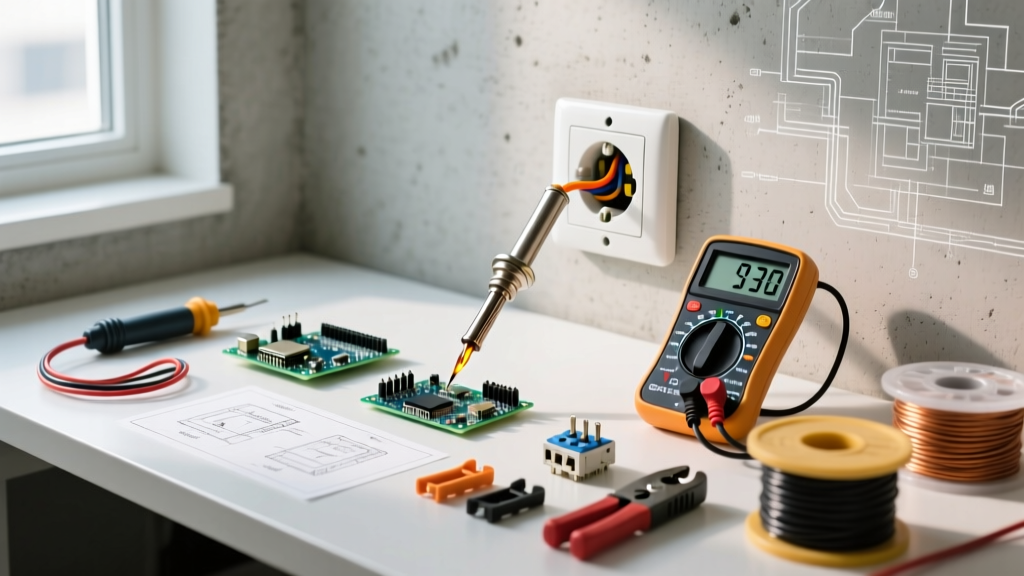
- Voltage Tester: Non-contact voltage tester (e.g., Fluke 1AC-II) and a multimeter for secondary verification.
- Wire Strippers: Klein Tools 11055 or equivalent, featuring a built-in gauge for 12 AWG and 14 AWG solid copper wire.
- Torque Screwdriver: NEC 110.14(D) mandates that terminals marked with torque values must be tightened using a calibrated torque tool. A Milwaukee 48-22-9010 or Klein Tools 70005 is essential.
- Electrical Tape & Wire Nuts: 3M Super 33+ vinyl tape for wrapping the terminal screws (optional but recommended for side-wiring).
CRITICAL WARNING: The 'Deep Box' Mandate
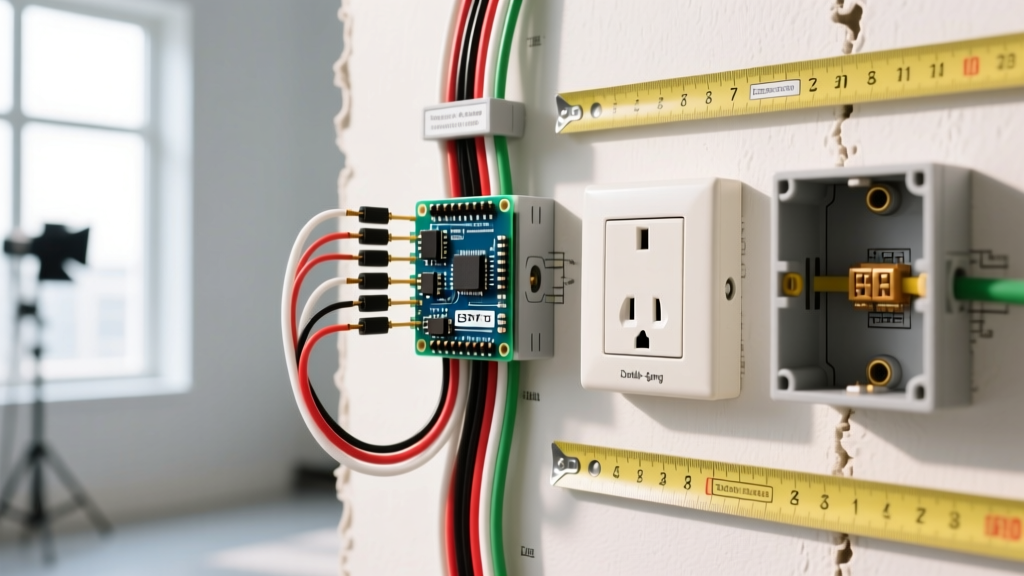
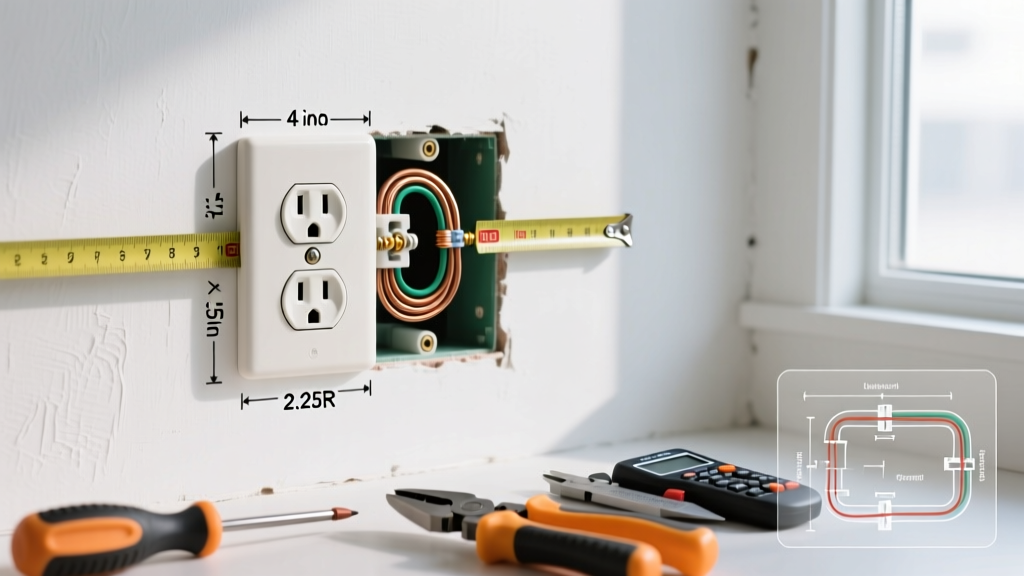
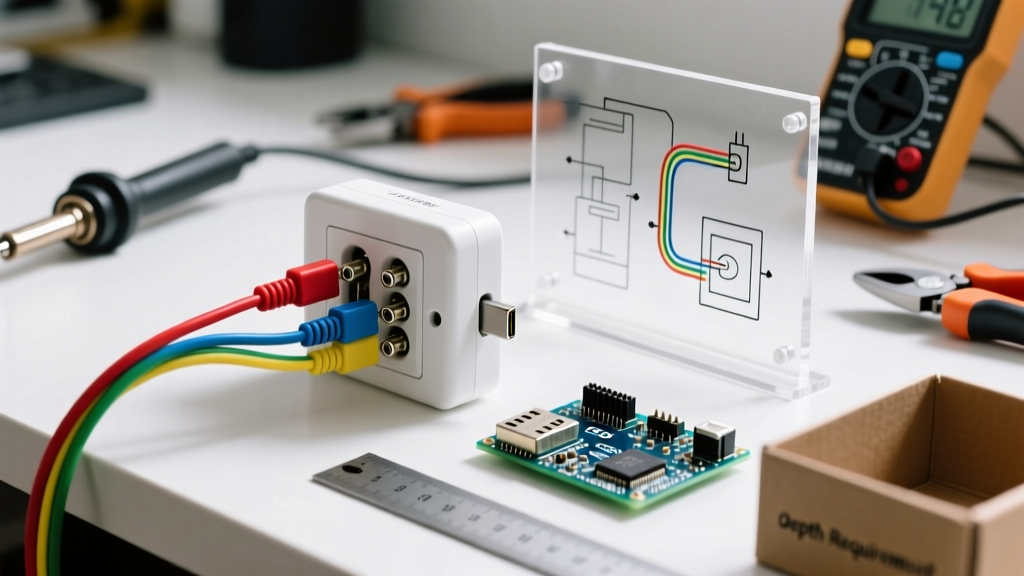
Standard residential electrical boxes are typically 16 cubic inches and roughly 2.25 inches deep. USB-C PD outlets house a massive internal switching power supply that extends the rear of the device by an extra 0.5 to 0.75 inches. If you attempt to force a USB-C outlet into a shallow, wire-crowded 16 cu. in. box, you risk crushing the Romex insulation against the transformer housing, leading to arc faults or heat buildup. Always upgrade to a minimum 22 cubic inch box (like the Carlon E936RX extra-deep box) or use a deep mud ring when installing high-wattage USB-C receptacles.
Step-by-Step Installation Guide
Step 1: Kill the Power and Verify
Navigate to your main service panel and switch off the breaker controlling the circuit. Do not rely solely on wall switch positions. Use your non-contact voltage tester on the existing faceplate, then remove the faceplate and test the receptacle slots and side terminals. Finally, use a multimeter set to AC Voltage to verify 0V between the hot (brass) and neutral (silver) terminals.
Step 2: Extract and Inspect Existing Wiring
Unscrew the top and bottom mounting screws and gently pull the old receptacle out. Inspect the wire insulation. If the insulation is cracked, brittle, or shows heat damage, you must cut back the damaged wire and strip a fresh section. Ensure you have at least 6 inches of wire protruding past the front edge of the electrical box, as required by NEC 300.14.
Step 3: Strip to the Manufacturer's Gauge
Flip your new USB-C PD outlet over. On the back, you will find a 'Strip Gauge' molded into the plastic housing. For 14 AWG wire, this is typically 5/8 inch; for 12 AWG, it is usually 3/4 inch. Use your wire strippers to remove exactly this amount of insulation. Stripping too little leaves exposed copper outside the terminal (a shock hazard); stripping too much leaves bare copper inside the box (a short-circuit hazard).
Step 4: Terminate the Connections (Back-Wire Recommended)
Modern spec-grade USB-C outlets feature 'back-wiring' clamps, which are vastly superior to traditional side-wiring screw loops. The clamps provide a larger surface area contact and resist pull-out forces.
- Ground (Bare/Green): Insert the ground wire into the green terminal hole or wrap it clockwise around the green ground screw. Tighten to 14 in-lbs.
- Neutral (White): Insert the white neutral wire into the back-wire hole aligned with the silver (white) terminal. Tighten the silver screw until your torque screwdriver clicks at the manufacturer's specified rating (usually 14 in-lbs for 14 AWG, 16 in-lbs for 12 AWG).
- Hot (Black): Insert the black hot wire into the back-wire hole aligned with the brass terminal. Torque to the exact same specification.
Expert Tip: Give each wire a firm tug after torquing. If it pulls out, the clamp was not fully engaged. Loosen, reseat the wire straight, and torque again.
Step 5: Fold and Mount
Folding the wires into a deep box requires an 'accordion' technique. Gently push the ground wires to the very back of the box. Fold the neutral and hot wires in a smooth Z-shape behind the heavy transformer block of the USB-C outlet. Do not shove or force the device in, as this can loosen the terminal clamps. Secure the outlet using the provided 6-32 mounting screws, ensuring the strap sits flush against the plaster ears.
Step 6: Restore Power and Test PD Negotiation
Turn the breaker back on. Plug in a standard lamp to verify the 120V AC side. Then, plug a USB-C PD-enabled device (like a modern smartphone or a USB-C wattage meter) into the Type-C port. The device should display 'Fast Charging' or negotiate the correct wattage (e.g., 15W, 20W, or 30W depending on your model).
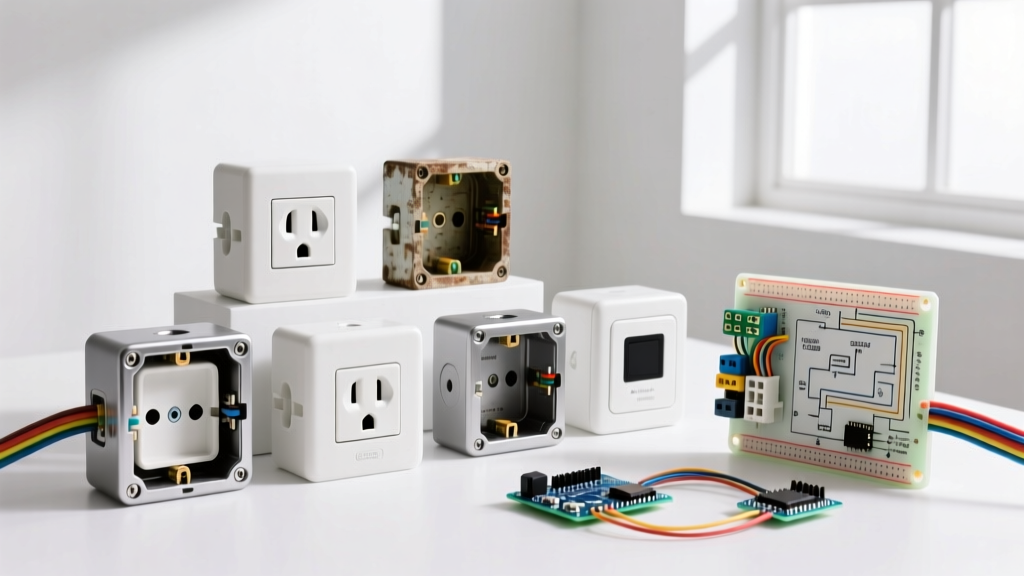
Receptacle Comparison Matrix: Standard vs. USB-A vs. USB-C PD
Understanding the thermal and spatial differences between outlet types is crucial for planning your DIY project. The Electrical Safety Foundation International (ESFI) emphasizes that understanding device load and heat dissipation is key to preventing residential electrical fires.
| Feature | Standard NEMA 5-15R | Legacy USB-A Outlet | Modern USB-C PD Outlet (2026) |
|---|---|---|---|
| Average Cost | $2.50 - $5.00 | $12.00 - $18.00 | $22.00 - $38.00 |
| Max USB Wattage | N/A | 12W (5V/2.4A) | 15W to 45W (PD 3.1) |
| Internal Transformer | None | Small (Low Heat) | Large (Requires Deep Box) |
| Min. Box Volume | 14 cu. in. | 16 cu. in. | 22+ cu. in. (Extra Deep) |
| Standby Vampire Draw | 0W | ~0.15W | <0.05W (DOE Compliant) |
Troubleshooting Edge Cases and Failure Modes
1. The Outlet Feels Warm to the Touch
It is entirely normal for a USB-C PD outlet to feel warm. The internal step-down transformer converts 120V AC to 5V-20V DC, and this process generates heat. According to Leviton's technical specifications, the faceplate temperature can safely reach up to 104°F (40°C) during active fast-charging. However, if the plastic is too hot to touch, smells like ozone, or shows discoloration, immediately kill the breaker. This indicates a loose neutral connection causing high resistance, or an overloaded circuit.
2. Nuisance AFCI Breaker Tripping
If your new USB-C outlet causes the AFCI (Arc Fault Circuit Interrupter) breaker to trip randomly, you likely purchased a low-quality, non-spec-grade receptacle. Cheap USB power supplies lack proper EMI (Electromagnetic Interference) filtering. The high-frequency switching noise from the internal transformer bleeds back into the AC line, which the AFCI breaker misinterprets as a dangerous parallel arc fault. The Fix: Replace the outlet with a spec-grade model from a Tier-1 manufacturer (Leviton, Eaton, Hubbell) that features isolated EMI filtering.
3. USB-C Port Only Charges at 5W (Slow Charging)
If your phone indicates it is charging, but not 'Fast Charging', the PD handshake is failing. This is rarely a wiring issue. It usually occurs if you are using a USB-C to Lightning cable that lacks the proper E-marker chip, or if the wall outlet's maximum PD output (e.g., 15W) is lower than the device's requested threshold, causing the device to default to standard 5V/1A USB charging for safety. Verify your cable supports PD 3.0 or higher.
Final Thoughts on Code and Safety
Upgrading to an electrical outlet Type C with integrated USB-C PD is a high-ROI project that modernizes your home for the next decade of consumer electronics. By respecting the physical depth requirements of the internal transformers, adhering to NEC torque specifications, and selecting spec-grade components, you ensure a safe, code-compliant installation that eliminates the need for bulky wall-wart adapters forever.