
The Definitive Guide to Wiring 3 Phase Electric Motor Systems
Wiring a 3-phase induction motor correctly is the difference between decades of reliable operation and a catastrophic winding failure within minutes. Whether you are connecting a 5 HP NEMA 56C HVAC blower motor or a 100 HP NEMA 405T industrial compressor, the fundamental principles of 3-phase power distribution remain constant. However, modern installations demand more than just connecting T1, T2, and T3. With the rise of Variable Frequency Drives (VFDs) and stringent National Electrical Code (NEC) compliance requirements, electricians must master dual-voltage tap configurations, shielded cabling, and precise overload sizing.
This reference guide breaks down the exact wiring diagrams, terminal mappings, and code-compliant sizing calculations required for safe and efficient 3-phase motor installations.
Decoding the Motor Nameplate: Your Primary Wiring Reference
Before stripping a single wire, you must interpret the motor nameplate. The nameplate dictates the voltage configuration, Full Load Amps (FLA), and NEMA design class. For dual-voltage motors, you will typically see a rating like 208-230/460V. This indicates the motor can be wired for either low voltage (230V) or high voltage (460V) by altering the internal winding connections at the terminal box.
Expert Insight: Never rely solely on the physical size of the existing wires when replacing a motor. Always calculate conductor sizing based on the new motor's nameplate FLA and NEC Table 430.250. A 10 HP motor at 230V draws roughly 28A, while the same 10 HP motor at 460V draws only 14A. Reusing 10 AWG wire on a downgraded 460V system is fine, but reusing 14 AWG wire on a 230V system will cause a thermal meltdown.
Key Nameplate Metrics for Wiring
- FLA (Full Load Amps): The current drawn at rated load and voltage. Used for overload relay sizing.
- SF (Service Factor): A multiplier (e.g., 1.15) indicating how much the motor can be overloaded without damage. Do not use SF for continuous NEC wire sizing.
- Code Letter: Indicates the locked-rotor kVA per HP, critical for sizing the upstream circuit breaker or fuses to handle inrush current without nuisance tripping.
Dual Voltage Wiring Diagrams: 9-Lead Wye vs. Delta
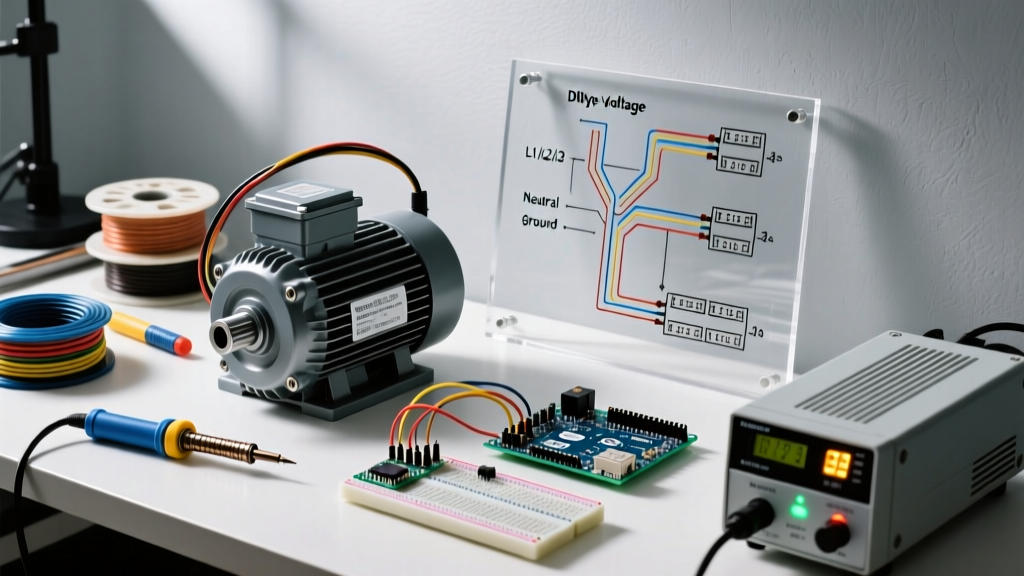
Most industrial 3-phase motors feature 9 external leads (T1 through T9) to accommodate dual-voltage applications. The internal windings are configured in either a Wye (Star) or Delta pattern. Identifying which internal topology your motor uses is critical, as wiring a Wye motor using a Delta diagram will result in severe phase imbalances and immediate burnout.
9-Lead Wye (Star) Connection Diagram
In a Wye-connected motor, the internal windings meet at a common neutral point. This is the most common configuration for modern TEFC (Totally Enclosed Fan Cooled) motors.
| Configuration | Internal Jumper Connections | Line Power Connections |
|---|---|---|
| High Voltage (460V) | T4-T7, T5-T8, T6-T9 (Insulate individually) | L1 to T1, L2 to T2, L3 to T3 |
| Low Voltage (230V) | T1-T4-T7, T2-T5-T8, T3-T6-T9 | L1 to T1/T4/T7, L2 to T2/T5/T8, L3 to T3/T6/T9 |
9-Lead Delta Connection Diagram
Delta motors do not have a common neutral point. The windings form a closed triangle. You can identify a Delta motor by checking continuity with a multimeter; you will find three distinct circuits of three leads each (e.g., T1-T4-T9, T2-T5-T7, T3-T6-T8).
| Configuration | Internal Jumper Connections | Line Power Connections |
|---|---|---|
| High Voltage (460V) | T4-T7, T5-T8, T6-T9 | L1 to T1, L2 to T2, L3 to T3 |
| Low Voltage (230V) | T1-T6-T7, T2-T4-T8, T3-T5-T9 | L1 to T1/T6/T7, L2 to T2/T4/T8, L3 to T3/T5/T9 |
Wiring a 3-Phase Motor to a VFD (Variable Frequency Drive)
Connecting a 3-phase motor to a VFD, such as the Yaskawa GA800 or ABB ACS580, requires fundamentally different wiring practices than across-the-line DOL (Direct-On-Line) starting. VFDs output a simulated sine wave using Pulse Width Modulation (PWM), which introduces high-frequency voltage spikes (dV/dt) that can destroy standard motor windings and bearings.
Step-by-Step VFD Wiring Protocol
- Select Shielded VFD Cable: Never use standard THHN in EMT conduit for VFD runs exceeding 50 feet. Use a symmetrically shielded VFD cable (e.g., Lapp ÖLFLEX VFD 870 CP) to contain electromagnetic interference (EMI) and provide a low-impedance path for high-frequency common-mode currents.
- Terminate the Shield: Strip the outer jacket and terminate the 360-degree shield using a proper EMC gland at both the VFD enclosure and the motor peckerhead. Do not pigtail the ground wire; high-frequency currents will not travel down a pigtail.
- Install a Shaft Grounding Ring: PWM waveforms induce shaft voltages that discharge through motor bearings, causing electrical discharge machining (EDM) fluting. Install an AEGIS SGR shaft grounding ring to bleed off these voltages safely to ground.
- Set VFD Carrier Frequency: Lower the VFD switching frequency to 2 kHz - 4 kHz for long cable runs to reduce capacitive charging currents and reflected wave voltage overshoot.
NEC Conductor and Overload Sizing (Article 430)
Properly sizing the conductors and overload protection is a non-negotiable safety requirement. Let us walk through a real-world calculation for a 15 HP, 460V, 3-phase TEFC motor with a nameplate FLA of 19.5A.
1. Conductor Sizing (NEC 430.22)
Conductors must be sized at 125% of the motor's Full Load Amps (FLA) as listed on the nameplate.
- Calculation: 19.5A × 1.25 = 24.375 Amps.
- Selection: According to NEC Table 310.16 (75°C column), 10 AWG THHN copper wire is rated for 35A, which safely exceeds the 24.375A requirement.
2. Overload Relay Sizing (NEC 430.32)
The overload relay protects the motor from thermal damage due to mechanical overloading. It is sized based on the nameplate FLA and the Service Factor (SF).
- If SF is 1.15 or greater: Size at 125% of nameplate FLA (19.5A × 1.25 = 24.3A).
- If SF is 1.0: Size at 115% of nameplate FLA (19.5A × 1.15 = 22.4A).
- Selection: Adjust the dial on your ABB AF30 contactor overload block to exactly 22.4A or 24.3A depending on the nameplate SF.
Common Wiring Failure Modes & Troubleshooting
Even experienced electricians encounter issues when wiring 3-phase systems. According to Fluke's motor diagnostic guidelines, electrical faults account for over 40% of premature motor failures. Use a power quality analyzer like the Fluke 434-II to diagnose these specific failure modes:
Single-Phasing
The Fault: One phase of the 3-phase supply is lost due to a blown fuse or loose terminal connection. The motor continues to run on the remaining two phases but draws up to 173% of normal current.
The Result: Severe overheating and melted windings within 60 seconds if the overload relay fails to trip.
The Fix: Install a phase-monitoring relay (e.g., Macromatic Phase Monitor) upstream of the contactor to drop the circuit instantly if phase loss or >5% voltage unbalance is detected.
Phase Reversal
The Fault: Swapping any two line leads (e.g., L1 and L2) reverses the rotational magnetic field, causing the motor to spin backward.
The Result: Catastrophic damage to coupled equipment like scroll compressors, centrifugal pumps, or conveyor gearboxes.
The Fix: Always perform a 'bump test' (momentarily energizing the motor) to verify rotation before fully coupling the load. For critical systems, wire a phase-sequence relay into the control circuit.
Expert FAQ: 3-Phase Motor Wiring
Can I wire a 3-phase motor to a single-phase power supply?
You cannot wire a 3-phase motor directly to a single-phase grid; it will not start and will hum until the windings burn out. However, you can use a VFD designed for single-phase input (e.g., 230V 1-Phase IN / 230V 3-Phase OUT). You must wire the motor for its Low Voltage (230V) Delta or Wye configuration and derate the VFD by one size to handle the elevated input current.
What happens if I wire high voltage taps to a low voltage supply?
If your facility supplies 230V, but you wire the motor terminal block for 460V (High Voltage Wye), the motor will receive only half its required voltage. The motor will draw excessive current to try and produce rated torque, tripping the overload relay immediately or causing severe thermal degradation if the overload is improperly sized.
Final References and Standards
Always cross-reference your specific installation with the latest local electrical codes and manufacturer datasheets. For deep-dive specifications on motor tolerances, terminal markings, and testing procedures, consult the NEMA MG 1 Standard for Motors and Generators. Proper wiring is not just about making the motor spin; it is about ensuring the longevity, safety, and energy efficiency of your entire electromechanical system.