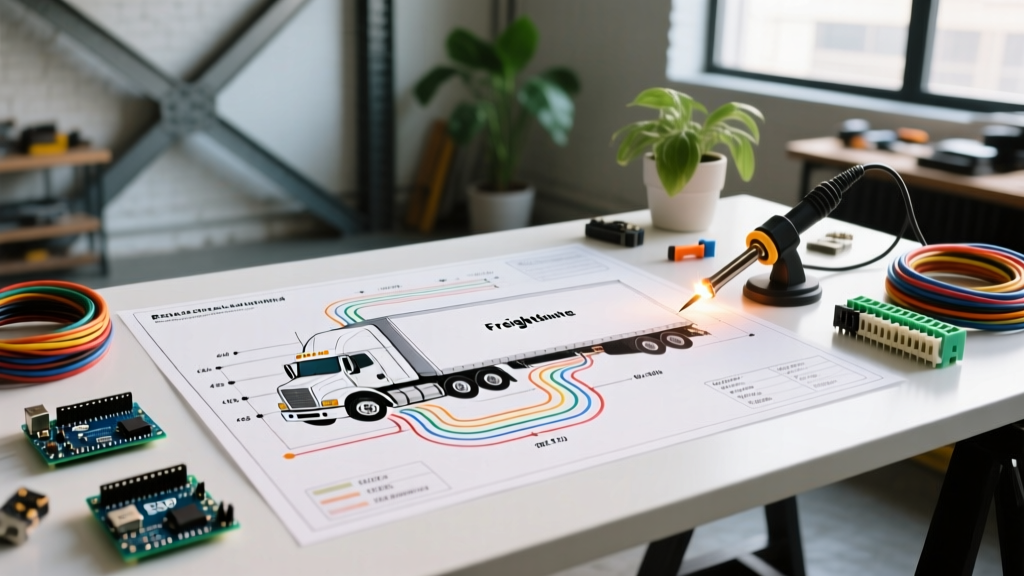

The Evolution of Heavy-Duty Schematics: From Relays to Multiplexing
Tracing a wiring diagram for Freightliner commercial vehicles has fundamentally changed over the last decade. If you are working on a legacy Columbia or Coronado, you will encounter traditional hardwired relay logic, bulky fuse panels, and point-to-point copper routing. However, modern platforms like the 2024–2026 Cascadia and the M2 106 rely heavily on multiplexed Controller Area Network (CAN) architectures. Today’s schematics look less like traditional electrical maps and more like IT network topology diagrams.
Understanding these diagrams requires a firm grasp of SAE J1939 data bus protocols, Common Powertrain Controller (CPC4) logic, and System Application Module (SAM) routing. More importantly, because these trucks operate in high-vibration, high-amperage environments, strict adherence to safety protocols and federal compliance codes is non-negotiable. This guide breaks down the critical safety, compliance, and diagnostic frameworks required when working with Freightliner electrical systems.
High-Amperage Safety Protocols and Lockout/Tagout (LOTO)
Before opening a single schematic page, technicians must mitigate the risks associated with heavy-duty 12V and 24V DC systems. While 12V/24V is generally considered "low voltage" regarding human electrocution, the amperage potential in a Class 8 truck is lethal to equipment and can cause catastrophic arc flashes.
CRITICAL SAFETY WARNING: Modern Freightliner Cascadias are equipped with high-output alternators (such as the Delco Remy 55SI series) capable of producing 180A to 250A. Dropping a standard steel wrench across the B+ terminal and the chassis ground will instantly vaporize the metal, causing severe third-degree burns and blindness. Always use NFPA 70E-compliant insulated hand tools rated for 1000V when working near the starter and alternator B+ posts.
Proper Battery Disconnect Procedures
- Isolate the Power: Turn the battery disconnect switch to the OFF position (if equipped on the M2 or 114SD models).
- Negative First: Always remove the negative (-) ground cables from the battery box first to eliminate the chassis ground path.
- Capacitor Discharge: Wait a minimum of 3 minutes before probing the CPC4 or Cab SAM modules. The MSF (Modular Switch Field) and instrument cluster contain capacitors that can retain enough charge to corrupt EEPROM data if shorted during active teardown.
- Tagout: Apply a physical LOTO padlock to the battery box latch to prevent accidental reconnection while tracing harnesses in the sleeper cab or engine bay.
Decoding the Freightliner Electrical Architecture
When you access the Freightliner eService portal or the MIL (Maintenance Information Library) to download a wiring diagram, you will notice specific circuit numbering conventions heavily influenced by DIN standards, adapted for North American SAE compliance.
- Circuit 30: Constant battery positive (Unswitched 12V/24V).
- Circuit 15: Ignition-switched power (Run/Crank).
- Circuit 31: Chassis ground return.
- Circuit 58: Parking lights / Marker circuits.
The Role of the CPC4 and SAM Modules
In modern Freightliner trucks, the Common Powertrain Controller (CPC4) acts as the central gateway. It translates J1939 CAN bus messages from the engine ECM into discrete hardwired outputs for the dash and chassis. The System Application Module (SAM) handles the heavy lifting for chassis lighting, PTO (Power Take-Off) engagement, and HVAC blower relays. When a wiring diagram shows a signal going "into the ether" toward a module box, it means the physical wire ends at the SAM, and the actual output is controlled via internal solid-state multiplexing. Replacing a chassis SAM typically costs between $900 and $1,300, while a CPC4 replacement ranges from $1,400 to $1,900, making accurate diagnostic verification essential before condemning a module.
Wire Gauge, Insulation, and SAE J1128 Compliance
When repairing or upfitting a Freightliner harness, using standard automotive primary wire (GPT) is a code violation and a fire hazard. Heavy-duty trucks require thin-wall, high-temperature cross-linked polyethylene insulation. You must adhere to the SAE J1128 standard for low-tension primary cables, specifically utilizing TXL or SXL wire types which withstand continuous engine bay temperatures up to 125°C (257°F) and 150°C (302°F) respectively.
| AWG Size | Metric (mm²) | Max Ampacity (SAE J1128) | Voltage Drop (50ft @ Max Amp) | Typical Freightliner Application |
|---|---|---|---|---|
| 18 AWG | 0.80 | 6A | 0.64V (5.3%) | CAN Bus Data, Sensor Signals |
| 14 AWG | 2.00 | 15A | 0.65V (5.4%) | Marker Lights, SAM Logic Triggers |
| 10 AWG | 5.00 | 30A | 0.51V (4.2%) | Headlight High Beam, DEF Heater |
| 4 AWG | 22.00 | 100A | 0.41V (3.4%) | Alternator B+ Feed, Starter Solenoid |
| 1/0 AWG | 50.00 | 200A | 0.20V (1.6%) | Battery Box to Starter Motor Main Feed |
Note: For sensitive ECU and CPC4 power feeds, SAE recommends a maximum voltage drop of 3%. Always upsized by one AWG if the harness routing exceeds 50 feet.
CAN Bus (J1939) Diagnostics: The Backbone of the Schematic
A modern wiring diagram for Freightliner trucks will prominently feature the J1939 CAN bus backbone. This twisted-pair network operates at 250 kbps and connects the ECM, Transmission ECU, CPC4, and ABS module. When diagnosing a "CAN Data Link" fault code (e.g., SPN 639 FMI 2), the schematic directs you to the 9-pin diagnostic connector located in the cab.
The 60-Ohm Termination Rule
According to SAE J1939 standards, the CAN bus must have a terminating resistor at both physical ends of the network. Each resistor is 120 ohms. Because they are wired in parallel, a multimeter (such as a Fluke 87V) placed across Pin C (CAN-H) and Pin D (CAN-L) of the 9-pin connector should read exactly 60 ohms with the batteries disconnected.
- Reading 120 Ohms: One terminating resistor is missing or an open circuit exists in the harness backbone.
- Reading 0 Ohms: CAN-H and CAN-L are shorted together, often due to chafing in the chassis harness near the frame rail crossmembers.
- Reading 40-50 Ohms: An aftermarket device (like an unapproved telematics tracker or GPS dashcam) has been spliced into the bus and is injecting an illegal third termination resistor, corrupting the network topology.
FMCSA Compliance for Upfits and Lighting Modifications
Owner-operators and fleet mechanics frequently modify Freightliner wiring diagrams to add work lamps, snowplow controls, or auxiliary beacons. Any modification to the exterior lighting or chassis wiring must comply with FMCSA regulations, specifically Part 393.40, which governs commercial vehicle lighting and electrical systems.
Prohibited Splicing Methods
Under no circumstances should "Scotchlok" pierce-tap connectors or standard electrical tape be used on a Freightliner chassis harness. The high-vibration environment of a Class 8 truck will cause pierce-taps to oxidize and fail within months, leading to voltage drops that can trigger false ABS or CPC4 derate codes.
Code-Compliant Repair Methods:
- Solder-Seal Heat Shrink: The only acceptable method for splicing sensor wires or CAN bus repairs. The internal solder ring melts to form a gas-tight metallurgical bond, while the outer polyolefin shrinks to seal out moisture and diesel exhaust fluid (DEF) corrosion.
- Deutsch DT Connectors: For adding auxiliary work lights, always use Deutsch DT or Superseal 1.5 series connectors with secondary wedge locks. Never splice directly into the SAM output wire; instead, use the SAM’s dedicated "Auxiliary Output" pins and trigger a heavy-duty automotive relay.
Step-by-Step Troubleshooting: SAM Module Water Ingress
A common failure mode in the Freightliner M2 106 and older Cascadia models is water intrusion into the Chassis SAM, leading to parasitic draws and erratic lighting behavior. If your wiring diagram trace leads to the SAM, follow this diagnostic workflow:
- Visual Inspection: Locate the Chassis SAM (typically mounted on the left-hand frame rail behind the battery box). Check the lower AMP/Tyco connectors for signs of green copper oxidation or white dielectric grease displacement.
- Parasitic Draw Test: Connect an inductive DC current clamp around the main battery negative cable. Shut down the truck, wait for the CAN bus to go to sleep (approx. 15 minutes), and verify the draw drops below 50mA. If it remains above 200mA, the SAM is likely internally shorted due to moisture.
- Pin Drag Test: Disconnect the SAM harnesses. Use a pin drag tool to check the female terminals. If the pins slide in and out without resistance, the terminal tension is lost, and the entire harness pigtail must be replaced—not just the module.
Frequently Asked Questions (FAQ)
Can I use a standard OBD2 scanner to read Freightliner chassis codes?
No. Standard OBD2 scanners only read EPA emissions data (J1939 PGN 65254). To read Freightliner-specific SAM, CPC4, and MSF body controller codes, you must use a heavy-duty diagnostic tool capable of reading proprietary multiplexed data, such as the Detroit Diagnostic Link (DDL) or a premium aftermarket tablet like the Nexiq USB-Link 3 paired with OEM software.
Why does my wiring diagram show a "Virtual Wire" or "Software Link"?
In modern Freightliner schematics, a "virtual wire" (often depicted as a dashed line or a shared node label) indicates that there is no physical copper wire connecting Component A to Component B. Instead, Component A sends a J1939 CAN message to the CPC4, and the CPC4 software logic commands Component B to activate. Troubleshooting these requires verifying network communication, not checking for continuity with a multimeter.
What is the correct torque spec for battery and ground lugs?
Loose ground connections cause 60% of all heavy-duty electrical gremlins. For 1/0 AWG battery cables on the starter and ground studs, the standard torque specification is 35-45 lb-ft. Always apply a thin layer of NO-OX-ID A-Special conductive grease to the mating surfaces before torquing to prevent galvanic corrosion between the copper lug and the steel chassis bracket.