
Understanding the Whirlpool Dryer Wiring Diagram and NEC Compliance
According to the National Fire Protection Association (NFPA), washers and dryers are responsible for thousands of residential structural fires annually. A significant percentage of these incidents stem from electrical failures, specifically improper wiring, undersized conductors, and degraded terminal connections. When installing, relocating, or servicing a Whirlpool electric dryer—such as the popular WED4815EW standard vented model or the WED85HEFC High-Efficiency unit—adhering strictly to the National Electrical Code (NEC) is not just a legal requirement; it is a critical life-safety measure.
This comprehensive guide breaks down the exact wiring diagram for Whirlpool dryers, focusing on 4-prong NEMA 14-30R configurations. We will explore terminal block anatomy, mandatory NEC code updates regarding grounding and neutral bonding, precise torque specifications, and advanced troubleshooting for voltage-related failure modes.
Critical NEC Code Requirements for Dryer Circuits
Before touching a single wire, you must understand the NEC articles that govern heavy appliance circuits. As of the 2023 and 2026 NEC adoptions, the following rules are strictly enforced for electric dryers:
- NEC Article 210.19 & 210.23 (Branch Circuits): Electric dryers require a dedicated 30-amp, 240-volt branch circuit. The branch-circuit rating must not be less than the minimum rating indicated on the appliance nameplate. For 95% of Whirlpool residential dryers, this dictates a 30-amp double-pole breaker.
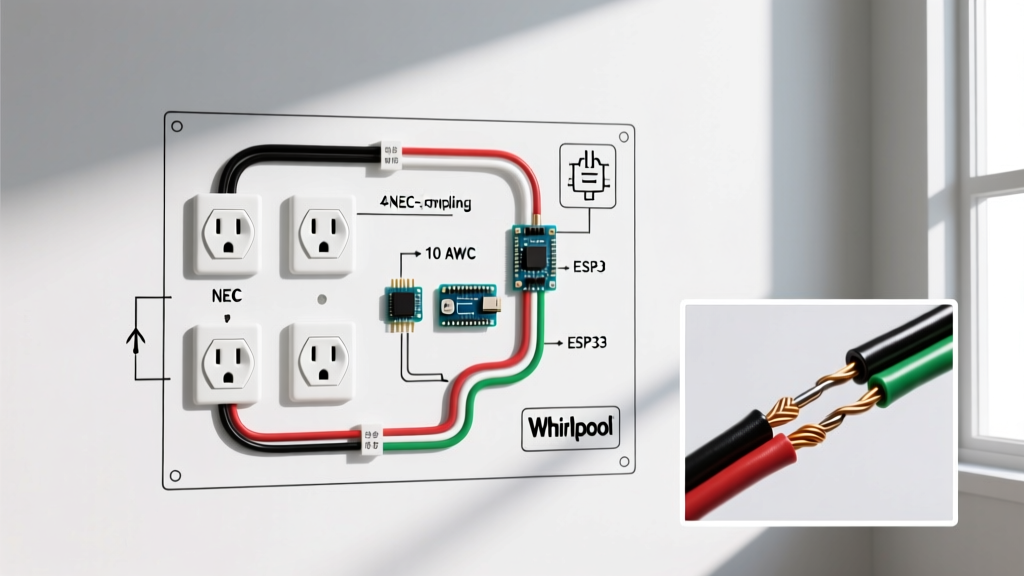
- NEC Article 250.142 (Grounding of Equipment): This is the most critical safety update for modern installations. The NEC strictly prohibits using the grounded (neutral) conductor to ground the appliance frame in new installations. This effectively outlaws the use of 3-prong cords and receptacles (NEMA 10-30R) in all new construction and major renovations. You must use a 4-prong cord (NEMA 14-30R) with a dedicated equipment grounding conductor.
- NEC Article 406.4 (Receptacles): Receptacles must be grounding-type. If you are replacing a dryer in an older home that still has a 3-prong receptacle, the safest and most code-compliant action is to upgrade the receptacle to a 4-prong NEMA 14-30R and run a new 10/3 cable with a ground from the panel.
Wire Gauge and Breaker Sizing Matrix
Selecting the correct cable is paramount. The Consumer Product Safety Commission (CPSC) frequently highlights overheated cables as a primary fire vector. Below is the standard matrix for Whirlpool dryer installations:
| Cable Type | Conductor Size (Copper) | Breaker Size | Receptacle | Best Use Case |
|---|---|---|---|---|
| 10/3 NM-B (Romex) | 10 AWG | 30A Double-Pole | NEMA 14-30R | Standard interior drywall runs (up to 100 ft) |
| 10/3 SER | 10 AWG | 30A Double-Pole | NEMA 14-30R | Exposed runs, masonry, or where physical protection is needed |
| 8/3 NM-B | 8 AWG | 30A or 40A | NEMA 14-30R | Long runs exceeding 100 ft to mitigate voltage drop |
Anatomy of the Whirlpool 4-Prong Terminal Block
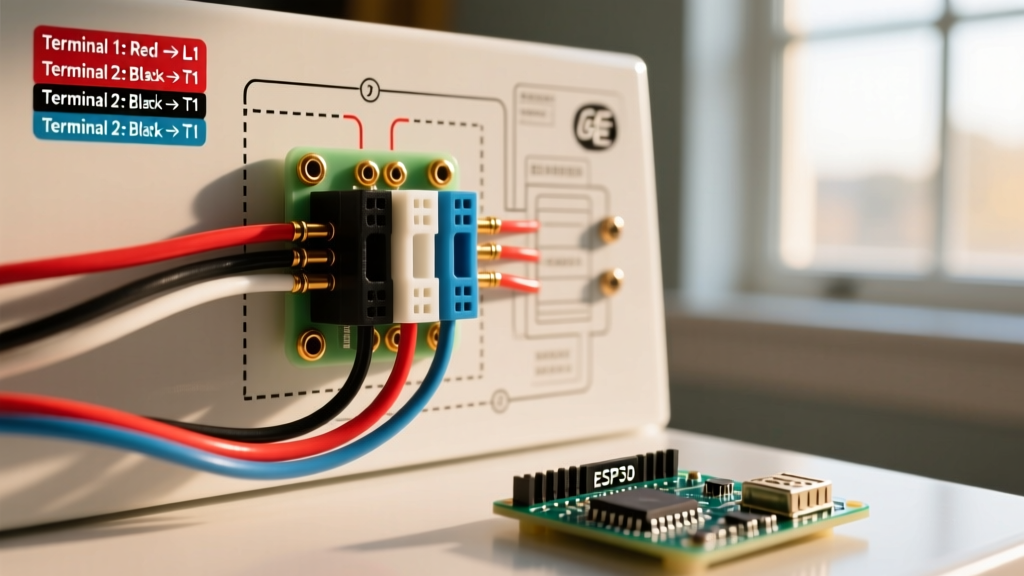
Whirlpool utilizes a standardized terminal block located at the rear of the dryer, accessible by removing a 1/4-inch hex screw cover plate. When wiring a 4-prong cord, you will interface with four distinct connection points:
- L1 (Left Outer Terminal): Connects to one of the 120V hot legs (typically the Black wire on the cord). Powers the 120V motor and control board circuits.
- Neutral (Center Silver Terminal): Connects to the White wire. This carries the unbalanced return current for the 120V components. It must be isolated from the chassis ground.
- L2 (Right Outer Terminal): Connects to the second 120V hot leg (typically the Red wire). Combined with L1, this provides the 240V required for the high-wattage heating element.
- Chassis Ground (Green Screw): Located on the dryer's metal back panel or frame, separate from the terminal block. Connects to the Green (or bare) wire. This provides a low-impedance path to trip the breaker in the event of a short circuit.
The 3-Prong to 4-Prong Transition: Eliminating the Bonding Strap
Critical Safety Warning: If you are converting an older Whirlpool dryer from a 3-prong cord to a 4-prong cord, you MUST remove or fold back the copper bonding strap (or jumper wire) that connects the center neutral terminal to the metal chassis. Failing to remove this strap with a 4-prong cord creates a parallel neutral path, violating NEC 250.142 and creating a severe shock hazard if the neutral wire ever disconnects.
In a 3-prong setup, the neutral and ground are bonded at the appliance because there is no dedicated ground wire. In a 4-prong setup, the ground is dedicated. Leaving the bonding strap in place during a 4-prong installation means normal neutral return current will flow through the dryer's metal chassis and the user's body if they touch it while grounded.
Step-by-Step 4-Prong Wiring Procedure
Follow these exact steps to ensure a safe, code-compliant installation for your Whirlpool dryer:
- Lockout/Tagout: Turn off the 30-amp double-pole breaker at the main service panel. Verify zero voltage using a non-contact voltage tester and a multimeter at the receptacle.
- Prepare the Cord: Strip the outer jacket of the 10 AWG 4-prong cord to expose the four inner wires. Strip exactly 5/8-inch of insulation from the tips of the Black, Red, and White wires.
- Install Strain Relief: Insert a UL-listed 3/4-inch or 1-inch strain relief connector (depending on your cord diameter) into the knockout hole below the terminal block. This is an NEC requirement to prevent the wires from being pulled out of the terminal block, which causes arcing.
- Connect Ground First: Attach the Green wire to the green grounding screw on the dryer chassis. Torque to 12-15 in-lbs.
- Connect Neutral: Attach the White wire to the center silver terminal on the block. Ensure the bonding strap is removed or securely tucked away.
- Connect Hot Legs: Attach the Black and Red wires to the outer brass terminals (L1 and L2). Polarity between L1 and L2 does not matter for the heating element, but secure connections are vital.
- Torque Verification: Use an inch-pound torque screwdriver to tighten the terminal block screws to exactly 14 in-lbs. Under-torquing leads to high-resistance connections and melting; over-torquing can strip the brass threads.
Advanced Troubleshooting and Failure Modes
Even with a correct wiring diagram, edge cases and environmental factors can cause failures. Here is how to diagnose them:
- Dryer Tumbles but No Heat: This indicates a loss of one 120V leg. The motor runs on 120V (L1 to Neutral), but the heating element requires 240V (L1 to L2). Check the double-pole breaker to ensure both poles are fully engaged, and verify 240V across the outer terminal block screws.
- F4E3 or F4E1 Error Codes: Whirlpool dryers monitor exhaust thermistor temperatures. If the wire run from the panel to the dryer exceeds 100 feet using 10 AWG wire, voltage drop will cause the heating element to underperform. The control board will detect the slow temperature rise and throw an exhaust/heat fault. Solution: Upgrade the circuit to 8 AWG copper wire to compensate for the voltage drop over long distances.
- Melted Terminal Block: If the plastic housing around the terminal block is brown or melted, this is a classic sign of I²R (current squared times resistance) heating. This happens when terminal screws are not torqued to the 14 in-lbs specification, creating micro-arcing and extreme localized heat. Replace the entire terminal block assembly (Part #W10423681 or similar) and cut back any oxidized wire.
- Chassis Shock Hazard: If you feel a tingle when touching the dryer while standing on a damp floor, immediately shut off power. This means the equipment grounding conductor is broken, or the neutral bonding strap was accidentally left in place on a 4-prong cord.
Frequently Asked Questions (FAQ)
Can I use aluminum wire for a Whirlpool dryer circuit?
Yes, but you must adjust the wire gauge. Aluminum has higher resistance than copper. For a 30-amp circuit, you must use 8 AWG aluminum wire (such as 8-3 AL NM-B). Furthermore, ensure the breaker and receptacle terminals are rated for aluminum (marked AL/CU) and apply an antioxidant compound like Noalox to prevent galvanic corrosion at the connection points.
Do I need a GFCI or AFCI breaker for the dryer?
Under current NEC guidelines, standard 30-amp, 240-volt receptacles dedicated to electric dryers do not require GFCI or AFCI protection unless the receptacle is located in an area that specifically mandates it (such as an unfinished basement or garage, depending on local amendments). Always consult your local Authority Having Jurisdiction (AHJ), as local codes can supersede the base NEC.
Where can I find the exact wiring schematic for my specific Whirlpool model?
Whirlpool includes a miniature wiring diagram and tech sheet folded inside the console or taped to the back of the front panel of every dryer. For deeper diagnostics, refer to the NEMA wiring device standards to ensure your receptacle matches the physical dimensions and electrical ratings of the NEMA 14-30 plug.