
Understanding Kitchen Appliance Circuit Requirements
Wiring a kitchen garbage disposal requires more than just connecting a few wires; it demands strict adherence to modern electrical codes and an understanding of motor inrush currents. When reviewing a standard wiring diagram for garbage disposal switch setups, the most critical factor is the circuit size. While older homes often feature 15-amp circuits, modern 2026 kitchen standards and high-torque models like the InSinkErator Evolution Excel (1.0 HP) perform best on a dedicated 20-amp circuit.
According to the National Fire Protection Association (NFPA) and recent NEC adoptions, kitchen small-appliance circuits must be 20-amp. If your disposal shares a circuit with a dishwasher, you must use a Multi-Wire Branch Circuit (MWBC) or a dedicated 12/3 NM-B cable to prevent overloading the neutral wire.
Safety Callout: Always verify power is off at the main breaker panel using a non-contact voltage tester (like the Klein Tools NCVT-2) before opening any junction box or receptacle. Motor loads can arc dangerously if disconnected under load.
Configuration 1: Standard Wall Toggle Switch (Split Receptacle)
The most common and cost-effective method for controlling a disposal is a standard single-pole wall switch feeding a split-tab duplex receptacle under the sink. This allows the top outlet to be switched (for the disposal) while the bottom outlet remains constantly hot (for the dishwasher).
The Split-Tab Wiring Sequence
To achieve this, you will run a 12/3 NM-B cable (Black, Red, White, Bare Ground) from a double-pole 20A breaker to the under-sink receptacle, and a separate 12/2 NM-B cable from the receptacle to the wall switch.
- Prepare the Receptacle: Use needle-nose pliers to snap off the brass (hot) connecting tab on the side of the 20A duplex receptacle (e.g., Leviton 5262-R). Do not break the silver (neutral) tab.
- Wire the Switch Loop: Connect the black wire from the 12/2 switch cable to the black (always hot) wire of the 12/3 feed using a WAGO 221 lever nut. This provides constant power to the switch.
- Connect the Switched Hot: Connect the white wire of the 12/2 switch cable to the black screw (hot terminal) on the receptacle. Pro Tip: Wrap black electrical tape around both ends of this white wire to re-identify it as a switched hot conductor, per NEC 200.7(C)(2).
- Connect the Dishwasher Hot: Connect the red wire from the 12/3 feed to the brass screw on the receptacle. This provides constant power to the bottom outlet.
- Neutral and Ground: Pigtail all white neutral wires to the silver screw, and all bare copper grounds to the green ground screw and the metal junction box.
Configuration 2: Pneumatic Air Switch Wiring Diagram
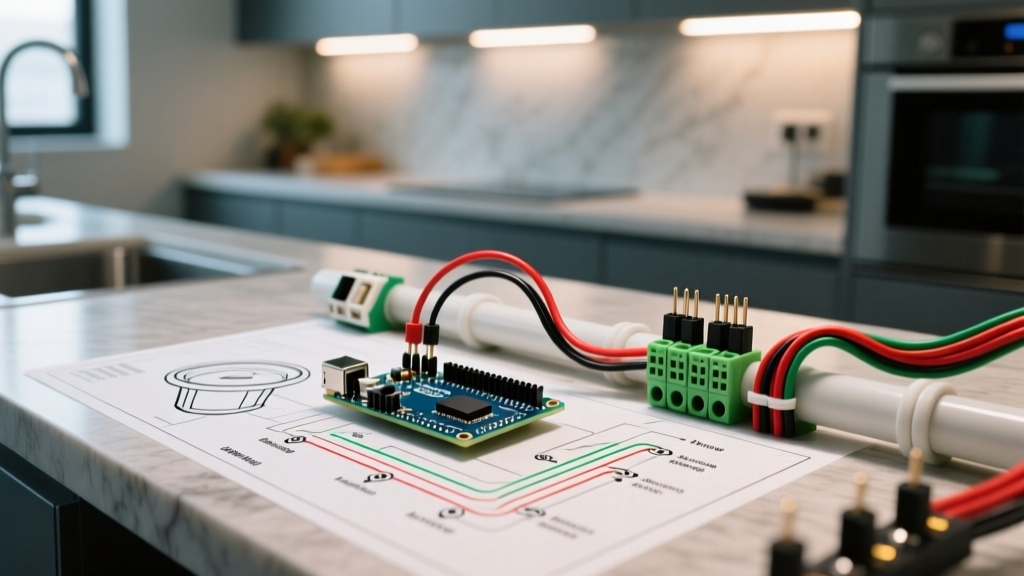
For island countertops or homeowners who want to avoid drilling holes in visible backsplashes, a pneumatic air switch is the premium choice. Models like the InSinkErator STS-00 use a plastic button on the counter that sends a pulse of air through a vinyl tube to a relay box mounted under the sink.
Wiring the Air Switch Relay Box
The air switch relay acts as an automated single-pole switch. It requires a constant 120V power input and provides a switched 120V output to the disposal.
- Power Input: Wire the black and white pigtail from the relay box directly to the constant hot and neutral of your under-sink circuit. Ground the green wire to the junction box.
- Load Output: Wire the black output wire from the relay to the black (hot) wire of the disposal's power cord. Connect the white output wire to the disposal's white neutral wire.
- Pneumatic Connection: Attach the 1/4-inch vinyl tubing from the countertop button to the nipple on the relay box. Secure it with the provided spring clamp.
Because the relay box handles the high inrush current of the disposal motor, ensure you are using a heavy-duty relay rated for at least 15A inductive loads. Cheap, unbranded relays found online often fail within 12 months due to pitted internal contacts.
Component Selection & Cost Matrix (2026 Pricing)
Selecting the right components prevents premature failure. Motor loads generate significant heat at the termination points. Below is a comparison of recommended components for a professional-grade installation.
| Component Type | Recommended Model | Approx. Cost | Key Specification |
|---|---|---|---|
| Wall Switch (20A) | Leviton 1653-2W | $6.50 | 20-Amp, Side-Wired (No backstabs) |
| Receptacle (20A) | Leviton 5262-R | $4.25 | Duplex, Break-off brass tab |
| Air Switch Relay | InSinkErator STS-00 | $58.00 | Dual outlet, 15A inductive rating |
| Wire Connectors | WAGO 221 Lever Nuts | $0.40/ea | 32A rating, transparent housing |
| NM-B Cable (Feed) | Southwire 12/3 | $1.10/ft | 20A capacity, includes red/black hots |
The Under-Sink GFCI Dilemma: Code vs. Reality
One of the most debated topics in modern electrical forums is whether the under-sink disposal receptacle requires Ground Fault Circuit Interrupter (GFCI) protection. The Consumer Product Safety Commission (CPSC) heavily advocates for GFCI protection in all damp locations to prevent fatal shocks.
However, from a practical and code-interpretation standpoint, placing a garbage disposal on a GFCI circuit often leads to nuisance tripping. Disposals vibrate heavily and can develop minor, harmless ground leakage currents over time. If the GFCI trips while you are away, food waste left in the disposal will rot and cause severe odors.
How to Navigate the Code
Under the NEC 2023 and subsequent 2026 local adoptions, GFCI protection is strictly required for receptacles serving kitchen countertops (within 6 feet of the sink edge). A dedicated receptacle mounted inside the cabinet, specifically for the disposal, is generally not considered a 'countertop receptacle' by most Authority Having Jurisdiction (AHJ) inspectors. Always consult your local inspector, but the industry best practice is to keep the dedicated disposal circuit on a standard breaker, while ensuring the dishwasher and countertop circuits are properly GFCI protected.
Common Failure Modes & Troubleshooting
Even with a perfect wiring diagram for garbage disposal switch layouts, installations can fail if poor techniques are used. Here are the top three edge cases we see in the field:
1. Backstabbed Switch Connections Melting
Never use the push-in 'backstab' holes on the back of a wall switch for a motor load. When a 1/2 HP disposal starts, it draws a Locked Rotor Amp (LRA) spike that can exceed 15 amps for a fraction of a second. Backstab connections rely on a tiny internal spring clip that will eventually loosen under this thermal cycling, leading to arcing and melted plastic. Always use the side terminal screws and loop the wire clockwise around the screw.
2. Shared Neutral Overload (No Handle Tie)
If you use a 12/3 cable to feed both the disposal and dishwasher, you are sharing the white neutral wire. If both appliances run simultaneously, the currents on the black and red wires could theoretically be on the same phase if wired incorrectly, doubling the current on the neutral wire and causing a fire. You must use a double-pole 20A breaker with an approved handle tie (e.g., Eaton HT) to ensure the hot wires are on opposite phases (240V between them) and that both circuits disconnect simultaneously.
3. Air Switch Tubing Kinks
If your air switch button feels 'mushy' and fails to click the relay, check the 1/4-inch vinyl tubing. If it is bent at a sharp 90-degree angle under the sink, the air pulse cannot reach the diaphragm. Use sweeping bends or secure the tubing to the cabinet wall with adhesive clips to maintain a clear pneumatic path.
Final Inspection Checklist
Before restoring power and running water, verify the following:
- All ground wires are securely terminated to the metal boxes and device green screws.
- The brass tab on the split receptacle is completely removed, while the silver tab remains intact.
- The white wire in the switch loop is marked with black tape at both ends.
- The disposal power cord strain relief is tightly secured in the disposal's junction box to prevent vibrations from pulling the wire nuts loose.
For further technical specifications and warranty requirements regarding specific disposal models, always refer to the official InSinkErator support documentation or the manufacturer of your specific appliance. Proper execution of these wiring diagrams ensures a safe, code-compliant, and long-lasting kitchen appliance installation.