
Decoding the Standard 240V Line-Voltage Schematic
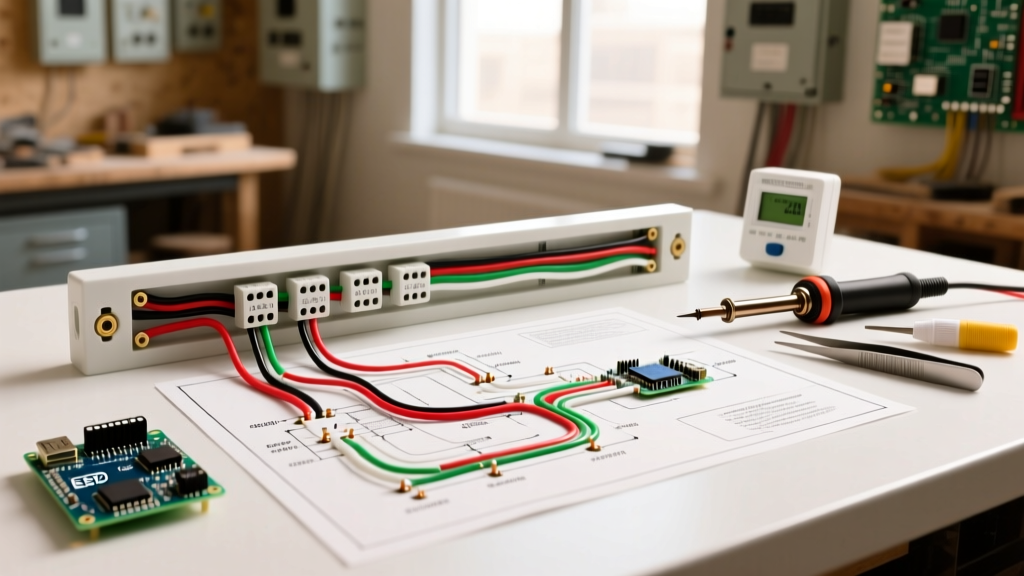
When you pull up a standard wiring diagram for baseboard heater with thermostat configurations, you are almost always looking at a 240-volt, double-pole line-voltage circuit. Unlike low-voltage central HVAC systems that rely on a 24V control board and relays, line-voltage baseboard heaters route the full mains current directly through the thermostat switch. This means the thermostat must be rated to handle the full amperage of the heating element, typically between 10A and 20A.
The standard schematic features four primary terminals on a double-pole line-voltage thermostat (such as the widely used Honeywell TL7235A1003 or Cadet BTF2W):
- L1 & L2 (Line): These connect to the incoming 240V power from the double-pole circuit breaker.
- T1 & T2 (Load): These connect to the two hot leads of the baseboard heating element.
- Ground (Bare/Green): The equipment grounding conductor bypasses the thermostat entirely, connecting directly from the panel's ground bar to the heater's metal chassis.
CRITICAL SAFETY WARNING: Always verify the absence of voltage using a Category III (CAT III) or Category IV (CAT IV) rated non-contact voltage tester and a digital multimeter before touching any terminals. A 240V shock can cause severe injury or be lethal. Never assume a circuit is dead just because the thermostat is in the 'Off' position; mechanical contacts can weld shut.
Wire Sizing and NEC Code Compliance
Before troubleshooting, you must verify that the existing wiring matches the electrical load. According to NFPA 70 (National Electrical Code) Article 424.3(B), branch circuits supplying electric space-heating equipment must be rated at 125% of the continuous load.
Let us calculate the requirements for a standard Cadet F2504W baseboard heater, which outputs 2500W at 240V:
- Calculate Amperage: 2500W ÷ 240V = 10.41 Amps.
- Apply 125% Continuous Load Rule: 10.41A × 1.25 = 13.01 Amps.
- Breaker Sizing: A 15A double-pole breaker is technically code-compliant, but industry best practice in 2026 dictates using a 20A double-pole breaker to prevent nuisance tripping during voltage sags and to allow for future upgrades.
- Wire Gauge: 12 AWG copper wire (rated for 20A) is required. Do not use 14 AWG wire on a 20A breaker, as this is a severe fire hazard and an immediate NEC violation.
The Multimeter Troubleshooting Protocol
If your baseboard heater is failing to produce heat, short-cycling, or tripping the breaker, use your wiring diagram as a roadmap to isolate the fault. You will need a digital multimeter capable of measuring AC voltage and resistance (Ohms).
Step 1: Verify Incoming Line Voltage
Set your multimeter to AC Voltage (V~). With the thermostat calling for heat (turned up past the current room temperature), probe the L1 and L2 terminals. You should read between 230V and 245V. If you read 0V, the issue is upstream: check the double-pole breaker in the main panel. If you read 120V, one leg of the double-pole breaker has failed or a hot wire is severed in the wall.
Step 2: Test Thermostat Continuity
Keep the probes on the T1 and T2 terminals. If the thermostat is calling for heat and the internal relay or bimetallic strip is closed, you should read the same 240V present on L1/L2. If L1/L2 shows 240V but T1/T2 shows 0V, the thermostat has failed internally. For digital models like the Honeywell TL7235A, a blank screen or an 'E1' error code usually indicates a failed internal triac or temperature sensor, requiring full unit replacement.
Step 3: Isolate and Test the Heating Element
If the thermostat is passing 240V to the heater but no heat is generated, the heating element is likely burned out (open circuit) or the manual-reset thermal limit switch has tripped. Turn off the breaker, disconnect the heater wires, and set your multimeter to Ohms (Ω).
According to Fluke's guide on testing heating elements, you must calculate the expected resistance using the formula R = V² / P. For our 2500W Cadet heater: 240² ÷ 2500 = 23.04 Ω. If your multimeter reads 'OL' (Open Loop) or infinite resistance, the element is broken and the entire heater assembly must be replaced. If it reads near 23 Ω, the element is intact, and the fault lies with a tripped thermal limit switch.
Diagnostic Failure Matrix
Use this matrix to quickly cross-reference your symptoms with the corresponding nodes on your wiring diagram.
| Symptom | Diagram Node to Probe | Expected Multimeter Reading | Actual Reading & Diagnosis |
|---|---|---|---|
| Heater completely dead | L1 to L2 (Line Input) | 240V AC | 0V: Tripped breaker or broken feed wire. |
| Heater completely dead | T1 to T2 (Load Output) | 240V AC (when calling for heat) | 0V: Failed thermostat contacts or fried triac. |
| Heater clicks but no heat | Heater Element Terminals | ~23.0 Ω (for 2500W unit) | OL (Infinite): Burned-out element or tripped limit. |
| Breaker trips immediately | L1/L2 to Ground | OL (Infinite) | Low Resistance (<5Ω): Dead short in wiring or element. |
| Heater short-cycles rapidly | Thermostat Sensor Area | N/A (Thermal observation) | Thermostat placed directly above heater or in a draft. |
Advanced Edge Cases and Smart Thermostat Upgrades
In 2026, many homeowners are replacing mechanical bimetallic thermostats with smart line-voltage models like the Sinopé TH1124ZB (Zigbee) or the Mysa V2.0 to integrate with home automation ecosystems. When consulting the wiring diagram for these smart upgrades, you will encounter a critical divergence from traditional schematics: the neutral wire requirement.
Standard mechanical thermostats only require the two hot legs (Line and Load). However, smart thermostats contain Wi-Fi/Zigbee radios and digital displays that require a continuous 120V power supply to operate the logic board, even when the heating element is turned off.
- 4-Wire Smart Setup: If your wall box contains a neutral wire (usually white, but must be re-identified with black tape if used as a hot, or left white if used as a true neutral depending on the specific smart thermostat's manual), you will connect the smart thermostat's neutral terminal to the panel's neutral bar.
- 2-Wire Bypass Setup: If you only have two wires in the wall (Line and Load) and no neutral, some smart thermostats require the installation of a capacitor bypass module directly at the baseboard heater. This module allows a trickle of current to pass through the high-resistance heating element to power the smart thermostat's radio without generating enough heat to warm the room. Always refer to the manufacturer's specific 2-wire wiring diagram before attempting this, as installing a bypass on a low-wattage heater can cause the element to glow faintly.
For comprehensive installation schematics and clearance requirements (such as maintaining a 3/4-inch gap from combustible flooring), always consult the Cadet Heat Installation Guides or the specific manufacturer's documentation. Properly interpreting your wiring diagram for baseboard heater with thermostat setups is the difference between a safe, efficient heating system and a severe electrical fire hazard.