
Decoding the Wiring Diagram for Rheem Heat Pump Systems
Integrating a modern HVAC system into your home's electrical panel requires more than just matching wire colors. When dealing with advanced inverter-driven systems like the Rheem Prestige RP17 or the Classic Plus RP14 series, interpreting the wiring diagram for Rheem heat pump units is critical for both safety and optimal performance. Unlike older single-stage units, modern heat pumps utilize variable-speed compressors and sophisticated defrost boards that demand precise voltage stability and correct overcurrent protection.
From a panel and breaker perspective, the electrical feed is the lifeblood of the system. A poorly sized breaker or undersized wire whip can lead to voltage drop, nuisance tripping, and even catastrophic failure of the unit's internal rectifier boards. In this comprehensive guide, we break down the electrical requirements, NEC compliance standards for 2026, and the step-by-step routing from your main service panel to the outdoor disconnect.
The Data Plate: MCA vs. MOCP Explained
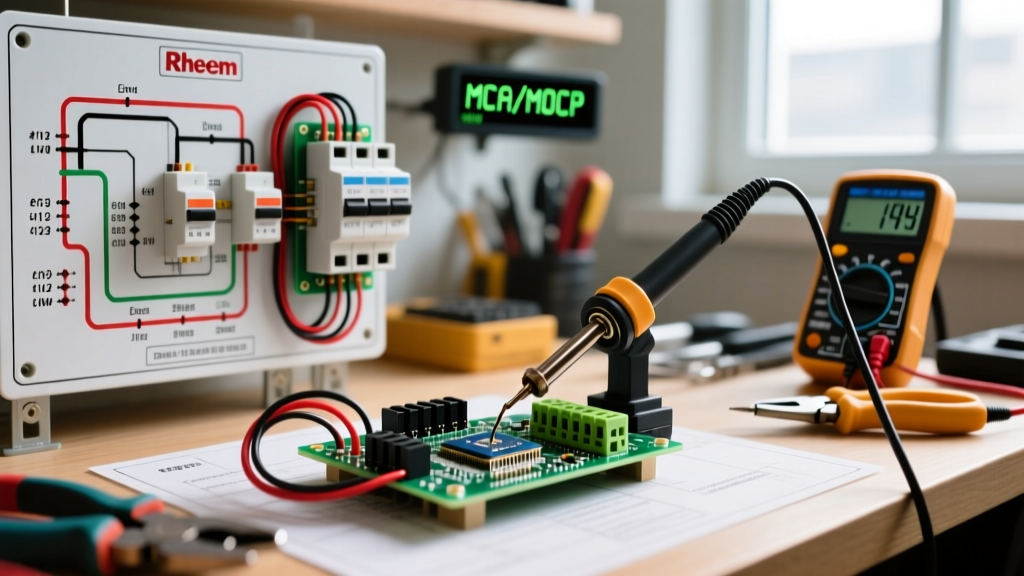
Before pulling any wire or snapping a breaker into your panel, you must locate the manufacturer's data plate on the side of the Rheem condenser unit. The wiring diagram for Rheem heat pump installations always references two critical acronyms dictated by NFPA 70 (National Electrical Code) Article 440:
- MCA (Minimum Circuit Ampacity): This dictates the minimum wire size you must use. It is calculated at 125% of the largest motor load plus the sum of all other electrical loads (fans, crankcase heaters, control boards).
- MOCP (Maximum Overcurrent Protection): This dictates the absolute maximum breaker size allowed to protect the unit's internal wiring and components. You can use a smaller breaker, but never a larger one.
Rheem Heat Pump Sizing Matrix (Prestige & Classic Series)
| Rheem Model Series | Tonnage | MCA (Amps) | MOCP (Amps) | Min. Copper Wire Gauge | Recommended Breaker Type |
|---|---|---|---|---|---|
| RP17 (Prestige Inverter) | 2 Ton | 15.2 A | 20 A | 14 AWG (12 AWG rec.) | 2-Pole 20A HACR |
| RP17 (Prestige Inverter) | 3 Ton | 21.5 A | 30 A | 10 AWG | 2-Pole 30A HACR |
| RP17 (Prestige Inverter) | 4 Ton | 28.4 A | 40 A | 8 AWG | 2-Pole 40A HACR |
| RP14 (Classic Plus) | 3 Ton | 24.0 A | 35 A | 10 AWG | 2-Pole 35A HACR |
| RP14 (Classic Plus) | 5 Ton | 38.5 A | 50 A | 6 AWG | 2-Pole 50A HACR |
Note: Always use THHN/THWN-2 copper conductors. Aluminum wire is strongly discouraged for HVAC whips due to thermal expansion and termination corrosion risks.
Main Panel to Outdoor Disconnect: Step-by-Step Routing
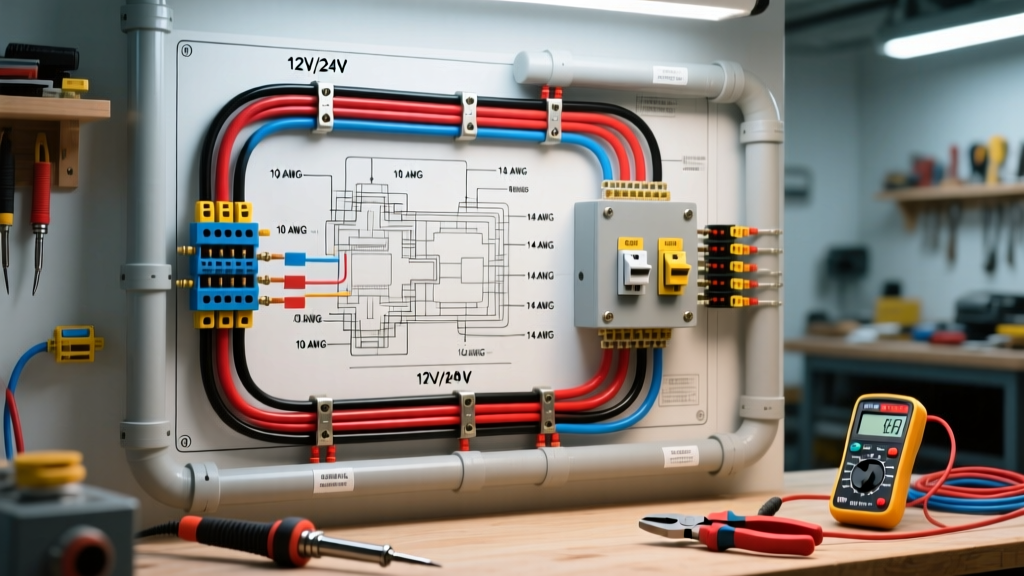
When executing the high-voltage portion of the wiring diagram for Rheem heat pump setups, the physical installation must meet rigorous 2026 NEC inspection standards. Follow this sequence for a code-compliant feed:
- Panel Preparation & Breaker Selection: Install a 2-pole HACR (Heating, Air Conditioning, and Refrigeration) rated breaker. Standard thermal-magnetic breakers are designed to handle the high inrush currents of compressor startup without nuisance tripping. If your local jurisdiction mandates GFCI protection for outdoor HVAC equipment (a growing trend under recent NEC updates), ensure you purchase an HVAC-specific GFCI breaker with high harmonic tolerance to prevent nuisance tripping from the RP17's inverter frequencies.
- Conduit & Whip Assembly: Use 3/4-inch Liquidtight Flexible Metal Conduit (LFMC) for the final outdoor whip. Keep the flexible whip length under 6 feet as per NEC 350.12 to maintain proper grounding impedance. Strip the THHN wires exactly 5/8-inch for the breaker lugs.
- Torque Terminations: NEC 110.14(D) strictly requires the use of a calibrated digital torque screwdriver. For a standard Eaton BR or Siemens QP 30A breaker, torque the lug screws to 20-25 in-lbs. Under-torquing causes arcing; over-torquing strips the aluminum bus bar threads.
- Disconnect Box Installation: Mount a 60-Amp, 240V pull-out disconnect box within sight of the Rheem unit. Feed the 240V lines (L1 and L2) into the top lugs. Do not switch the neutral—heat pumps do not require a neutral for the 240V compressor circuit, only a dedicated equipment grounding conductor (EGC).
- Grounding & Bonding: Terminate the bare copper or green-insulated 10 AWG (or 8 AWG for 50A circuits) grounding wire to the grounding bus bar in the main panel, the grounding lug in the disconnect box, and the external grounding lug on the Rheem condenser cabinet. Ensure the disconnect box is bonded to its grounding bus.
Low Voltage Control Wiring & EcoNet Communication
The high-voltage side is only half the battle. The control wiring dictates how the outdoor unit communicates with the indoor air handler and thermostat. Rheem offers two distinct wiring paradigms depending on your setup:
Standard 24V Thermostat Wiring
For conventional setups, you will use 18/5 or 18/8 stranded copper thermostat wire. The wiring diagram for Rheem heat pump systems utilizing standard controls will highlight the following terminals on the outdoor contactor/defrost board:
- Y (Yellow): Compressor contactor coil (24V).
- C (Blue/Brown): 24V Common from the air handler transformer.
- W (White): Auxiliary heat signal (if applicable to outdoor control).
- O/B (Orange): Reversing valve solenoid. Rheem typically defaults to the O terminal (energized in cooling), but always verify against the specific air handler's schematic.
Rheem EcoNet Communicating System
If you are installing a full EcoNet communicating system, do not use standard 24V wiring protocols. The EcoNet bus utilizes a proprietary digital communication protocol over a 3-wire or 4-wire shielded cable (typically 18 AWG shielded twisted pair). Connecting standard 24V thermostat wires to the EcoNet A, B, C, or D terminals will instantly fry the main control board, resulting in a $600+ replacement cost. The EcoNet bus provides both power and data; ensure the shield drain wire is grounded at one end only to prevent ground loops.
⚠️ CRITICAL WARNING: Transformer Backfeeding
Never connect the 24V 'C' (Common) wire from the outdoor unit to a separate outdoor transformer if the indoor air handler is already providing 24V power. Backfeeding two 24V transformers out of phase will cause an immediate dead short, blowing the 3A or 5A automotive-style fuse on the indoor control board or destroying the transformer windings.
Common Rheem Heat Pump Wiring Faults & Troubleshooting
Even experienced electricians can misinterpret specific nuances in HVAC schematics. According to the U.S. Department of Energy, improper electrical installation accounts for a significant percentage of premature heat pump failures. Watch out for these edge cases:
- Inverter Board Voltage Drop: The RP17 inverter board requires strict voltage tolerances. If your wire run from the main panel exceeds 100 feet, you must calculate voltage drop and upsize the wire (e.g., moving from 10 AWG to 8 AWG on a 30A circuit) to ensure the inverter receives a minimum of 208V under peak load.
- Reversing Valve Miswire (O vs. B): If the heat pump blows cold air in heating mode and hot air in cooling mode, the reversing valve is energized backward. Rheem units generally use the 'O' terminal (energized for cooling), whereas some competing brands use 'B'. Check the defrost board jumper settings.
- Defrost Sensor Placement: The wiring diagram will show a 2-wire defrost thermostat clipped onto the copper suction line. If this wire is pinched against the sharp metal cabinet during panel closure, it will short out, causing the unit to either never defrost (icing up the coil) or defrost every 30 minutes, destroying your energy efficiency.
- Crankcase Heater Circuit: Many Rheem models include a PTC crankcase heater wired directly across L1 and L2 ahead of the main contactor. This means the heater is live whenever the disconnect is on, even if the thermostat is off. Ensure your disconnect is properly locked out during servicing to avoid severe shock hazards.
Final Inspection & Commissioning
Once the wiring diagram for Rheem heat pump connections has been fully executed, perform a pre-flight check before energizing the panel. Verify that all wire strands are fully seated under the lugs with no copper exposed outside the termination point. Check that the equipment grounding conductor is continuous and unbroken. For a deeper dive into the latest Rheem heat pump specifications and installation manuals, always consult the specific wiring schematic packet taped inside the unit's access panel, as minor board revisions occur annually. Proper electrical integration ensures your system operates safely, efficiently, and within warranty for years to come.