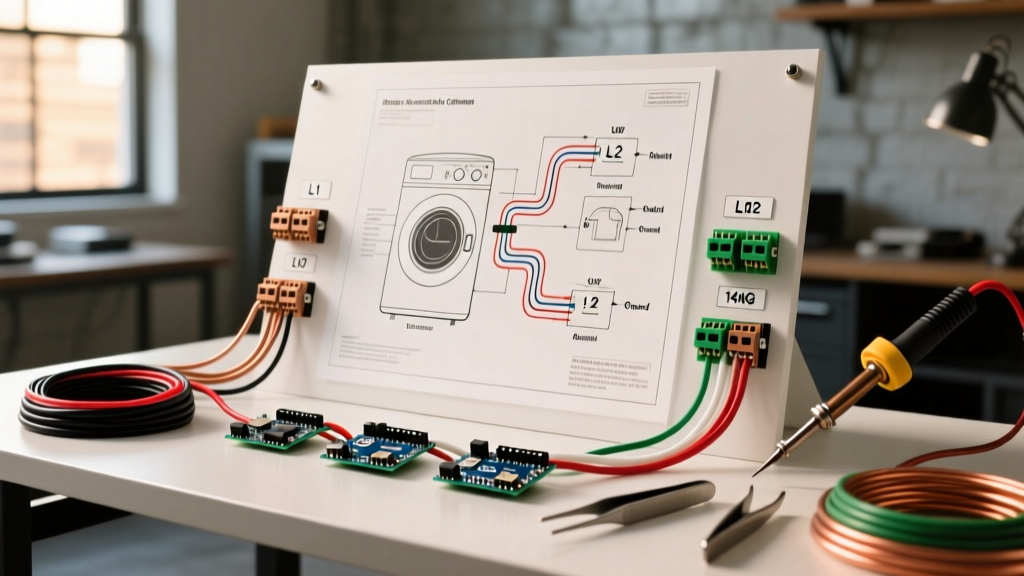

The Challenge of Running an Electric Dryer in an RV
Integrating a high-draw appliance into a recreational vehicle requires a precise electric clothes dryer wiring diagram tailored to mobile environments. Unlike residential homes where voltage drop and vibration are minimal concerns, RVs and motorhomes demand strict adherence to NFPA 1192 (Standard on Recreational Vehicles) and specialized wire types. Whether you are retrofitting a 120V compact ventless combo unit into a travel trailer or wiring a full 240V residential dryer into a 50-amp Class A motorhome, the electrical architecture must handle severe inrush currents and highway-induced mechanical stress.
In this vehicle-specific guide, we break down the exact wiring schematics, wire gauge requirements, and overcurrent protection strategies for both 120V and 240V RV dryer installations, ensuring your setup is safe, efficient, and compliant with the Recreational Vehicle Industry Association (RVIA) guidelines.
120V Compact RV Dryer Wiring Diagram (Splendide & LG Combos)
The vast majority of RVs utilize 120V compact washer/dryer combos, such as the Splendide WD2100XC (approx. $1,100) or the LG WM3998HBA. These units typically draw between 12A and 15A during the heating cycle. Because they operate on a standard 120V single-phase supply, they can be integrated into standard 30-amp or 50-amp RV distribution panels.
Component Breakdown & Wire Sizing
- Circuit Breaker: 20A Single-Pole (HACR rated). Do not use a 15A breaker, as the startup surge of the compressor and heating element can cause nuisance tripping.
- Wire Gauge: 12 AWG Stranded Copper (THWN/MTW). Never use solid THHN wire in an RV. Highway vibration causes solid copper to fatigue, work-harden, and eventually snap inside wire nuts or terminal blocks.
- Receptacle vs. Hardwired: While many compact units come with a NEMA 5-15P plug, RVIA standards heavily favor hardwiring high-draw appliances using a dedicated junction box with wire nuts and vibration-resistant star washers to eliminate plug-receptacle arcing.
Expert Insight: If your wire run from the main distribution panel to the dryer exceeds 25 feet, you must upsize to 10 AWG stranded wire. A 15A draw over 30 feet of 12 AWG wire will result in a voltage drop exceeding 3%, which can severely degrade the lifespan of the dryer's control board and heating relays.
240V Residential Dryer Wiring in a 50-Amp Motorhome
High-end Class A motorhomes and luxury fifth wheels equipped with 50-amp shore power (NEMA 14-50) have access to split-phase 240V. The 50-amp RV cord delivers two 120V legs (L1 and L2) that are 180 degrees out of phase, yielding 240V across them. This allows owners to install standard residential electric dryers like the Samsung DVE45T6000W (approx. $650), which dry loads in half the time of 120V ventless condensers.
Split-Phase 240V Sub-Panel Integration
Wiring a 240V dryer in an RV requires a dedicated 240V sub-panel or a specialized dual-pole slot in your main AC distribution center. According to NEC Article 551 (Recreational Vehicles), the neutral and ground must remain strictly isolated in any RV sub-panel.
- Main Disconnect: Power enters from the 50A shore cord through a 50A double-pole main breaker.
- Branch Circuit: Install a 30A Double-Pole breaker for the dryer circuit.
- Wiring: Run 10 AWG Stranded Copper (4-conductor: Black, Red, White, Green) to a NEMA 14-30R receptacle.
- Receptacle Grounding: Ensure the grounding lug is bonded directly to the RV's main chassis ground bus bar, not the neutral bus.
120V vs 240V RV Dryer Electrical Specs
| Specification | 120V Compact RV Combo | 240V Residential RV Dryer |
|---|---|---|
| Typical Models | Splendide WD2100XC, LG WM3998HBA | Samsung DVE45T6000W, GE GUD27ESSMWW |
| Max Amperage Draw | 12A - 15A | 22A - 30A |
| Breaker Size | 20A Single-Pole | 30A Double-Pole |
| Wire Gauge (Under 25ft) | 12 AWG Stranded | 10 AWG Stranded (4-wire) |
| Receptacle Type | NEMA 5-20R (or Hardwired) | NEMA 14-30R |
| Avg. Dry Time (Towels) | 90 - 120 Minutes | 40 - 55 Minutes |
Off-Grid Drying: Inverter & Lithium Battery Sizing
Boondockers attempting to run an electric clothes dryer off-grid face massive DC current demands. A 120V dryer pulling 1,500W requires a robust inverter setup. If you are using a 12V battery bank, a 1,500W load pulls roughly 135 Amps from the batteries, necessitating massive 1/0 AWG or 2/0 AWG welding cables to prevent melting and voltage sag.
The 48V Advantage: Modern luxury RVs are shifting to 48V DC architectures (using systems like the Victron MultiPlus-II 48/3000, priced around $1,500). At 48V, that same 1,500W load only pulls ~35 Amps, allowing for much safer, thinner 4 AWG DC wiring. To run a dryer off-grid, you need a minimum of 400Ah of Lithium Iron Phosphate (LiFePO4) battery capacity to sustain a 90-minute dry cycle without triggering the Battery Management System (BMS) low-voltage cutoff.
Step-by-Step Wiring & RVIA Compliance
When executing your electric clothes dryer wiring diagram, adherence to NFPA 1192 is non-negotiable for safety and insurance purposes.
- Step 1: Vibration-Proofing Terminals. Use crimped ring terminals with adhesive-lined heat shrink rather than push-on spade connectors. Secure all wires to the chassis or cabinetry using UV-resistant zip ties or metal P-clamps every 18 inches to prevent chafing against metal bulkheads.
- Step 2: Thermal Protection. Dryers generate immense ambient heat. Route all wiring at least 6 inches away from the dryer's exhaust venting (if applicable) and the rear heating element housing. If routing near heat sources is unavoidable, use fiberglass braided sleeving over the wire insulation.
- Step 3: GFCI vs. Standard Breakers. Do not install a GFCI breaker or receptacle for a dedicated dryer circuit in an RV. The high inrush current and minor capacitive leakage from the dryer's EMI filter will cause continuous nuisance tripping on GFCI devices. Standard thermal-magnetic breakers are required.
Common Failure Modes & Troubleshooting
Even with a perfect schematic, mobile environments introduce unique failure modes. Here is what to look for when your RV dryer fails to heat or trips the main pedestal breaker:
- Neutral-Ground Bond in Subpanels: If your RV has a separate sub-panel for the rear bath/laundry area, an accidental neutral-ground bond will cause current to flow on the chassis ground. This creates a shock hazard and can trip 50-amp GFCI main pedestal breakers at modern RV parks.
- Transfer Switch Degradation: High-draw appliances like dryers accelerate the wear on automatic transfer switches (ATS). If the dryer works on shore power but trips the generator breaker, inspect the ATS contacts for pitting and carbon buildup.
- Undersized Shore Cords: Using a 30-amp to 50-amp adapter dogbone to run a 240V dryer will instantly overload the 30A pedestal. A 240V dryer strictly requires a native 50-amp NEMA 14-50 pedestal connection.
Frequently Asked Questions
Can I wire a 240V residential dryer to a 30-amp RV service?
No. A standard 30-amp RV service (NEMA TT-30) provides only 120V single-phase power. You cannot safely or legally step this up to 240V for a residential dryer without a massive, highly inefficient, and expensive step-up transformer that exceeds the 3,600W total capacity of the 30-amp shore supply.
Do I need a dedicated vent for an RV electric dryer?
Most 120V RV dryers are ventless condenser or heat-pump units that drain moisture directly into the RV's gray water tank or a dedicated drain line. However, if you install a 240V residential dryer, you must cut a vent hole through the RV sidewall, using a specialized RV dryer vent cap with a gravity flap to prevent water ingress and exhaust fumes from entering the coach.
What is the best wire type for RV appliance wiring?
Always use stranded copper wire with THWN or MTW insulation. Stranded wire flexes with the movement of the vehicle, whereas solid wire will snap. Furthermore, THWN/MTW offers superior moisture and heat resistance compared to standard residential THHN, which is vital in the humid, high-temperature environment behind an RV laundry closet.