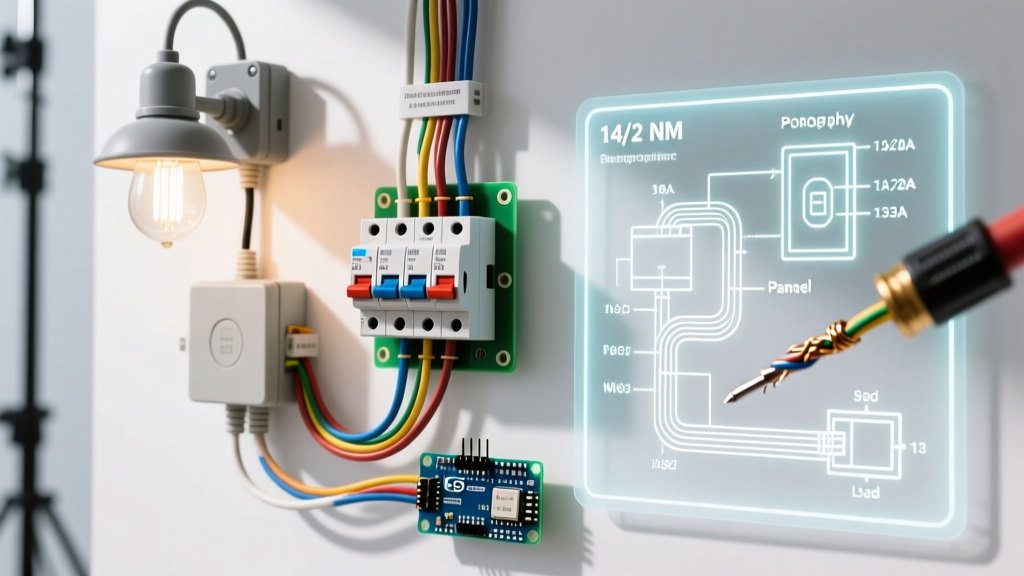

The Anatomy of an Exterior Lighting Circuit
When homeowners and DIYers search for a wiring diagram for porch light installations, they typically focus entirely on the wall switch and the ceiling fixture. However, from a professional Panel & Breaker Guide perspective, a reliable and code-compliant exterior lighting circuit actually begins at the main service panel. In 2026, with the widespread adoption of high-draw smart home hubs, LED canopy fixtures, and stringent National Electrical Code (NEC) updates, understanding the complete electrical path from the breaker terminal to the porch canopy is critical for both safety and long-term performance.
A standard porch light circuit is a 120-volt, single-phase branch circuit. It requires a dedicated hot conductor, a neutral return, and an equipment grounding conductor. While the fixture itself might only draw 15 watts, the circuit must be designed to handle inrush currents, potential future upgrades (like adding an exterior receptacle), and environmental stressors that can degrade connections over time.
Safety Warning: Working inside an electrical panel exposes you to lethal voltage. Even with the main breaker turned off, the utility lugs remain live. Always use a non-contact voltage tester and a multimeter rated for CAT III or CAT IV before touching any bus bars. If you are unsure, hire a licensed electrician.
Breaker Selection and Wire Gauge Matrix
Selecting the correct breaker and wire gauge is the foundation of your circuit. Modern NEC requirements heavily favor Arc Fault Circuit Interrupter (AFCI) and Ground Fault Circuit Interrupter (GFCI) protection for exterior circuits. Dual-function (DF) breakers are now the industry standard for these runs, combining both protections into a single space-saving module.
| Component | 15-Amp Standard Circuit | 20-Amp Heavy-Duty Circuit |
|---|---|---|
| Breaker Model | Square D HOM115DF (~$55) | Square D HOM120DF (~$58) |
| Wire Gauge | 14/2 NM-B (Southwire Romex) | 12/2 NM-B (Southwire Romex) |
| Max Continuous Load | 1,440 Watts (12A) | 1,920 Watts (16A) |
| Best Use Case | Standard LED porch lights & smart switches | Multi-fixture runs + exterior GFCI receptacles |
| Estimated Material Cost | $65 - $85 (excluding fixture) | $80 - $110 (excluding fixture) |
For a dedicated porch light that will not share a circuit with exterior outlets, a 15-Amp circuit using 14/2 NM-B cable is highly efficient and cost-effective. However, if your porch layout includes an outdoor receptacle for holiday lighting or power tools, you must upgrade to a 20-Amp circuit with 12/2 NM-B cable to meet NEC 210.11(C)(1) requirements for outdoor outlets.
Step-by-Step Panel and Breaker Installation
Proper termination at the panel prevents loose connections, which are the leading cause of electrical fires and nuisance AFCI tripping. Follow these precise steps when adding your new breaker:
- De-energize the Panel: Turn off the main service disconnect. Verify zero voltage on the branch circuit bus bars using a calibrated multimeter.
- Route the NM-B Cable: Feed the 14/2 or 12/2 cable through a knockout using a proper Romex connector (e.g., Halex 3/8-in. Non-Metallic). Leave at least 8 inches of cable inside the panel, and strip back 6 inches of the outer PVC jacket.
- Terminate the Ground: Attach the bare copper grounding wire to the equipment grounding bus bar. Torque the set screw to the manufacturer's specification (typically 12 in-lbs for 14-12 AWG wire).
- Terminate the Neutral: Connect the white neutral wire directly to the neutral pigtail on the Dual-Function (DF) breaker, not the panel's neutral bar. Modern AFCI/GFCI breakers require the neutral to pass through the breaker's internal sensing coil.
- Seat the Breaker: Hook the breaker onto the hot bus bar stab and press down firmly until it snaps into place. Connect the breaker's white pigtail to the panel's neutral bus bar.
- Connect the Hot: Insert the black hot wire into the breaker terminal. Torque to 35 in-lbs (verify with your specific breaker's data sheet) to ensure a gas-tight connection that won't loosen under thermal cycling.
Decoding the Wiring Diagram for Porch Light Switches
Once the panel is secured, the circuit runs to the interior wall switch before heading out to the porch fixture. When interpreting the standard wiring diagram for porch light switch loops, you will encounter two primary configurations in 2026: the traditional switch loop and the smart switch configuration.
Traditional Single-Pole Switch Loop
In a standard setup, the 14/2 power from the panel enters the switch box first. The black hot wire connects to the bottom brass terminal of the switch. A second 14/2 cable runs from the switch to the porch light. The white wire of this second cable is used as a 'switched hot' and must be re-identified with black electrical tape at both ends. It connects to the top brass terminal of the switch and the black wire of the fixture. The neutral wires from both cables are spliced together in the back of the box and do not connect to the traditional switch.
Smart Switch Configuration (e.g., Lutron Caseta PD-6WCL)
Smart switches require a constant 120V power source to operate their internal Wi-Fi or RF radios. Therefore, the neutral wire must be connected to the switch. If your existing switch box lacks a neutral wire (common in pre-1980s homes), you will need to pull a new 14/3 cable or use a specialized no-neutral smart switch, though the latter often causes LED flickering.
- Line (Hot): Connects to the panel feed black wire.
- Load: Connects to the black wire heading to the porch fixture.
- Neutral: Connects to the bundled white wires in the box.
- Ground: Connects to the bare copper bundle and the metal box (if applicable).
Fixture Termination and Weatherproofing
At the porch ceiling, the electrical box must be rated for damp or wet locations. According to the National Fire Protection Association (NFPA), fixtures installed in covered porches are considered 'damp locations,' while exposed fixtures are 'wet locations.' Always use a fixture with a UL or ETL listing appropriate for your specific overhang.
When making the final splice, use silicone-filled wire nuts (e.g., Ideal SureConnect) to prevent moisture ingress and corrosion. Connect black to black, white to white, and ground to the fixture's green grounding screw. Ensure the canopy gasket is fully seated against the ceiling surface to prevent water from wicking into the electrical box via capillary action.
Common Failure Modes and Troubleshooting
Even with a perfect wiring diagram for porch light execution, environmental factors can cause issues. Here is how to troubleshoot the most common edge cases:
1. Nuisance AFCI Tripping
If your Dual-Function breaker trips immediately upon turning on the porch light, you likely have a shared neutral. This happens when the neutral from the porch circuit accidentally touches the neutral of another circuit in the junction box. AFCI breakers monitor the exact current balance between hot and neutral; even a 5mA imbalance will trip the breaker. Isolate the neutrals and ensure each circuit has its own dedicated return path.
2. LED Ghosting or Flickering
If your LED porch light glows faintly when the switch is off, you are experiencing 'phantom voltage.' This is often caused by smart switches leaking a tiny amount of current through the LED driver, or by capacitive coupling in long parallel wire runs. Installing a Lutron LUT-MLC (Minimum Load Capacitor) across the fixture's hot and neutral wires at the canopy will absorb this leakage and eliminate the ghosting.
3. Voltage Drop on Long Runs
If the distance from your main panel to the porch exceeds 100 feet, you may experience voltage drop, resulting in dim lights or premature smart switch failure. For runs over 100 feet on a 15A circuit, upgrade to 12/2 NM-B cable to reduce resistance, even if the breaker is only 15 Amps.
NEC Compliance and Energy Efficiency
Adhering to the NEC is non-negotiable for exterior circuits. Beyond AFCI/GFCI protection, ensure your exterior boxes are equipped with weatherproof 'in-use' covers if they contain receptacles. For lighting specifically, the U.S. Department of Energy recommends utilizing integrated LED fixtures with built-in photocells or motion sensors to maximize energy efficiency and reduce light pollution.
By treating the porch light not just as a simple fixture, but as a complete branch circuit originating from a properly torqued, code-compliant breaker, you ensure a safe, maintenance-free installation that will withstand the elements for decades. Always verify your local municipal amendments to the NEC, as some jurisdictions require permits and inspections for any new circuit added to the main service panel.