
Why Pontoon Boats Require Specialized Motor Wiring
When marine electricians and DIY boaters search for a wiring diagram for pontoon boat configurations, they frequently encounter generic schematics designed for fiberglass V-hulls. Applying these standard diagrams to a pontoon is a critical error. Pontoons present highly specific electrical challenges: extensive wire runs (often 25 to 30 feet from a forward battery locker to the stern), aluminum rigging tubes that trap condensation, and the severe threat of galvanic and stray-current corrosion on the aluminum logs.
In 2026, the widespread adoption of high-draw marine lithium (LiFePO4) battery banks and 36V brushless trolling motors means your pontoon's electrical architecture must be engineered for minimal voltage drop and maximum isolation. This guide provides a comprehensive breakdown of outboard and trolling motor wiring specifically tailored to pontoon platforms, adhering strictly to modern ABYC (American Boat & Yacht Council) standards.
The Core Architecture: Dual-Purpose vs. Dedicated Banks
A proper pontoon wiring diagram separates the starting (cranking) circuit from the deep-cycle accessory and trolling circuits. Mixing these on a single bus leads to voltage sags that can reset your outboard's ECU or starve a 36V trolling motor during heavy weed-line pulls.
1. The Outboard Cranking Circuit
Modern 150HP–250HP outboards (like the Mercury Verado or Yamaha V MAX SHO) require a dedicated Group 31 starting battery. The wiring harness from the engine to the helm typically utilizes a 14-pin Deutsch or Cannon connector. Below is the standard pinout mapping for the ignition and control harness:
- Pin A (Red): Constant 12V+ (Memory for ECU, gauges)
- Pin B (Purple): Ignition 12V+ (Switched via helm key)
- Pin C (Yellow/Red): Start Solenoid Trigger
- Pin D (Black/Yellow): Ignition Ground / Kill Switch Circuit
- Pin E (Light Blue): Trim Up Signal
- Pin F (Green/White): Trim Down Signal
2. The Trolling Motor Circuit (24V / 36V)
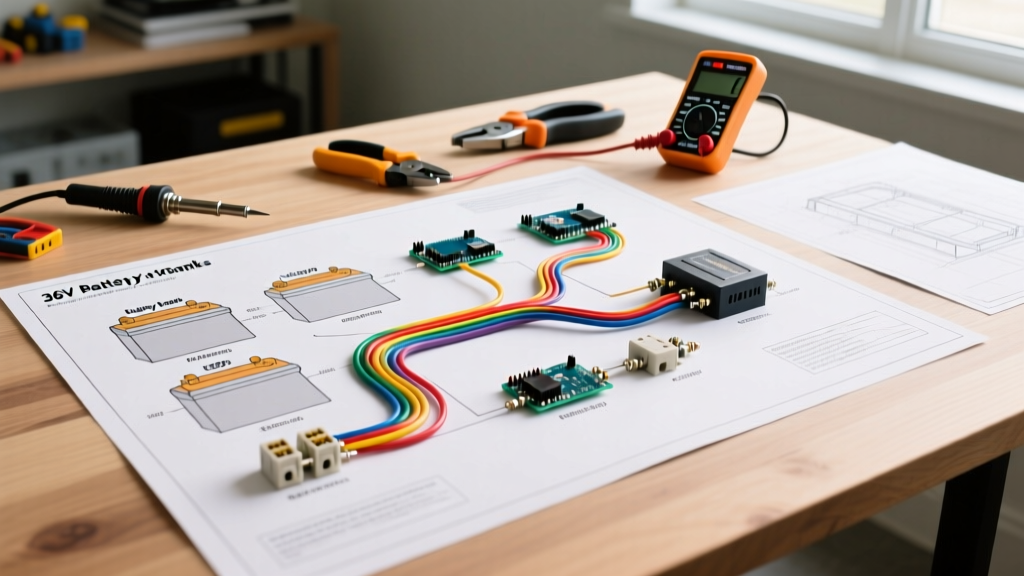
Most 22-to-25-foot pontoons utilize a 112lb-thrust trolling motor (e.g., the Minn Kota Terrova or Lowrance Ghost), which requires a 36V system. This necessitates three 12V batteries wired in series. According to Minn Kota's official wiring support documentation, the positive lead of Battery 1 connects to the trolling motor's positive input, while the negative of Battery 1 jumps to the positive of Battery 2, and so forth. The final negative from Battery 3 returns to the motor.
Wire Sizing for Long Pontoon Runs
The most common failure mode in pontoon boat wiring is excessive voltage drop. Because battery lockers are often built into the front lounge seating, the wire run to the stern-mounted trolling motor can easily exceed 25 feet (50 feet total round-trip). Standard automotive wire sizing charts will result in severe voltage drop, causing the trolling motor to overheat and underperform.
Below is the required wire gauge matrix based on a 3% maximum voltage drop for critical motor circuits, referencing standard copper resistivity at 77°F (25°C).
| Wire Gauge (AWG) | Max Amps (15ft Run) | Max Amps (25ft Pontoon Run) | Primary Pontoon Use Case |
|---|---|---|---|
| 6 AWG | 60A | 40A | 12V Trolling Motors, Windlasses |
| 4 AWG | 80A | 55A | 24V Trolling Motors, Inverter Banks |
| 2 AWG | 110A | 80A | 36V Trolling Motors (Up to 112lb thrust) |
| 1/0 AWG | 150A | 120A | Outboard Main Battery Cables, Lithium BMS Links |
Expert Insight: Never use standard automotive copper wire on a pontoon. The marine environment, combined with the vibration of the aluminum deck, will cause untinned copper to oxidize and turn black (copper oxide) within a single season. Always specify UL 1426 Marine-Grade Tinned Copper wire (such as Ancor Marine Grade) to prevent corrosion and ensure long-term conductivity.
Step-by-Step: Routing and Rigging the Harness
Executing the wiring diagram for your pontoon boat requires careful physical routing. Pontoons utilize a central aluminum rigging tube (or conduit) that runs beneath the deck from the helm/battery area to the engine splash well.
Step 1: Overcurrent Protection Placement
Per ABYC E-11 standards for DC electrical systems, overcurrent protection (fuses or circuit breakers) must be placed within 7 inches of the battery positive terminal. If this is physically impossible due to the battery box design, the absolute maximum distance is 72 inches, provided the wire is enclosed in a continuous protective sheath. For a 36V trolling motor drawing up to 50 amps continuously, install a 60-Amp marine-rated resettable circuit breaker directly on the positive terminal of the first battery in the series.
Step 2: Navigating the Aluminum Rigging Tube
Aluminum rigging tubes often have sharp, unfinished edges at the entry and exit points. Before pulling your 2 AWG or 1/0 AWG marine wire:
- Inspect the tube interior for existing snags or old zip-ties.
- Install heavy-duty rubber grommets at both ends of the tube.
- Wrap the entire wire loom in split-loom tubing or marine-grade braided sleeving.
- Use a nylon fish tape to pull the wires. Never use a metal fish tape inside an aluminum tube, as it can scratch the interior and compromise the tube's structural integrity or create burrs that will slice wire insulation later.
Step 3: Helm and Splash Well Connections
At the helm, terminate your accessory and ignition wires into a centralized, waterproof fuse block. The Blue Sea Systems ST Blade fuse blocks are the industry standard, featuring independent circuit protection and a waterproof cover that prevents corrosion from rain or washing. At the stern splash well, ensure all connections are made above the water line and sealed with marine-grade heat shrink (specifically, adhesive-lined dual-wall heat shrink) to block moisture ingress.
Failure Modes: Galvanic and Stray Current Corrosion
The most catastrophic edge case in pontoon wiring is stray DC current leaking into the aluminum hull. Unlike fiberglass boats, where a bad ground simply causes a component to fail, a bad ground on a pontoon can cause the aluminum logs to act as an anode, rapidly dissolving the metal and causing catastrophic leaks.
How to prevent this:
- Isolate the DC Negative: The DC negative bus bar should never be bolted directly to the aluminum deck or pontoon cross-members. Mount the bus bar on a fiberglass or starboard-plastic backing plate.
- Engine Isolation: Ensure the outboard engine's negative terminal is isolated from the pontoon's aluminum structure. The engine should only ground back to the battery bank via the heavy-gauge negative battery cable.
- Sacrificial Anodes: While not strictly a wiring component, ensuring your pontoon's zinc or magnesium anodes are properly bonded to the hull's grounding system is vital to absorb any stray current that does escape the wiring harness.
Recommended 2026 Marine Electrical Components
To execute this wiring diagram with professional-grade reliability, source the following components:
- Wire: Ancor Marine Grade 2 AWG Tinned Copper (Approx. $1.45/ft in 2026).
- Circuit Breaker: Blue Sea Systems 60A Thermal Circuit Breaker (Surface Mount, approx. $85).
- Disconnect: Minn Kota MKR-20 Battery Quick Disconnect (Essential for winterizing and safety, approx. $45).
- Terminals: Ancor Adhesive-Lined Heat Shrink Ring Terminals (3/8' stud size for Group 31 batteries).
- Fuse Block: Blue Sea Systems ST Blade 12-Circuit Waterproof Fuse Block (Approx. $72).
Final System Testing and Commissioning
Once the physical wiring diagram for your pontoon boat is fully executed, do not immediately turn on the ignition. Perform a systematic commissioning checklist:
- Continuity Check: Use a multimeter to verify there is no continuity between the DC negative bus and the aluminum hull.
- Voltage Drop Test: With the trolling motor running at maximum thrust on land (propeller removed for safety), measure the voltage directly at the battery terminals, and then at the trolling motor plug. A drop of more than 1.5V on a 36V system indicates undersized wiring or high-resistance crimps.
- Thermal Scan: After 15 minutes of operation, use an infrared thermometer to scan all crimps, lugs, and circuit breakers. Any connection reading more than 20°F above ambient temperature requires re-crimping.
By treating your pontoon's electrical system as a highly specialized, long-run marine environment rather than a standard automotive application, you ensure reliable starts, maximum trolling motor thrust, and the structural longevity of your aluminum hull.