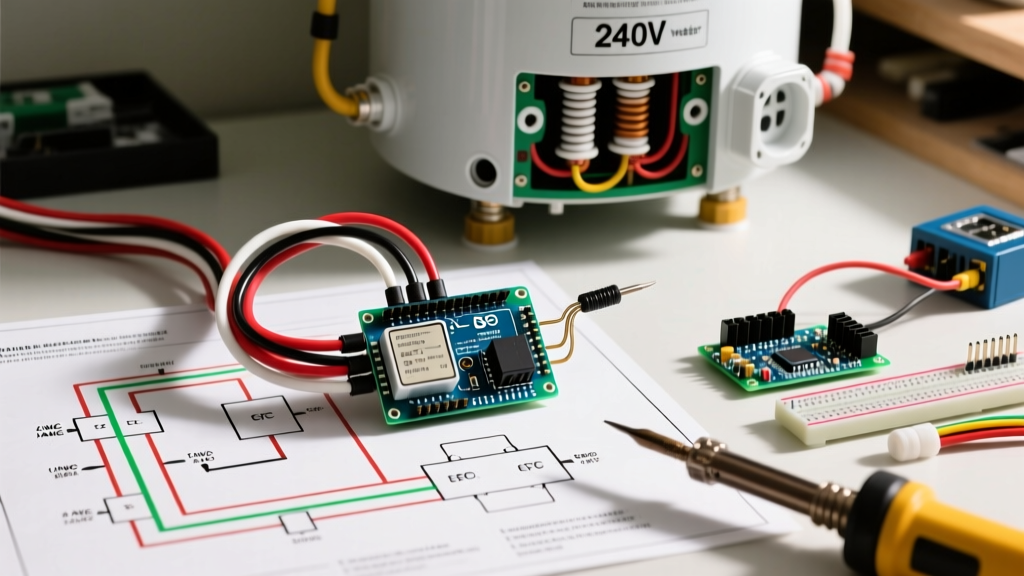

Navigating the Electric Water Heater Wiring Code in 2026
Wiring an electric water heater is not simply a matter of connecting two hot wires and a ground. The electric water heater wiring code, primarily governed by the National Electrical Code (NEC) Article 422, dictates strict parameters for overcurrent protection, wire sizing, and disconnecting means. As we move through 2026, the landscape of water heating has shifted dramatically. The Department of Energy's push for electrification means electricians and DIYers are increasingly encountering Heat Pump Water Heaters (HPWHs) alongside traditional 4500W electric resistance tanks.
This step-by-step walkthrough will dissect the current NEC requirements, provide exact wire and breaker sizing matrices, and guide you through a code-compliant installation. Whether you are replacing a failed 50-gallon resistance tank or upgrading to a smart HPWH, understanding the underlying code is critical for safety and passing local inspections.
Core Code Requirements: NEC Article 422 & 250
Before pulling any wire, you must understand the foundational rules that inspectors look for. The National Fire Protection Association (NFPA) outlines these rules clearly in the NEC.
- NEC 422.13 (Storage-Type Water Heaters): This is the most critical rule for standard tanks. It mandates that branch-circuit conductors and overcurrent protection must be rated at not less than 125% of the water heater's nameplate rating. This applies to storage tanks with a capacity of 120 gallons or less.
- NEC 422.14 (Protection): Water heaters must be protected by a branch-circuit overcurrent device (breaker). While a local disconnect switch is not strictly required if the breaker is within sight or lockable, the breaker itself serves as the disconnect.
- NEC Article 250 (Grounding and Bonding): The equipment grounding conductor (EGC) must be sized according to Table 250.122. Furthermore, if your home has metal water piping, it must be bonded to the electrical grounding system, often requiring a supplemental bonding jumper around the water heater's dielectric unions.
Wire Gauge and Breaker Sizing Matrix
The most common code violation we see is undersizing the breaker or using 12 AWG wire on a 4500W element. Use the matrix below to determine the exact materials needed based on the nameplate wattage. All calculations assume a standard 240V dedicated circuit and copper THHN/NM-B conductors.
| Element Wattage | Voltage | Base Amps (W/V) | 125% Code Minimum | Required Breaker Size | Min. Copper Wire Gauge |
|---|---|---|---|---|---|
| 3000W | 240V | 12.5A | 15.6A | 20A (2-Pole) | 12 AWG |
| 3800W | 240V | 15.8A | 19.8A | 20A or 25A (2-Pole) | 12 AWG |
| 4500W (Standard) | 240V | 18.75A | 23.4A | 30A (2-Pole) | 10 AWG |
| 5500W | 240V | 22.9A | 28.6A | 30A (2-Pole) | 10 AWG |
| HPWH (Hybrid 80L) | 240V/120V | Varies (Usually 8A-15A) | Varies | 15A or 20A | 14 AWG or 12 AWG* |
*Note: Always verify HPWH manufacturer specifications. Some 2026 HPWH models utilize 120V 15A circuits, while larger 80-gallon hybrids require 240V 20A circuits with a neutral wire for 120V control boards.
Step-by-Step Walkthrough: Wiring a 240V 4500W Tank
Let's walk through the physical installation of a standard 4500W, 50-gallon electric resistance water heater, adhering strictly to the electric water heater wiring code.
Step 1: Panel Preparation and Breaker Installation
Turn off the main breaker. Install a 30A, 2-pole breaker into your load center. If you are using a Square D QO panel, ensure the breaker snaps firmly into the bus bar stabs. Pro Tip: Use a torque screwdriver (like the Klein Tools 32500 series) to tighten the breaker's wire lugs. For 10 AWG copper wire, Square D specifies a torque of 12 in-lbs. Undertorquing leads to thermal expansion/contraction cycles that eventually cause arcing and breaker failure.
Step 2: Running the Cable
Run 10/2 NM-B (Romex) with ground from the panel to the water heater location. If the cable passes through an unfinished basement or an area subject to physical damage, the code requires you to sleeve the cable in EMT conduit or use MC (Metal Clad) cable. When stapling NM-B, secure it within 8 inches of the panel and every 4.5 feet thereafter. Do not over-tighten the staples, which can crush the dielectric insulation and create a hidden short-circuit hazard.
Step 3: Making the Connections at the Heater
Remove the upper electrical access cover on the water heater. You will typically find a junction box with wire nuts or screw terminal blocks.
- Strip the wires: Strip exactly 3/4 inch of insulation from the black and white wires. (Re-wrap the white wire with black or red electrical tape or heat shrink to re-identify it as a hot conductor, as required by NEC 200.7).
- Connect the hots: Connect the black wire to L1 and the re-identified white wire to L2. If using screw terminals, wrap the wire clockwise around the screw so tightening pulls the loop closed.
- Torque the terminals: Check the wiring schematic inside the access panel. Most water heater terminal blocks require 15 to 20 in-lbs of torque for 10 AWG wire.
Step 4: Grounding and Bonding
Connect the bare copper ground wire to the green grounding screw inside the heater's junction box. This satisfies the equipment grounding requirement. However, if your home utilizes metal water supply pipes, you must install a #6 or #8 AWG copper bonding jumper wire across the cold and hot water pipes at the heater. This ensures the metal plumbing remains grounded even if the water heater is removed or dielectric unions are installed to prevent galvanic corrosion.
Inspector's Note: A common failure point in DIY installations is forgetting to re-identify the white wire in a 10/2 NM-B cable. If an inspector sees a white wire connected to a 240V hot terminal without black tape or a marker, they will fail the inspection immediately based on NEC 200.7.
The 2026 Shift: Heat Pump Water Heater (HPWH) Wiring
The U.S. Department of Energy has heavily incentivized the transition to Heat Pump Water Heaters. Unlike resistance heaters that draw massive continuous current to heat elements, HPWHs use a compressor to move heat, drastically altering the wiring requirements.
Key Differences in HPWH Wiring:
- Voltage Variations: Many modern HPWHs operate on standard 120V/15A or 120V/20A circuits. If you are replacing an old 240V tank with a 120V HPWH, you must reconfigure the panel breaker to a 1-pole 15A or 20A, cap the unused red/black wire, and connect the white wire to the neutral bus bar, not the hot bus.
- Neutral Requirements: 240V HPWHs often require a 4-wire setup (2 Hots, 1 Neutral, 1 Ground) because the internal control boards and defrost cycles operate on 120V. You must run 12/3 or 10/3 NM-B cable, not 10/2.
- Inrush Current: While the running amps are low, compressor startup can cause a momentary voltage drop. Ensure the circuit is dedicated; sharing a neutral or multi-wire branch circuit (MWBC) with bathroom receptacles can cause nuisance GFCI tripping due to harmonic distortion from the inverter compressor.
Common Code Violations and Failure Modes
When troubleshooting or inspecting existing water heater wiring, look out for these frequent hazards:
| Violation / Failure Mode | The Hazard | Code Compliant Fix |
|---|---|---|
| Double-tapping a 30A breaker | Overheating at the bus stab; fire risk. | Install a new dedicated 2-pole 30A breaker or use a listed lug splitter. |
| Using 12 AWG wire on a 30A breaker | Wire will melt before the breaker trips during a short circuit. | Upgrade to 10 AWG copper or downgrade breaker to 20A (if wattage permits). |
| Missing access cover plate | Exposed 240V terminals; shock hazard and rodent ingress. | Install the factory metal cover plate with the provided screw. |
| NM-B cable resting on hot water lines | Heat degrades PVC insulation, leading to ground faults. | Reroute cable or install a physical barrier maintaining 1-inch clearance. |
Frequently Asked Questions (FAQ)
Does an electric water heater need a GFCI breaker?
Under current NEC guidelines, a standard 240V electric resistance water heater located in a basement or utility room does not require GFCI protection. However, if the receptacle or disconnect is located in an area classified as a damp location, or if local amendments adopt stricter GFCI rules for all 240V appliances, a GFCI breaker may be required. Note that nuisance tripping on GFCI breakers is a known issue with older resistance elements experiencing minor ground leakage as they age.
Can I use aluminum wire for my water heater?
Yes, but you must upsize the wire. For a 4500W heater on a 30A breaker, while 10 AWG copper is standard, you must use 8 AWG aluminum wire. Furthermore, you must apply an antioxidant compound (like Noalox) to the aluminum strands and ensure the breaker and water heater lugs are explicitly rated for aluminum (marked AL/CU). Most modern appliance terminal blocks are rated for copper only, requiring a pigtail transition.
What is the maximum length for a 10 AWG water heater circuit?
While the NEC does not specify a hard maximum length, it mandates that voltage drop be kept to a practical minimum (typically 3% for branch circuits). For a 4500W (18.75A) load on a 240V circuit using 10 AWG copper, you can run the cable up to approximately 90 feet before exceeding a 3% voltage drop (7.2V). If your panel is 150 feet away, you must upsize to 8 AWG copper to maintain code-compliant voltage delivery and prevent element degradation.
Final Thoughts on Compliance
Adhering to the electric water heater wiring code is non-negotiable. The combination of high-wattage loads, continuous water exposure, and metal enclosures creates a high-risk environment for electrical faults. Always pull a permit for water heater replacements, utilize a calibrated torque screwdriver for all terminations, and carefully read the manufacturer's wiring schematic—especially as the industry transitions toward complex heat pump topologies in 2026 and beyond.