
Deconstructing the Simple Room Electrical Wiring Diagram
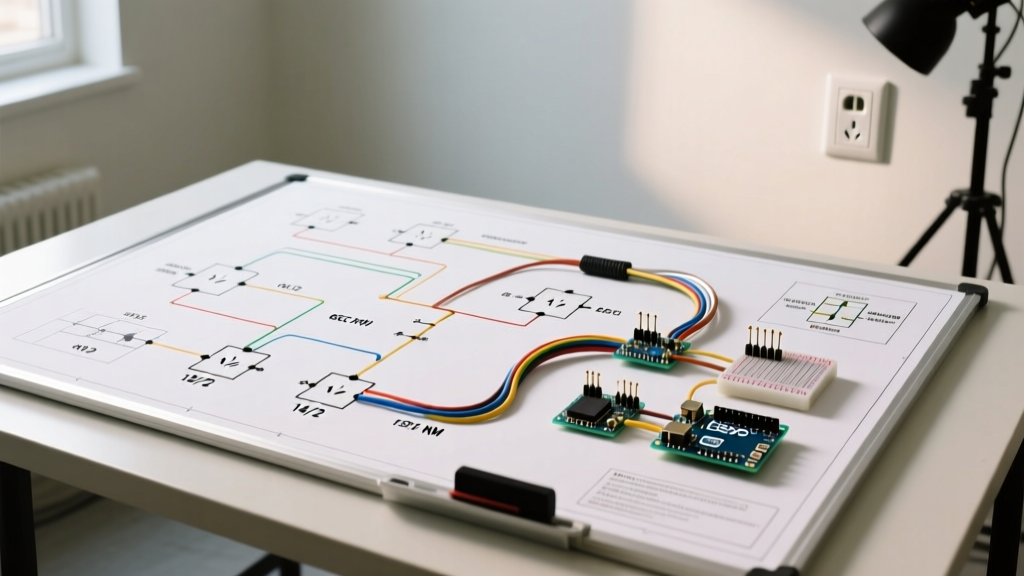
At first glance, a simple room electrical wiring diagram appears deceptively straightforward: a circuit breaker, a run of non-metallic (NM) cable, a single-pole switch, a ceiling fixture, and a few duplex receptacles. However, translating this basic schematic into a physical installation requires strict adherence to the National Electrical Code (NEC). What looks like a simple loop on paper is governed by rigorous mandates regarding arc-fault protection, box fill volume calculations, and precise receptacle spacing.
According to the National Fire Protection Association (NFPA), electrical malfunctions remain a leading cause of residential fires. To mitigate this, modern code compliance transforms a basic wiring diagram into a highly engineered safety system. This guide breaks down the exact specifications, material costs, and NEC articles required to execute a safe, inspector-ready room wiring layout in 2026.
The Physical Routing: Power to Load Flow
A standard code-compliant diagram for a bedroom or living space typically follows a "power-to-receptacle-to-switch" topology. Here is the exact physical routing sequence:
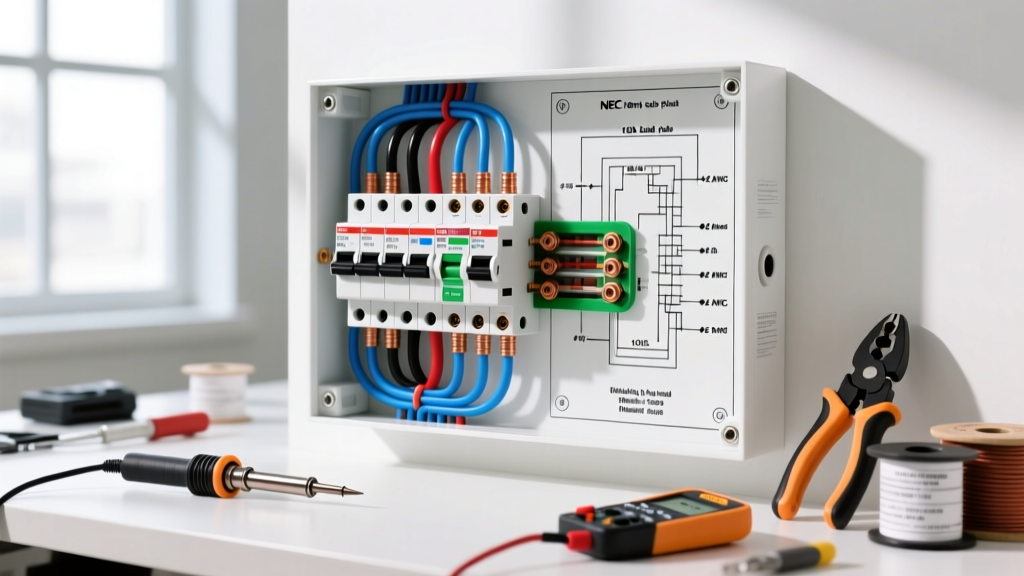
- Origin: Power originates at the main service panel via a 15-Amp Combination-Type AFCI breaker.
- First Device: The 14/2 NM-B cable enters the first receptacle box. The line and load sides are utilized to daisy-chain power to downstream devices.
- Switch Loop: A dedicated 14/2 cable runs from the last receptacle (or the first, depending on physical layout) up to the single-pole switch.
- Lighting Load: From the switch, a 14/2 cable travels to the ceiling junction box to terminate at the LED fixture.
Pro Tip: While older diagrams utilized a "switch loop" with only a black (hot) and white (re-identified hot) wire, NEC 404.2(C) now mandates that a neutral conductor be provided at the switch location to accommodate smart switches and timers. Always run a full 14/2 or 12/2 cable to the switch box, capping the unused neutral with a wire nut.
Mandatory AFCI Protection (NEC 210.12)
You cannot wire a simple bedroom or living room circuit using a standard thermal-magnetic breaker. NEC Article 210.12(B) requires all 120-volt, single-phase, 15- and 20-ampere branch circuits supplying outlets or devices in dwelling unit sleeping rooms, living rooms, and hallways to be protected by a Combination-Type Arc-Fault Circuit Interrupter (AFCI).
Standard breakers only trip on overloads and short circuits. They cannot detect the low-current, high-impedance series arcs caused by a frayed lamp cord or a loose terminal screw. Combination AFCIs detect both parallel and series arcs. For a 2026 installation, the Square D HOM115CAFIC (approx. $48) or Eaton BR115AF (approx. $45) are industry-standard choices that provide both branch/feeder and series arc protection.
Box Fill Calculations: The Hidden Code Violation
The most frequent failure point during a rough-in inspection is violating NEC Article 314.16 regarding box fill. Every conductor, device, and clamp inside a junction or device box takes up physical volume, measured in cubic inches. Overcrowding causes wire insulation damage and excessive heat buildup.
NEC Volume Allowance Table (Per Conductor)
| Wire Gauge (AWG) | Volume Allowance per Conductor |
|---|---|
| 14 AWG | 2.0 Cubic Inches |
| 12 AWG | 2.25 Cubic Inches |
| 10 AWG | 2.5 Cubic Inches |
Real-World Calculation: Single-Gang Switch Box
Imagine a single-gang switch box receiving one 14/2 NM-B cable from the panel and sending one 14/2 NM-B cable to the light. Here is the math:
- Hot & Neutral Conductors: 4 current-carrying wires (2 in, 2 out) × 2.0 cu in = 8.0 cu in
- Grounding Conductors: All grounds count as a single allowance = 2.0 cu in
- Device (Switch):strong> Counts as 2 conductor allowances = 4.0 cu in
- Internal Clamps: Counts as 1 conductor allowance = 2.0 cu in
- Total Required Volume: 16.0 Cubic Inches
If you use a shallow "old-work" box rated for only 14 cubic inches (like the standard Carlon B114R), you will fail inspection. You must upgrade to a deep box, such as the Carlon B120R-UPC (20.0 cu in, approx. $1.85), to remain code-compliant.
Receptacle Spacing and the 6-Foot Rule
A simple room diagram must account for NEC 210.52(A), commonly known as the "6-foot rule." The code dictates that no point along the floor line in any wall space can be more than 6 feet from a receptacle outlet. Furthermore, any wall space 2 feet or wider requires its own receptacle.
This prevents homeowners from using extension cords to power lamps or electronics across long stretches of wall, which the U.S. Consumer Product Safety Commission (CPSC) identifies as a major tripping and fire hazard. When drafting your diagram, measure the perimeter of the room, subtract doorways and fireplaces, and plot receptacles so that the maximum distance between them is 12 feet, ensuring a 6-foot radius of coverage from each device.
Material Selection & Real-World Pricing (2026)
Sourcing the correct materials ensures longevity and prevents nuisance tripping. Below is a baseline shopping list for a standard 12x12 foot bedroom circuit:
- Wire: Southwire 14/2 NM-B (250 ft roll) - $105.00. (Use 12/2 NM-B if upgrading to a 20A circuit, though 15A is standard for general lighting/receptacles).
- Breaker: Square D HOM115CAFIC 15A AFCI - $48.00.
- Receptacles: Leviton 015-05320-WMP 15A Decora (10-pack) - $22.00. Ensure they are marked "TR" for Tamper-Resistant, as required by NEC 406.12.
- Switches: Leviton 1451-W 15A Single Pole Toggle (10-pack) - $14.00.
- Wire Connectors: IDEAL 341 Yellow Wire-Nuts (100-pack) - $9.50.
Termination Torque and Edge Cases
One of the most overlooked aspects of a simple room wiring diagram is the physical termination of the wires. NEC 110.14(D) mandates that terminations must be tightened to the manufacturer's specified torque. While many DIYers tighten screws "until they feel tight," this can strip the brass threads or crack the device yoke.
Most commercial-grade receptacles (like the Leviton 5320) require between 12 to 14 inch-pounds of torque. For professional compliance, use a calibrated torque screwdriver, such as the Klein Tools 69055 (approx. $110). Additionally, while NEC allows the use of push-in (back-stab) terminals for 14 AWG solid wire, industry best practice heavily favors using the side-screw terminals or screw-to-clamp plates to prevent high-resistance connections over time, a leading cause of localized melting.
Frequently Asked Questions
Can I use 14 AWG wire on a 20-Amp breaker for a simple room?
No. NEC 240.4(D) explicitly restricts 14 AWG copper wire to a maximum overcurrent protection of 15 Amps. If your panel features a 20A breaker, you must use 12 AWG NM-B cable throughout the entire circuit. Mixing 14 AWG wire downstream of a 20A breaker is a severe fire hazard and an automatic inspection failure.
Do I need GFCI protection in a standard bedroom?
Generally, no. Ground-Fault Circuit Interrupter (GFCI) protection is mandated by NEC 210.8 for areas with water exposure (kitchens, bathrooms, garages, outdoors, and unfinished basements). A standard bedroom requires AFCI protection, not GFCI, unless the bedroom contains a dedicated wet-bar sink or an en-suite bathroom, which would require its own dedicated 20A GFCI-protected circuit.
Is it safe to use shared neutrals (MWBC) in a simple room diagram?
Multi-Wire Branch Circuits (MWBC) allow two hot wires to share a single neutral, saving copper. However, for a simple DIY room diagram, MWBCs introduce severe edge cases. If the shared neutral is disconnected while the circuits are live, the return path is broken, potentially sending 240V through 120V appliances. Furthermore, NEC 210.4 requires simultaneous disconnection (a handle tie or 2-pole breaker). For standard room wiring, dedicated single-pole circuits are vastly safer and easier to troubleshoot.
For further reading on residential electrical safety standards and energy-efficient wiring practices, consult the U.S. Department of Energy's Safe Electricity Use guidelines. Always pull the required local permits and schedule a rough-in inspection before closing your walls with drywall.