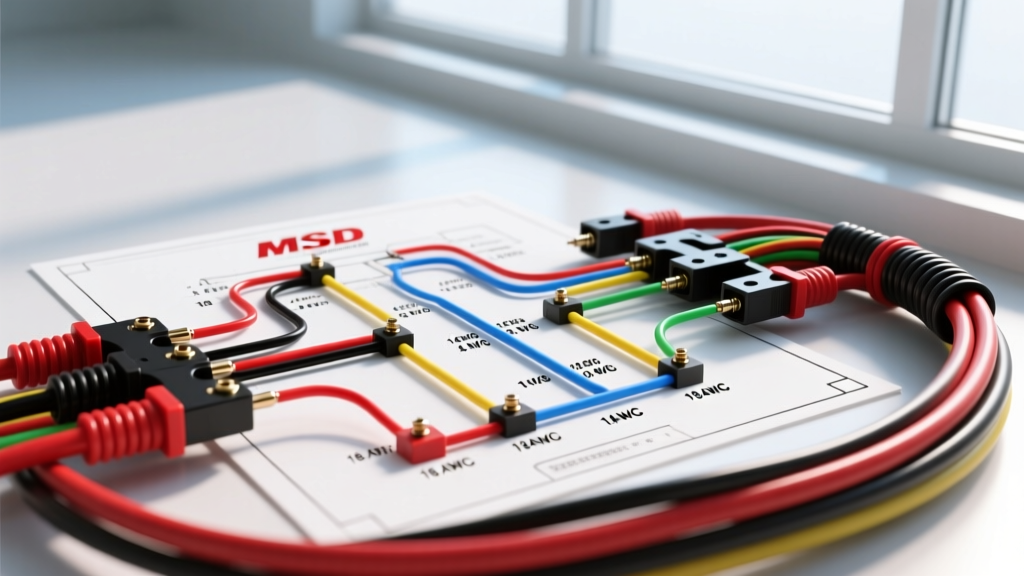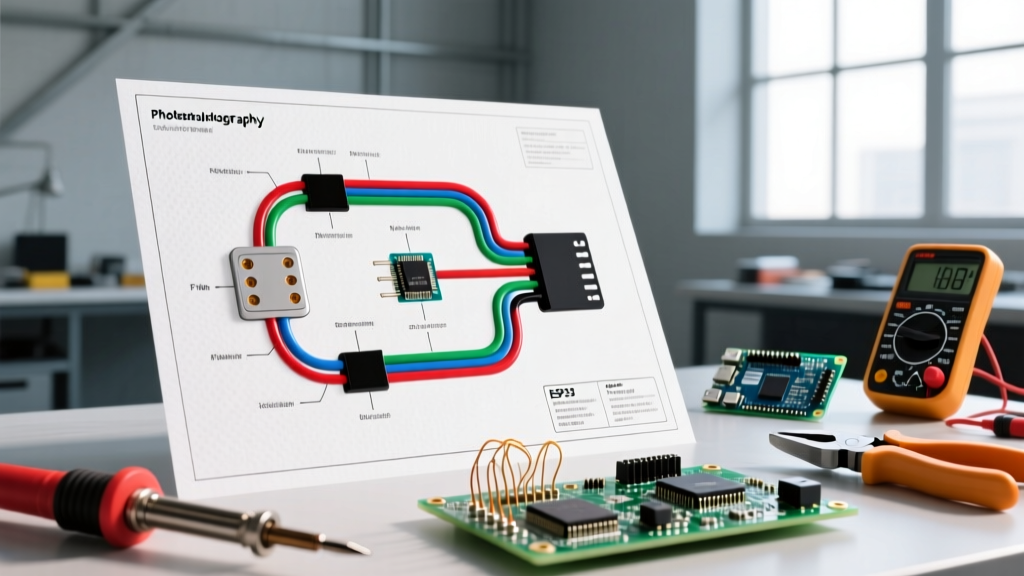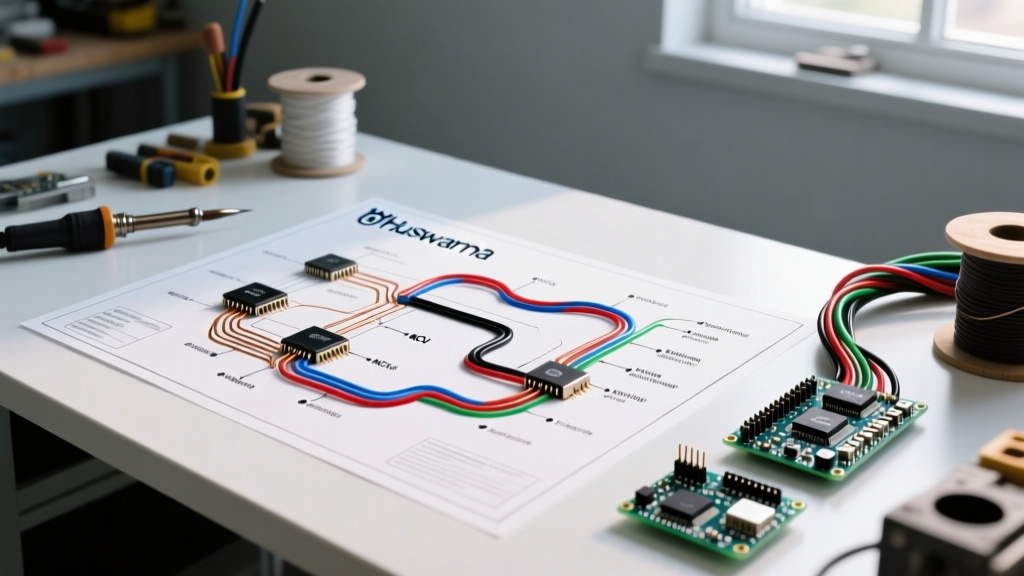

When preparing for the 2026 landscaping season, skipping the electrical planning phase is the most common mistake DIYers and fleet technicians make. A zero-turn or tractor-style mower operates in a high-vibration, high-moisture environment where a single poorly crimped connection can lead to a $250 PTO clutch failure or a complete harness fire. Whether you are restoring a classic Husqvarna TS 348XD or upgrading the electrical system on a commercial MZ61, understanding the schematic is non-negotiable. This installation planning guide will walk you through decoding the wiring diagram for Husqvarna mower systems, selecting the right materials, and mapping out the critical safety interlock circuits before you ever pick up a wire stripper.
Pre-Installation Safety Protocol: Always disconnect the negative battery terminal first and isolate it with a dielectric cap. Wait a minimum of 5 minutes before probing any circuits to allow the capacitor in the voltage regulator/rectifier to discharge, preventing accidental short-circuiting or multimeter damage.
Decoding the Wiring Diagram for Husqvarna Mower Schematics
Husqvarna schematics follow standard ISO electrical symbols, but they incorporate specific color-coding and grounding conventions unique to their outdoor power equipment (OPE) lineup. Before routing new harnesses, you must identify the primary power distribution points and the ground buses (typically labeled G1, G2, etc., on the diagram). Grounding to the engine block or frame is a leading cause of voltage drop; always plan to run dedicated ground wires back to the battery negative terminal or a centralized, star-washed ground lug.
Standard Husqvarna Wire Color Codes & Gauge Requirements
Adhering to the correct wire gauge is critical. Undersized wires in high-draw circuits like the PTO clutch will overheat, melting the insulation and causing a dead short. The table below outlines the standard color codes and minimum gauge requirements based on the SAE J1128 standard for low-tension primary cables.
| Wire Color | Circuit Function | Minimum Gauge | Fuse / Breaker Rating |
|---|---|---|---|
| Red | Primary 12V+ Battery Feed | 10 AWG | 30A Inline Fuse |
| Black | Primary Ground / Chassis | 10 AWG | N/A |
| Purple | PTO Clutch Engagement | 12 AWG | 10A - 15A |
| Yellow (Pair) | Stator AC Output | 14 AWG | N/A (Protected by Rectifier) |
| Green | Lighting / Accessory Circuit | 14 AWG | 10A |
| White / Orange | Safety Interlock / SAM Module | 18 AWG | 5A |
Pre-Installation Planning & Tool Checklist
Do not rely on cheap automotive crimpers for mower wiring. The vibration from a 24HP Kawasaki FR or Kohler 7000 series engine will shake standard friction crimps loose within a single mowing season. Budget approximately $150 to $250 for professional-grade termination tools and marine-grade materials.
- Multimeter: A True-RMS meter like the Fluke 117 (approx. $200) is essential for accurate stator AC voltage readings. Review this Fluke guide on using a multimeter if you need a refresher on voltage drop testing.
- Wire Strippers & Crimpers: Klein Tools Katapult or a dedicated ratcheting crimper for insulated terminals to ensure a gas-tight seal.
- Terminals: Marine-grade adhesive-lined heat shrink terminals (tinned copper to prevent galvanic corrosion).
- Protection: Split-loom tubing, MDPC-X braided sleeving for high-heat areas near the exhaust, and high-temperature silicone tape.
- Relays: Heavy-duty 40A Bosch-style 5-pin relays with integrated mounting brackets and weather-pack connectors.
Mapping the Core Circuits: PTO and Interlocks
The two most complex systems on any Husqvarna schematic are the Power Take-Off (PTO) clutch circuit and the Operator Presence Safety Interlock system. Planning the routing and relay placement for these circuits requires a deep understanding of the logic flow.
The PTO Clutch Circuit & Voltage Drop Edge Cases
Most modern Husqvarna zero-turns use an Ogura or Warner electromagnetic PTO clutch. These clutches require a solid 12.0V to 12.5V to maintain full magnetic engagement. If the wiring harness is undersized or the relay contacts are pitted, the voltage at the clutch plug may drop to 10.5V. At this voltage, the clutch will slip microscopically at high RPMs, generating immense friction heat that will warp the armature and destroy the clutch assembly prematurely.
Installation Plan: Install a dedicated 40A relay as close to the battery as possible. Use a 5-pin Bosch relay wired as follows:
- Pin 30: 10 AWG Red wire directly from the battery positive (fused at 30A).
- Pin 87: 12 AWG Purple wire routed directly to the PTO clutch connector.
- Pin 85: 14 AWG Black wire to a clean, star-washed chassis ground.
- Pin 86: 18 AWG trigger wire from the dashboard PTO switch.
- Pin 87a: Not used (leave capped and sealed).
The Safety Interlock Logic (Seat, Brake, and PTO)
Husqvarna mowers utilize a logical AND/OR gate system to prevent the engine from starting unless the brake is depressed and the PTO is disengaged, and to kill the engine if the operator leaves the seat while the PTO is engaged. On newer models, this is managed by a Seat Actuated Module (SAM) or a Time Delay Module (TDM). When planning your harness, ensure the interlock wires (typically 18 AWG white or orange) are routed away from the ignition coil and spark plug wires to prevent Electromagnetic Interference (EMI), which can cause the SAM module to falsely trigger an engine shutdown.
Stator, Rectifier, and Charging System Routing
The charging system on a Husqvarna mower is a simple unregulated or semi-regulated alternator setup. The stator, located under the engine flywheel, outputs 28V to 35V AC at 3600 RPM. The yellow wire pair routes this AC voltage to the bridge rectifier (often integrated into the voltage regulator).
Crucial Planning Step: Never route the yellow stator wires near the exhaust manifold. If the insulation melts and the wires short to the chassis, the stator will burn out internally, requiring a flywheel puller and a $120+ replacement stator. Always wrap stator wires in high-temp fiberglass sleeving and secure them with stainless steel zip-ties to the engine block's dedicated cast-iron routing tabs.
Frequently Asked Questions (FAQ)
Where can I find the exact schematic for my specific Husqvarna model?
You can locate the precise wiring diagram for Husqvarna mower models by finding your 9-digit model number (usually located on a sticker under the seat or on the frame near the rear axle) and entering it into the Husqvarna support and manuals portal. Always use the diagram that matches your exact serial number break, as mid-year production changes can alter relay placements.
Can I use standard automotive wire instead of SAE J1128 marine wire?
While standard PVC automotive wire will function initially, it lacks the tinned copper strands and specialized insulation required to resist the moisture, fertilizer chemicals, and UV exposure inherent to landscaping environments. Tinned marine wire prevents black-crust corrosion inside the copper strands, ensuring long-term conductivity.
My mower cranks but won't start after rewiring. What did I miss?
This is almost always an interlock switch issue. Check the brake pedal switch and the PTO engagement switch. If the diagram shows these switches routing to ground to complete the ignition kill circuit, ensure your new switches are 'normally open' and that the ground lugs are bare metal, free of paint or powder coating.