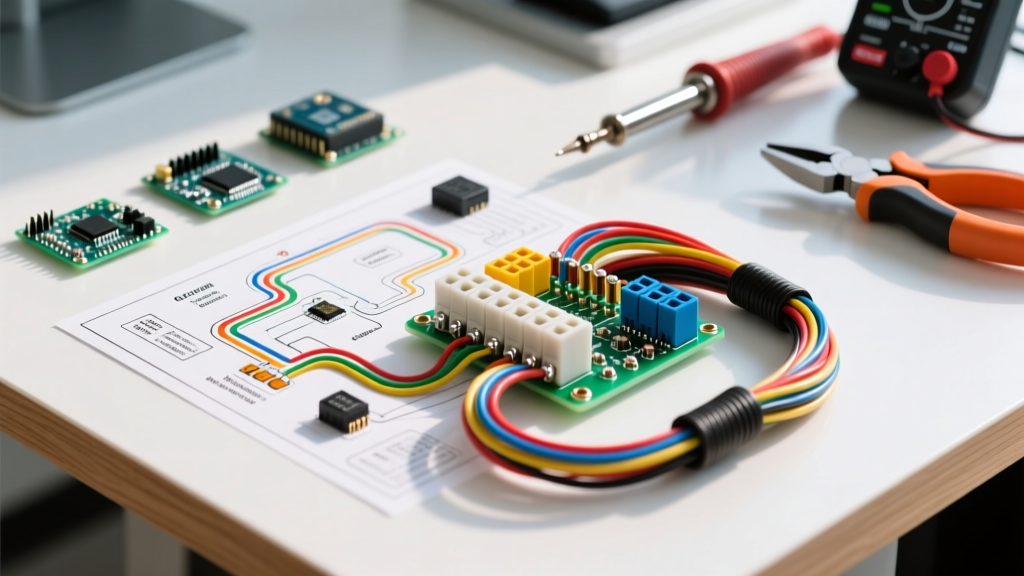

Why Mini Bikes Require Dedicated Breaker Panels
When engineering a wiring diagram for mini bike builds—whether you are retrofitting a Coleman CT200U, upgrading a Baja Doodle Bug, or fabricating a custom 12V electric platform—circuit protection is often dangerously overlooked. Most DIY builders rely on cheap, inline automotive glass fuses. In the high-vibration, high-shock environment of a mini bike (especially those running 212cc Predator engines or rigid-suspension electric hubs), these inline fuses suffer from micro-fractures, leading to phantom electrical failures or, worse, un-fused live wires shorting against the frame.
To build a reliable, trail-proof electrical system, we must borrow from marine and aerospace standards. This guide details a robust 12V panel and breaker topology that isolates your stator/rectifier, battery buffer, and accessory loads, ensuring your lighting, horn, and ignition systems remain operational under extreme mechanical stress.
Expert Insight: Never use solid-core wire (like residential THHN) on a mini bike. The constant vibration will cause work-hardening and catastrophic snapping. Always use stranded, cross-linked polyethylene insulated wire (SAE J1128 GXL), which is specifically rated for automotive vibration and high engine-bay temperatures. For more on mobile wiring standards, refer to the SAE International Standards directory.
The 12V Topology: Wiring Diagram for Mini Bike Circuit Protection
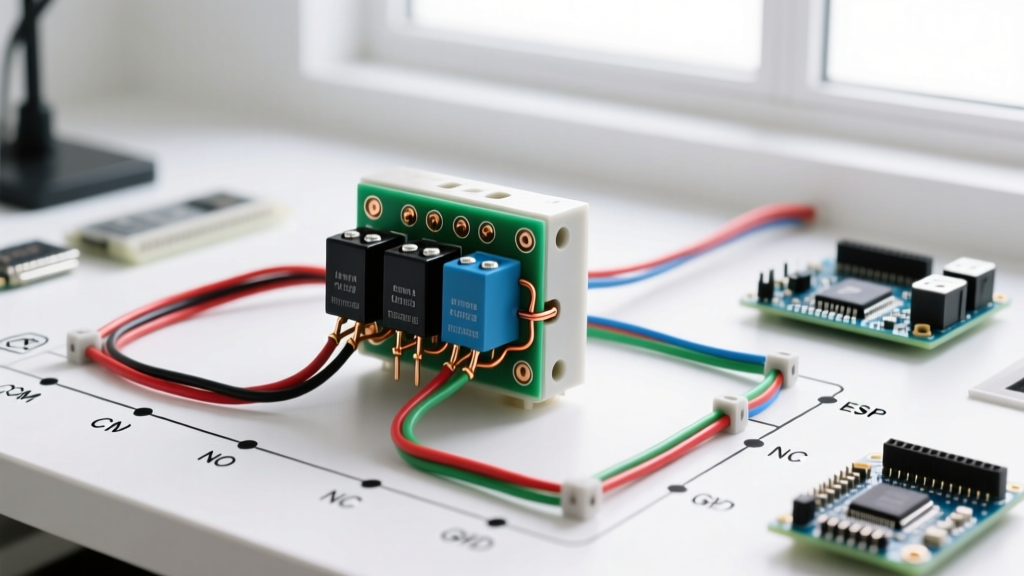
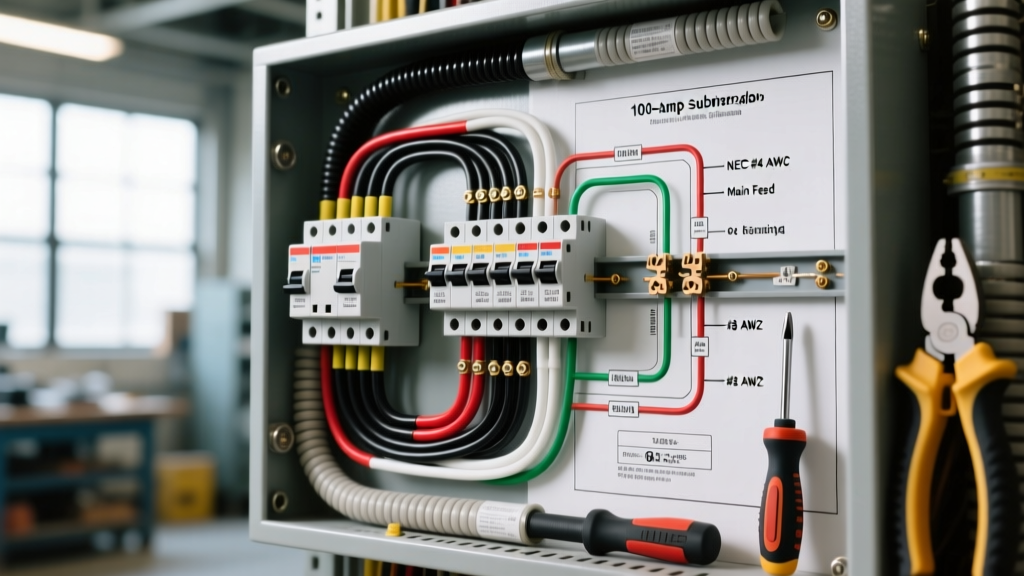
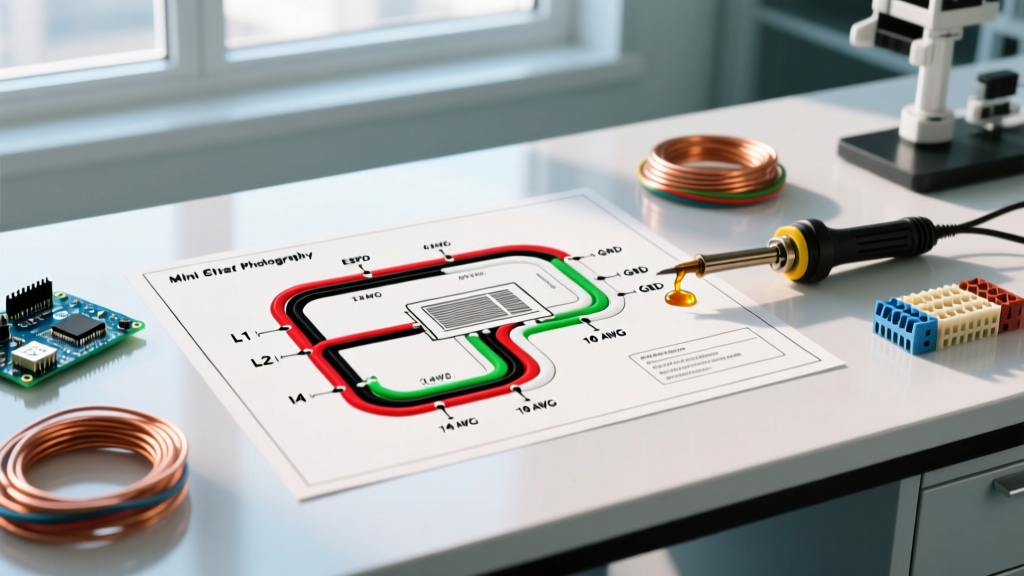
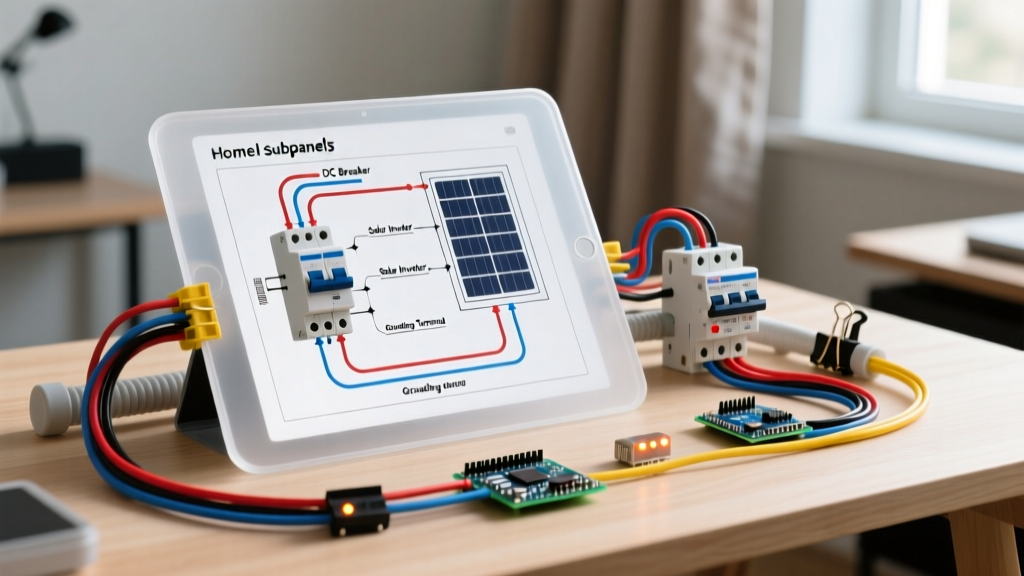
Because we cannot embed a visual schematic here, we will map the exact electrical topology. This layout assumes a gas-powered mini bike with a 12V stator and a full-wave rectifier, or an EV build with a 12V DC-DC converter. The core philosophy is a centralized Marine-Style Fuse Panel fed by a Resettable Main Circuit Breaker.
Power Flow Sequence
- Power Source: 12V Stator/Rectifier or DC-DC Converter feeds a 12V 9Ah AGM/LiFePO4 buffer battery.
- Main Protection: Battery positive terminal routes to a 50A Resettable Marine Circuit Breaker (mounted within 7 inches of the battery positive post, per ABYC guidelines).
- Main Feed: 10 AWG GXL stranded wire runs from the breaker to a centralized 6-Circuit ST Blade Fuse Panel.
- Distribution: Individual circuits (Headlight, Taillight/Brake, Horn, USB, Ignition/EFI) branch off the fuse panel using 14-16 AWG wire.
- Grounding: All negative returns route to a dedicated Ground Bus Bar, which is then tied to the battery negative and the engine block/frame via a heavy 8 AWG ground strap.
Component Sizing: Breakers, Fuses, and Wire Gauge
Sizing your protection devices correctly prevents wire meltdowns without causing nuisance trips. The breaker protects the main feed wire; the individual fuses protect the branch wires and components. Below is the definitive sizing matrix for a standard 12V mini bike accessory panel.
| Circuit / Load | Max Draw (Amps) | Wire Gauge (AWG) | Blade Fuse Size | Notes & Edge Cases |
|---|---|---|---|---|
| Main Battery Feed | 45A Continuous | 10 AWG GXL | N/A (50A Breaker) | Use 187-Series marine breaker. Do not exceed 80% of breaker rating. |
| LED Headlight | 1.5A - 3.0A | 16 AWG | 3A or 5A | LEDs draw low amps; a 15A fuse will not protect 16 AWG wire from a short. |
| Tail / Brake Light | 2.0A | 16 AWG | 5A | Wire a diode inline if sharing a brake switch with the engine ECU. |
| Stebel Air Horn | 15A - 18A | 12 AWG | 20A | Horns have a massive inrush current. Use a 30A relay triggered by the switch. |
| USB / 12V Socket | 2.4A (12W) | 16 AWG | 5A | Ensure the socket has an integrated weather cap and inline check valve. |
| EFI / Ignition ECU | 8A - 12A | 14 AWG | 15A | Keep this circuit isolated from high-noise accessories like the horn. |
Main Breaker vs. Main Fuse: Why Resettable Wins on the Trail
When designing the wiring diagram for mini bike power distribution, you must choose between a Class-T main fuse and a resettable circuit breaker. For mini bikes, the ABYC (American Boat & Yacht Council) heavily favors resettable thermal-magnetic breakers for mobile, high-vibration environments where replacing a blown 50A Class-T fuse on a muddy trail is impractical.
We recommend the Blue Sea Systems 187-Series 50A Resettable Circuit Breaker. It features a surface-mount design, a manual trip button for emergency kill-switch functionality, and sealed internal components that resist the dust and water ingress common in off-road mini bike riding.
Installation Torque and Terminal Prep
Failure to properly torque terminal connections is the number one cause of electrical fires in DIY vehicle builds. Vibration loosens standard nuts. You must use nyloc nuts or split-ring lock washers on all breaker and bus bar studs.
- Terminal Crimping: Use adhesive-lined heat shrink (e.g., 3M EPS400) over all ring terminals. The inner adhesive melts and seals out moisture, preventing green copper corrosion.
- Torque Specs: For standard 5/16" stainless steel hardware on marine panels, torque to 75 in-lbs (8.5 Nm). Overtightening will strip the soft brass bus bars.
The Grounding Dilemma: Frame vs. Dedicated Bus Bar
A common mistake in mini bike wiring diagrams is using the tubular steel frame as the primary ground return path for all accessories. While the NFPA 70 (National Electrical Code) allows chassis grounding in specific heavy automotive applications, mini bike frames are notoriously poor conductors due to powder coating, rust, and rubber vibration isolators at the engine mounts.
The Dedicated Ground Bus Solution
To eliminate 'ghost' electrical issues—where hitting the horn causes the LED headlight to flicker—you must run a dedicated ground bus bar (such as the Blue Sea 8060 6-Circuit Ground Bus).
- Mount the ground bus bar adjacent to your positive fuse panel.
- Run individual 16 AWG ground wires from every accessory back to this bus bar.
- Connect the bus bar to the battery negative terminal using a single, heavy 10 AWG wire.
- Run a separate 8 AWG braided copper strap from the engine block to the frame to ensure the starter motor and stator have a low-resistance path.
Real-World Failure Modes & Troubleshooting
Even with a perfect wiring diagram for mini bike setups, environmental factors will test your build. Here are the most common failure modes and how to engineer them out of your system:
- Vibration Fatigue at the Panel: If you mount the fuse panel directly to the engine or a rigid subframe, the PCB traces inside the panel can crack. Fix: Mount the panel to the main frame using rubber Adel clamps or 3M VHB tape with a silicone dampening pad.
- Moisture Ingress in Blade Fuses: Standard automotive ATO fuses are not waterproof. When pressure washing your mini bike, water bridges the fuse slots, causing galvanic corrosion. Fix: Use the Blue Sea ST Blade panel, which features individual silicone splash guards for every fuse slot, or apply dielectric grease (Novagard G661) to the fuse blades before insertion.
- Voltage Drop on Long Runs: Mini bikes are small, but routing wire around the steering column and swingarm adds up. A 10-foot run of 16 AWG wire carrying 10A will drop nearly 0.4V. Fix: Always oversize your wire by one gauge if the run exceeds 6 feet to maintain optimal voltage at the component.
2026 Bill of Materials & Cost Breakdown
Building a reliable, marine-grade panel and breaker setup for a mini bike requires an upfront investment, but it eliminates years of troubleshooting. Below is the estimated 2026 pricing for premium components required to execute this wiring diagram.
| Component | Recommended Model | Est. 2026 Price |
|---|---|---|
| Fuse Block | Blue Sea ST Blade 6-Circuit (Part # 5025) | $42.00 |
| Main Breaker | Blue Sea 187-Series 50A (Part # 7187) | $58.50 |
| Ground Bus Bar | Blue Sea 6-Circuit (Part # 8060) | $24.00 |
| Wire (10 AWG) | SAE J1128 GXL Stranded (50ft spool) | $35.00 |
| Wire (16 AWG) | SAE J1128 GXL Stranded (50ft spool) | $22.00 |
| Terminals | Adhesive-Lined Heat Shrink Ring Terminals | $18.00 |
| Total Panel Cost | Excludes battery, stator, and switches | ~$199.50 |
By treating your mini bike's electrical system with the same rigor as a marine vessel or an aerospace application, you ensure that whether you are tearing through mud or cruising at night, your power distribution remains safe, fused, and entirely reliable.