
Introduction to Vehicle-Specific Radio Wiring
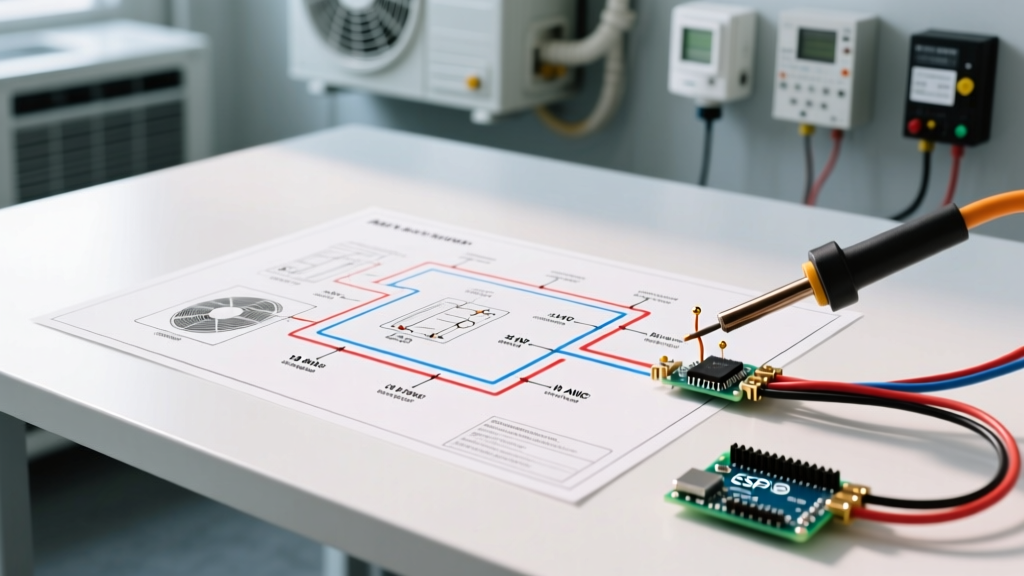
Upgrading a factory head unit in 2026 involves far more than simply splicing a red wire to a red wire. Modern vehicles rely on complex multiplexed networks like CAN-bus, LIN-bus, and MOST fiber optics to manage everything from steering wheel controls to climate settings. Consequently, understanding the wiring diagram for car radio replacements is critical to avoid bricking a $1,500 infotainment module or causing a parasitic battery drain. Whether you are installing a wireless Apple CarPlay receiver or a high-power marine-grade audio unit, mastering the pinout and power delivery requirements is the foundation of a reliable installation.
The Standard CTA Car Radio Wiring Color Code
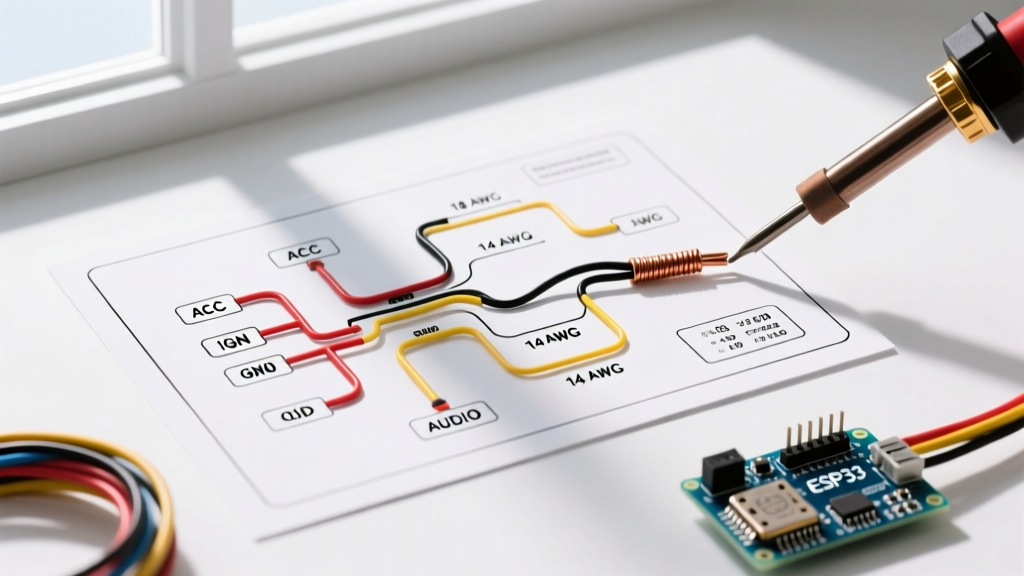
The Consumer Technology Association (CTA), formerly the EIA/CEA, established a universal color code for aftermarket car stereo wiring. When you purchase a new head unit from brands like Sony, Pioneer, Alpine, or Kenwood, the pigtail harness will follow this standard. Referencing the Consumer Technology Association (CTA) guidelines ensures you correctly map power, ground, and speaker outputs.
| Wire Color | Function | Technical Notes & Specifications |
|---|---|---|
| Yellow | Constant 12V+ (Memory) | Connects directly to the battery via a 15A fuse. Maintains presets and clock. Max voltage drop should be <0.2V. |
| Red | Switched 12V+ (Accessory) | Turns on only when the ignition is in the 'ACC' or 'ON' position. Triggers the head unit's wake state. |
| Black | Chassis Ground | Must connect to bare, unpainted metal. Do not ground to a factory bolt that shares a high-current return path. |
| Blue / White | Amplifier Turn-On (Remote) | Outputs +12V when the unit is on. Capable of sourcing roughly 300mA; use a relay for multiple amplifiers. |
| Blue | Power Antenna | Outputs +12V only during AM/FM radio playback. Drops to 0V on CD/Bluetooth/Aux modes. |
| Orange / White | Illumination / Dimmer | Receives a variable voltage signal (usually 0V to 12V) from the headlight switch to dim the display. |
| White / White-Black | Front Left Speaker (+ / -) | Standard 18 AWG. Ensure polarity is maintained to prevent phase cancellation. |
| Gray / Gray-Black | Front Right Speaker (+ / -) | Standard 18 AWG. Do not ground the negative speaker wires to the chassis. |
| Green / Green-Black | Rear Left Speaker (+ / -) | Standard 18 AWG. |
| Purple / Purple-Black | Rear Right Speaker (+ / -) | Standard 18 AWG. |
Decoding the OEM Wiring Diagram for Car Radio Pinouts
Factory wiring diagrams rarely match the CTA aftermarket standard. Automakers use proprietary color schemes and multiplexed connectors. For example, a 2024+ Ford F-150 might use a 24-pin Quadlock connector where the CAN-High and CAN-Low data lines sit adjacent to the speaker outputs. Attempting to hardwire an aftermarket radio directly into an OEM harness without consulting the vehicle-specific factory service manual (FSM) is a recipe for catastrophic short circuits.
Expert Warning: Never probe modern vehicle data wires (CAN-H/CAN-L) with a standard 12V test light. The high impedance and low voltage (typically 2.5V to 3.5V) of data lines can be easily damaged by the current draw of an incandescent test light. Always use a high-impedance digital multimeter (DMM) or a logic probe when verifying OEM pinouts.
Wire Gauge Selection for Aftermarket Head Units
While most aftermarket harnesses use 18 AWG wire, high-power head units (those advertising 45W to 50W RMS per channel without an external amplifier) require upgraded power delivery. If your head unit features a 20A or 25A rear fuse, you must bypass the standard 18 AWG yellow and red wires. Instead, run a dedicated 12 AWG oxygen-free copper (OFC) power wire from the battery, and a matching 12 AWG ground wire to the chassis. This prevents voltage sag during heavy bass transients, which can cause the head unit to reboot or trigger internal thermal protection.
Harness Adapters vs. Hardwiring: A Technical Comparison
When consulting a wiring diagram for car radio upgrades, you have two primary integration methods. According to the Crutchfield Car Audio Installation Guide, preserving the factory wiring is always the preferred methodology for resale value and diagnostic integrity.
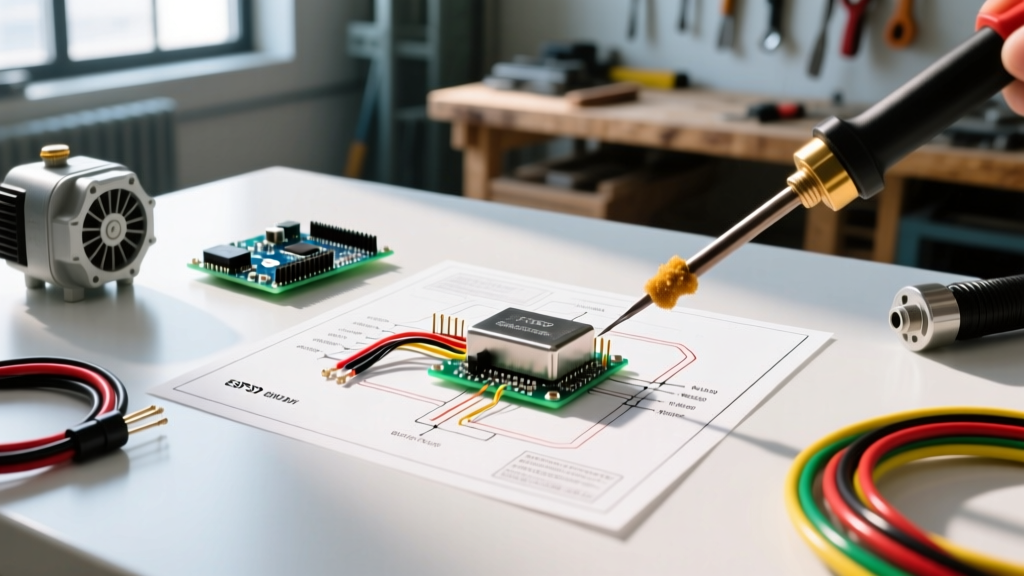
- Harness Adapters (Recommended): Brands like Metra (e.g., Metra 70-1761 for Ford) and Axxess (e.g., XSVI-2105-NAV for VW) provide plug-and-play solutions. You solder the adapter's pigtail to your aftermarket radio's pigtail on a workbench, then simply plug the adapter into the car's OEM connector. Pros: Zero cutting of factory wires, easy to reverse, integrates with factory amplifiers. Cons: Adds $15 to $150 to the project cost depending on complexity.
- Hardwiring (Not Recommended): Involves cutting the OEM radio plug and splicing directly to the aftermarket pigtail. Pros: Cheaper upfront. Cons: Destroys factory harness, highly prone to human error, creates a nightmare for future diagnostics, and voids vehicle electrical warranties.
Advanced Integrations: CAN-Bus and iDatalink Maestro
In modern vehicles (2015 and newer), the ignition switch no longer sends a physical 12V 'Accessory' signal to the radio. Instead, the Body Control Module (BCM) sends a digital wake-up command over the CAN-bus network. If you only wire the red and yellow wires, the radio will never turn on.
To solve this, technicians use data interface modules like the iDatalink Maestro RR integration module. The Maestro RR connects to the vehicle's OBD-II port and CAN-bus lines, translating digital vehicle data into standard analog 12V signals that the aftermarket radio can understand. Furthermore, it allows the radio's touchscreen to display vehicle-specific data such as tire pressure, check engine codes, and climate control settings. When wiring a Maestro module, you must also connect the 4-pin data cable to the head unit's proprietary iDatalink port, ensuring the firmware is flashed via USB prior to installation.
Step-by-Step Wiring and Termination Best Practices
A wiring diagram is only as good as the physical connections it dictates. Follow these professional termination steps to ensure longevity and prevent vibration-induced failures:
- Strip and Twist: Use a precision wire stripper (like the Titan 11902) to remove exactly 1/4 inch of insulation. Twist the stranded copper tightly to prevent fraying.
- Solder or Crimp: For the most reliable connection, tin both wires with rosin-core solder and join them. Alternatively, use closed-end butt connectors (crimp caps) with a proper ratcheting crimper. Never use 'twist-and-tape' methods.
- Adhesive Heat Shrink: Slide dual-wall, adhesive-lined heat shrink tubing over the connection before joining. Apply heat until the adhesive melts and seals the ends. This prevents moisture ingress and copper oxidation, which are the leading causes of high-resistance faults in car audio.
- Loom and Secure: Wrap the finished harness in split loom tubing or Tesa fleece tape to prevent rattling against the metal dashboard frame. Secure the harness with zip ties to existing factory wire runs.
Common Wiring Failure Modes and Troubleshooting
Even with a perfect wiring diagram for car radio installs, mistakes happen. Here is how to diagnose the three most common post-installation failures:
1. Alternator Whine (Ground Loop)
Symptom: A high-pitched whining noise through the speakers that increases in pitch with engine RPM.
Cause: A difference in electrical potential between the head unit's ground point and the external amplifier's ground point. Current is flowing through the RCA cable shields to equalize the voltage.
Fix: Sand the paint away from both ground points to ensure bare metal contact. Ensure both the head unit and amplifier are grounded to the same chassis cross-member. If the issue persists, install a PAC SNI-35 ground loop isolator on the RCA lines.
2. Parasitic Battery Drain
Symptom: The vehicle battery is dead after sitting for 2 to 3 days.
Cause: The Yellow (Constant) and Red (Switched) wires were swapped at the head unit pigtail. The radio never enters its low-power 'sleep' state and continues to draw 300mA to 800mA in standby.
Fix: Use a multimeter to verify the OEM harness pins. The pin that shows 12V at all times must connect to the Yellow wire. The pin that shows 12V only in the 'ACC' position must connect to the Red wire.
3. Loss of Memory and Presets
Symptom: Radio stations and clock settings reset every time the car is turned off.
Cause: The Yellow constant 12V wire is connected to a switched fuse, or the inline fuse holder has a loose connection causing intermittent power loss.
Fix: Trace the Yellow wire back to the fuse box. Use a fuse tap to connect it to a circuit that is 'hot' at all times, such as the interior dome light or horn fuse circuit. Ensure the fuse tap is oriented correctly so it does not bypass the factory fuse protection.
Conclusion
Successfully navigating the wiring diagram for car radio upgrades requires a blend of legacy electrical knowledge and modern data-bus comprehension. By adhering to CTA color codes, utilizing high-quality harness adapters, and employing proper soldering and heat-shrink techniques, you can achieve a factory-fit finish with audiophile-grade reliability. Always verify your specific vehicle's pinout with a digital multimeter before applying power to your new head unit.