
Decoding the EZ GO TXT Electric Wiring Diagram
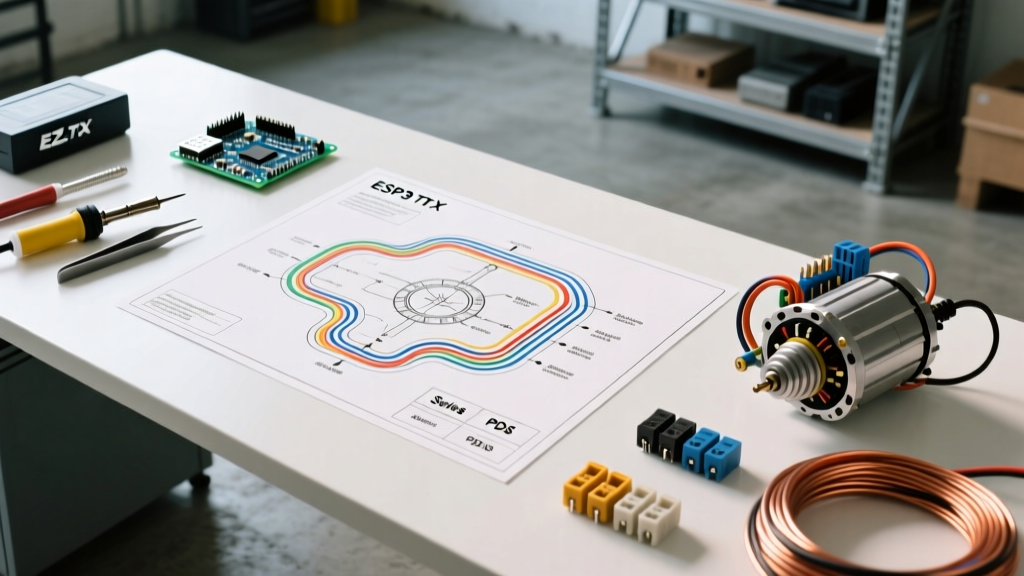
The EZ-GO TXT platform remains one of the most prolific and heavily modified electric golf carts in history. Whether you are restoring a 1996 Series model, troubleshooting a 2008 PDS (Precision Drive System), or planning a high-torque motor swap, understanding the underlying ez go txt electric wiring diagram is non-negotiable. Unlike modern brushless systems, the classic TXT relies on high-current DC series-wound motors, heavy-duty solenoids, and mechanical forward/reverse switching. In 2026, with the surge in aftermarket lithium conversions and AC drive upgrades, mastering the stock baseline wiring is the first step toward a reliable build.
⚠️ High-Current DC Safety Warning: A fully charged 36V EZ-GO TXT battery pack actually rests at roughly 38.2V and can deliver over 300 amps of short-circuit current. Always disconnect the main negative battery cable before touching any motor or solenoid terminals. According to the NFPA 70 National Electrical Code, DC circuits require specific overcurrent protection and wire gauge sizing to prevent thermal runaway.Motor Terminal Identification: A1, A2, S1, and S2
The heart of the TXT electrical system is the 7.5-inch DC Series-Wound Motor (commonly the AMD 7123 or GE 7.5-inch models). To wire it correctly, you must understand the four primary high-current terminals located on the motor casing.
| Terminal | Component | Function in the Circuit |
|---|---|---|
| A1 | Armature | Connects to the main battery negative (B-). Handles the primary current return path. |
| A2 | Armature | Connects to the motor-side large stud of the main high-current solenoid. |
| S1 | Stator (Field) | Connects to the Forward/Reverse switch. Reversing S1/S2 polarity changes cart direction. |
| S2 | Stator (Field) | Connects to the Forward/Reverse switch, completing the field circuit loop. |
Step-by-Step Motor Wiring Tutorial (36V Series System)
The Series system (pre-2001 models) uses a resistor-based speed control or an early solid-state controller. The mechanical Forward/Reverse (F/R) switch physically swaps the field polarity to change the motor's rotation. Here is the exact high-current path routing:
- Armature Negative Path: Run a 2 AWG cable from the main battery pack negative terminal directly to the motor's A1 terminal. Do not route this through the solenoid; the A1 path must remain unswitched to prevent inductive voltage spikes from destroying the controller.
- Armature Positive Path (Switched): Connect a 2 AWG cable from the motor's A2 terminal to the large motor-side stud on the main solenoid.
- Solenoid Battery Feed: Connect a 2 AWG cable from the solenoid's large battery-side stud to the main battery pack positive terminal. This is your main high-current switch.
- Field Circuit Integration: The S1 and S2 terminals wire into the back of the F/R switch. The F/R switch routes positive voltage from the key switch to one field terminal, and connects the other field terminal back to the solenoid's motor-side stud (A2). When you flip the F/R lever, the switch crosses these connections, reversing the magnetic field while the armature polarity remains static.
Expert Tip: Always install a pre-charge resistor (typically 250 ohms, 2W) across the solenoid's large terminals. This slowly charges the controller's main capacitors before the solenoid fully engages, preventing the massive inrush current that causes solenoid contacts to weld shut over time.
Series vs. PDS: Critical Wiring Differences
If your cart is a 2001 or newer PDS model, the ez go txt electric wiring diagram changes drastically. The PDS system uses a Separately Excited (Sep-Ex) motor.
- Motor Terminals: PDS motors still have A1 and A2 for the armature, but the field terminals are typically labeled F1 and F2 (or simply wired directly into a 6-pin controller harness).
- Direction Reversal: Unlike the Series system, the PDS does not use a high-current mechanical F/R switch to reverse the motor. Direction is handled electronically by the controller swapping the F1/F2 field polarity via solid-state MOSFETs.
- The F/R Switch: On a PDS, the F/R switch is merely a low-current micro-switch that sends a 16V logic signal to the controller's J2 harness to dictate direction. Upgrading a PDS motor requires matching the Sep-Ex field windings, otherwise the cart will throw a flashing error code on the charger receptacle.
2026 Upgrade Paths: Brushless AC Conversions
As of 2026, the most popular motor upgrade for the TXT platform is abandoning the DC series-wound motor entirely in favor of a Brushless AC (BLAC) drive system, such as the Alltrax DCX Controller or complete Navitas AC conversion kits.
When installing an AC motor, the wiring diagram simplifies significantly but requires strict adherence to phase sequencing. AC motors use three phase wires (U, V, W) typically colored Yellow, Green, and Blue, running from the controller to the motor. There are no A1, A2, S1, or S2 terminals. If the motor spins backward upon initial testing, you simply swap any two of the three phase wires. AC kits generally cost between $1,200 and $1,600 in 2026, offering regenerative braking and zero maintenance compared to the brush-replacement required on stock DC motors every 3 to 5 years.
Real-World Failure Modes and Troubleshooting
When diagnosing a TXT that won't run, technicians rarely find a dead motor. The failures are almost always in the wiring connections or switching components. Refer to this diagnostic matrix based on common field failures:
| Symptom | Probable Wiring Fault | Diagnostic Action |
|---|---|---|
| Solenoid clicks, but cart does not move. | Open circuit in the field loop (S1/S2) or broken A2 jumper. | Use a multimeter to check continuity between S1 and S2. Check the F/R switch micro-switches for 36V output. |
| Cart only moves in Reverse, not Forward. | Burnt contacts inside the mechanical F/R switch (Series models). | Inspect the copper contacts on the F/R switch. Pitting causes high resistance. Replace the switch assembly ($45-$65). |
| Cart accelerates on its own (Runaway). | Solenoid contacts welded shut; missing pre-charge resistor. | Immediately disconnect B-. Replace solenoid and install a pre-charge resistor to protect the new unit. |
| Motor runs but lacks torque / bogs down. | Corroded battery interconnects or undersized motor cables. | Perform a voltage drop test across every cable under load. Replace any 4 AWG stock cables with 2 AWG welding wire. |
Final Wiring Best Practices
When executing any ez go txt electric wiring diagram modifications, always use crimped and heat-shrink-sealed ring terminals. Never rely on solder for high-current DC motor leads; the heat generated by the motor and controller can melt solder joints, leading to catastrophic arcing. For authoritative schematics and factory service bulletins, always consult the EZ-GO Official Technical Support portal or your local dealer's service manual archive. By respecting the high-current pathways and understanding the distinction between armature and field circuits, you can safely upgrade, repair, and maintain the TXT platform for decades to come.