
Decoding the High-Output Wiring Diagram for Alternator Systems
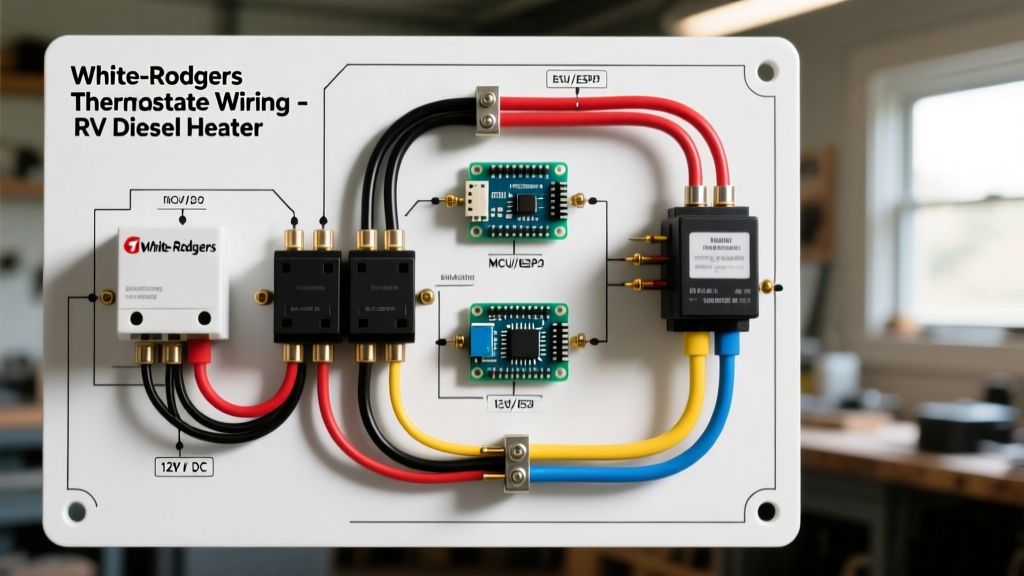
When upgrading an RV, marine vessel, or off-grid expedition truck to support massive lithium battery banks, the factory 80-amp charging system is entirely inadequate. Upgrading to a high-output unit (typically 180A to 250A) requires a complete overhaul of your DC distribution architecture. A standard automotive wiring diagram for alternator setups will not suffice here; instead, you must design a robust DC panel and breaker system capable of handling continuous high-amperage DC loads without thermal runaway or excessive voltage drop.
In this comprehensive guide, we break down the exact component selection, breaker sizing, and busbar integration required to safely wire a high-output alternator into a custom DC distribution panel. We will reference current 2026 marine and RV electrical standards to ensure your build is both safe and compliant.
2026 Component BOM: High-Output Alternator & DC Panel Integration
Before routing a single cable, you must select components rated for the continuous thermal load of a high-output charging system. Alternators rarely output their peak rating continuously, but your wiring and breakers must be sized for the absolute maximum to prevent nuisance tripping and fire hazards. Below is a professional-grade Bill of Materials (BOM) based on current 2026 market pricing and availability.
| Component Category | Recommended Model (2026) | Specifications | Est. Cost |
|---|---|---|---|
| High-Output Alternator | Balmar 6-240-IG | 240 Amp, 12V, Dual Fan, Isolated Ground | $1,150 |
| External Regulator | Balmar MC-618-H | Multi-stage, LiFePO4 profiling, alternator temp protection | $385 |
| Main Overcurrent Protection | Blue Sea Systems 5191 Class T | 300 Amp, 160V DC, 20kA Interrupt Capacity | $95 |
| DC Distribution Panel | Blue Sea ST Blade 12-Circuit | Negative bus included, max 100A total panel rating | $75 |
| Primary Charge Cable | Marine-Grade Tinned Copper | 2/0 AWG (Stranded, 105°C rating) | $14 / ft |
| Busbars | Blue Sea 250A PowerBar | 3/8-inch studs, tin-plated copper | $45 each |
Step-by-Step Panel & Breaker Integration
Executing the wiring diagram for alternator integration requires strict adherence to the sequence of overcurrent protection. DC faults do not have the natural zero-crossing of AC power, meaning a DC arc can sustain itself indefinitely if not properly interrupted by the correct breaker class.
Step 1: Alternator to Main Disconnect and Class T Fuse
The positive output stud on the back of the alternator must connect directly to your main battery bank positive busbar. According to ABYC E-11 Standards, overcurrent protection must be placed within 7 inches of the power source (the battery bank). Because the alternator is charging the battery, the battery is technically the 'source' in a fault scenario where the alternator diodes short.
- Wire Routing: Run 2/0 AWG tinned copper from the alternator B+ terminal to the battery positive busbar.
- Breaker Placement: Install the 300A Class T fuse block on the battery side of the busbar, within 7 inches of the battery positive terminal. Do not use ANL fuses for alternator circuits; their interrupt capacity (typically 2,700A) is too low for a dead-short on a massive lithium bank, which can deliver 10,000A+瞬间 fault current.
- Torque Specs: Torque all 3/8-inch lug connections to exactly 120 in-lbs (10 ft-lbs) using a calibrated torque wrench to prevent thermal loosening under high-amperage vibration.
Step 2: The Ignition and Voltage Sense Wires (The 'Brain' Circuit)
The heavy gauge wiring only carries the charging current. The external regulator requires a separate, fused circuit connected to your DC distribution panel to power its logic board and read the battery state.
- Ignition Wire (14 AWG): Route from a switched 12V source on your DC panel (e.g., a 'House Bank' rocker switch breaker) to the regulator's ignition terminal. This tells the regulator the engine is running and it is safe to begin charging.
- Voltage Sense Wire (10 AWG): This is the most critical wire in the entire diagram. It must run directly from the battery positive terminal to the regulator's sense terminal. Never connect the sense wire to the alternator B+ terminal or the DC panel busbar. Voltage drop across the 2/0 AWG cable under a 200A load can exceed 0.5V; if the regulator senses at the panel, it will overcharge the batteries to compensate for the phantom drop.
- Panel Fuse: Protect both the ignition and sense wires with a 10A ATC blade fuse located at the DC panel distribution point.
Step 3: DC Panel and Auxiliary Load Distribution
Your DC panel should be fed from the load side of the main battery bank busbar, not directly from the alternator. The alternator's raw output contains voltage ripple and spikes that can damage sensitive panel electronics. The battery bank acts as a massive capacitor, smoothing the DC waveform before it reaches your ST Blade DC panel breakers.
Expert Warning on LiFePO4 BMS Disconnects: In 2026, nearly all high-capacity lithium banks feature an internal Battery Management System (BMS) that will open the main contactor if the cells reach full charge or high-temperature limits. If your BMS disconnects the battery while the 240A alternator is actively charging, the resulting 'load dump' will instantly destroy the alternator's internal diodes and likely fry your regulator. You must wire a BMS alternator disconnect relay into your ignition circuit to shut down the regulator before the BMS opens the main contactor. Consult the Balmar Technical Support documentation for specific BMS relay wiring diagrams.
Critical Edge Cases and Failure Modes
Even with a perfect wiring diagram for alternator setups, environmental factors and component degradation can introduce severe failure modes. Understanding these edge cases separates professional marine electricians from weekend DIYers.
Edge Case 1: Regulator Hunting Due to Undersized Grounds
The Symptom: The alternator output fluctuates wildly between 12.8V and 15.5V, and the DC panel voltmeter flickers.
The Root Cause: The alternator case ground or the external regulator ground is undersized or suffering from galvanic corrosion. The regulator uses the ground path to complete its voltage sense circuit. A 0.2V drop on the ground wire tricks the regulator into thinking the battery is undercharged.
The Fix: Run a dedicated 4 AWG ground wire from the alternator casing directly to the engine block, and a dedicated 10 AWG ground from the regulator's ground terminal directly to the battery negative busbar. Never rely on the engine block or alternator mounting brackets for the regulator's logic ground.
Edge Case 2: Thermal Derating in Engine Bays
The Symptom: Alternator output drops from 240A to 90A after 15 minutes of highway driving.
The Root Cause: High-output alternators generate massive heat. Standard units are rated at an ambient temperature of 75°F (24°C). In a tightly packed RV engine bay, ambient temps easily exceed 150°F (65°C), triggering the regulator's thermal protection mode.
The Fix: Ensure your wiring diagram includes the alternator temperature sensor (ATS) strapped directly to the alternator casing. Furthermore, install a 12V DC blower fan (wired to a dedicated 15A breaker on your DC panel) to pull ambient air across the alternator's rear cooling fins.
Expert Troubleshooting Matrix
Use this matrix to diagnose issues at the DC panel and breaker level when the alternator fails to charge the house bank.
| DC Panel / Breaker Symptom | Probable Root Cause | Actionable Diagnostic Step |
|---|---|---|
| Main 300A Class T fuse is blown, but no short is visible. | BMS load dump or massive inrush current from a depleted LiFePO4 bank acting as a dead short. | Check BMS logs. Install a soft-start relay or pre-charge circuit on the alternator output line. |
| DC Panel breaker for 'Ignition' trips immediately upon engine start. | Ignition wire is chafed and shorting to the engine block, or the regulator logic board has failed internally. | Disconnect the ignition wire at the regulator. If the panel breaker holds, the regulator is shorted internally. |
| Panel voltmeter reads 14.4V, but battery monitor (shunt) reads 0 Amps. | Voltage sense wire is disconnected or blown 10A fuse at the panel. Regulator is defaulting to a safe 13.2V 'limp' mode. | Check the 10A ATC fuse on the DC panel sense circuit. Measure voltage at the regulator sense terminal. |
Frequently Asked Questions
Can I use an AC circuit breaker for the alternator DC output?
Absolutely not. AC breakers are designed to extinguish arcs using the natural zero-crossing of alternating current. DC current flows continuously, meaning an AC breaker will sustain a plasma arc across its contacts during a fault, eventually melting the breaker housing and starting a fire. Always use DC-rated breakers (like Class T, ANL, or MRBF) with the appropriate Ampere Interrupting Capacity (AIC) as outlined by NFPA 70 (NEC) guidelines for DC systems.
Why does my wiring diagram require a 300A fuse for a 240A alternator?
Overcurrent protection devices must be sized to protect the wire, not the source. Your 2/0 AWG marine wire is rated for over 350A in an engine space. A 300A Class T fuse protects the wire from catching fire in the event of a dead short, while providing enough overhead to prevent nuisance tripping during the alternator's initial inrush current spike when it first begins charging a deeply depleted battery bank.
Do I need to upgrade my engine block ground strap?
Yes. The factory ground strap on most automotive and marine engines is sized only for the starter motor and a standard 80A alternator. When pushing 240A of return current through the block, an undersized ground strap will create a severe voltage drop. Upgrade your engine-to-chassis ground strap to 2/0 AWG to match your positive alternator output cable, ensuring a balanced, low-resistance circuit.