
Why the Wiring Diagram for Generator Diagnostics is Non-Negotiable
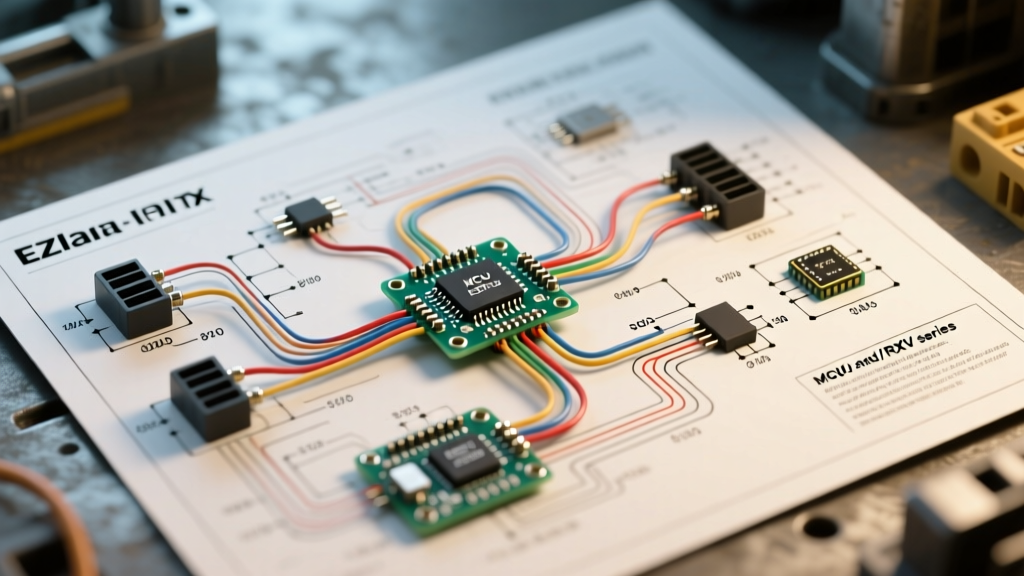
When a portable or standby generator cranks flawlessly but outputs zero voltage, guessing which component failed is a costly mistake. A wiring diagram for generator systems is your most critical diagnostic tool, transforming a chaotic nest of wires into a logical map of electrical flow. Whether you are servicing a conventional brushed alternator on a Generac GP8000E or diagnosing a dual-fuel Westinghouse WGen9500DF, the schematic reveals the exact pathways of the stator, rotor, and Automatic Voltage Regulator (AVR).
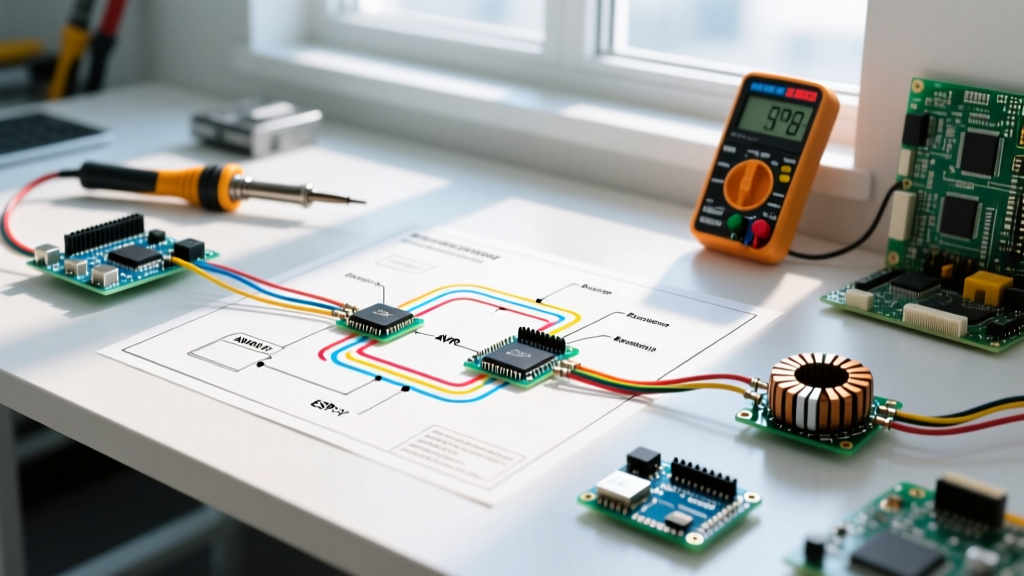
As of 2026, replacement parts for mid-range portable generators remain highly affordable—an AVR typically costs between $45 and $85, and a brush set is under $20. However, misdiagnosing a faulty stator as a bad AVR can lead to unnecessary parts swapping and wasted labor. By systematically tracing the wiring diagram, you can isolate the fault to a specific circuit loop using nothing more than a digital multimeter (DMM).
Decoding the Generator Schematic: The Four Main Loops
Before taking a single measurement, you must understand how to read the specific wiring diagram for generator alternators. Most conventional synchronous generators (both brush and brushless types) divide their electrical architecture into four distinct circuit loops:
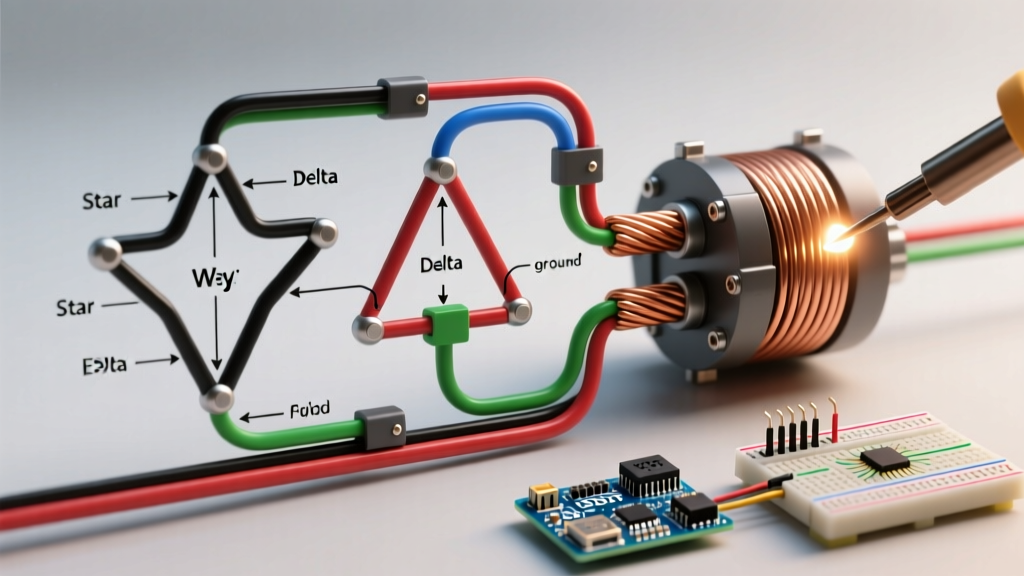
- Main Stator Windings: The heavy-gauge copper coils that generate the primary 120V/240V AC output. On the diagram, these route directly to the main circuit breakers and receptacles.
- Auxiliary (Excitation) Stator Windings: Thinner wires that generate a lower AC voltage (usually 20V to 40V AC) specifically to power the AVR and the battery charging circuit.
- Rotor (Field) Circuit: The DC electromagnet spinning inside the stator. In brushed models, the diagram will show slip rings and carbon brushes; in brushless models, it will depict an exciter stator and a rotating rectifier assembly.
- AVR Control Loop: The solid-state brain. The diagram will show the AVR sensing the main stator output and modulating the DC current sent to the rotor to maintain a steady 120V/240V output.
Step-by-Step Troubleshooting: Diagnosing 'No AC Output'
The most common generator failure is a complete loss of AC output despite the engine running at the correct 3600 RPM (for 60Hz systems). Here is how to use the wiring diagram to trace the fault.
Step 1: Verify Engine Speed and Receptacle Integrity
Before opening the alternator housing, ensure the engine is actually spinning at 3600 RPM. A bogged-down engine running at 2800 RPM will cause the AVR to cut excitation entirely to protect the system. Next, use your DMM on the AC Voltage (V~) setting to check the output terminals on the main breaker. If you read 0V, proceed to the stator.
Step 2: Isolate the Main Stator Windings
Consult your wiring diagram to locate the main stator leads (often labeled L1, L2, and N, or colored Black, Red, and White). Disconnect these wires from the main breakers to isolate the alternator from the load panel. Set your DMM to the lowest Ohms (Ω) range.
Expert Insight: A healthy main stator winding will show a very low resistance, typically between 0.1Ω and 0.5Ω. If your multimeter reads 'OL' (Open Loop) or infinite resistance, the stator winding is burned out and requires a complete stator replacement (a $250 to $450 repair).
Step 3: Check the Excitation Circuit and 'Flash the Field'
If the main stator tests good, the issue is likely a loss of residual magnetism in the rotor. The wiring diagram will show the path from the auxiliary winding to the AVR, and from the AVR to the rotor brushes (F+ and F-). With the generator off, measure the resistance across the F+ and F- slip rings. You should read between 20Ω and 35Ω for most 5kW to 10kW portable units. If the resistance is correct, the rotor is intact, but it lacks the magnetic 'seed' to start generating.
The Fix: Using a 12V DC battery, briefly 'flash' the field by applying positive to F+ and negative to F- for exactly 2 to 3 seconds while the engine is running. If AC voltage immediately appears at the receptacles, your AVR or excitation diode has failed to initiate the startup sequence.
Diagnosing AVR Failures Using the Schematic
The Automatic Voltage Regulator is the most frequent point of failure in portable generators, often destroyed by voltage spikes when users disconnect heavy inductive loads (like air compressors) without powering down the equipment first. The wiring diagram for generator AVRs typically shows four to six spade terminals:
- V+ and V- (or 1 and 2): Voltage sense wires connected to the main stator output.
- F+ and F- (or 3 and 4): DC output wires feeding the rotor field.
- Adj (Adjust): A trim potentiometer wire used to calibrate the exact 120V/240V output.
Diagnostic Test: If the stator and rotor test within spec, but the generator outputs either 0V or an unregulated 180V+, the AVR is likely dead. To confirm, locate the F+ and F- wires on the diagram. Disconnect them from the AVR. With the engine running, apply a regulated 12V DC source directly to the F+ and F- rotor brushes. If the main stator suddenly outputs a steady, albeit unregulated, AC voltage (usually around 90V to 110V AC depending on the exact RPM and stator winding ratio), the stator and rotor are perfectly healthy. The AVR is confirmed dead and must be replaced.
Inverter vs. Conventional: Wiring Diagram Differences
It is vital to recognize that the wiring diagram for generator systems utilizing inverter technology (such as the Honda EU2200i or Yamaha EF2000iS) looks radically different from conventional open-frame models. Inverter generators do not use an AVR or a 3600 RPM synchronous alternator.
Instead, the schematic will show a high-frequency, multi-pole 3-phase stator. The engine runs at variable RPMs, and the wild 3-phase AC output (which can range from 20Hz to 100Hz+) is routed directly into a massive solid-state Rectifier/Inverter board. This board converts the wild AC to DC, and then uses Pulse Width Modulation (PWM) to synthesize a perfect 60Hz pure sine wave 120V AC output. Troubleshooting these requires an oscilloscope to read the PWM switching frequencies and a specialized service manual, as standard AVR flashing techniques will instantly destroy the inverter MOSFETs.
Multimeter Diagnostics Matrix for Generator Components
Keep this reference table handy alongside your specific wiring diagram when diagnosing faults in the field.
| Component | DMM Setting | Expected Reading (Typical 5kW-10kW) | Failure Symptom on Diagram |
|---|---|---|---|
| Main Stator (L1 to N) | Resistance (200Ω) | 0.1Ω to 0.5Ω | 0V AC Output; Breaker trips instantly if shorted to ground. |
| Rotor Field (F+ to F-) | Resistance (200Ω) | 20Ω to 35Ω | 0V AC Output; AVR cannot build magnetic field. |
| Auxiliary Winding | AC Voltage (200V~) | 20V to 40V AC (at 3600 RPM) | AVR receives no power; Battery fails to charge. |
| Carbon Brushes | Visual / Continuity | Min 0.25 inch length; smooth face | Intermittent voltage; severe arcing visible at slip rings. |
| Rotating Rectifier (Brushless) | Diode Test Mode | 0.4V to 0.6V forward; 'OL' reverse | Low voltage output; AVR works at 100% duty cycle but field remains weak. |
Safety Protocols and Lockout/Tagout (LOTO)
Troubleshooting live generator circuits carries a severe risk of arc flash and electrocution. Before removing the alternator end-bell or disconnecting stator leads, you must adhere to strict safety protocols. The OSHA guidelines for Lockout/Tagout (LOTO) mandate that all prime movers be disabled. For a portable generator, this means disconnecting the spark plug wire and the 12V starting battery to prevent accidental cranking while your hands are inside the wiring housing.
Furthermore, if you are diagnosing a hardwired home standby generator connected to an Automatic Transfer Switch (ATS), you must ensure the utility grid backfeed is isolated. As outlined in the NFPA 110 Standard for Emergency and Standby Power Systems, testing transfer switches and generator outputs requires verifying that the neutral-to-ground bonding is correctly configured for the specific application (separately derived vs. non-separately derived systems). A misread wiring diagram regarding the neutral bonding strap can result in lethal fault currents during a ground fault event.
Final Thoughts on Schematic Literacy
A wiring diagram for generator repair is not just a picture; it is a logical sequence of electrical dependencies. By mastering the ability to trace the excitation loop, isolate the stator windings, and verify the AVR sense lines, you elevate your troubleshooting from guesswork to precise, cost-effective diagnostics. Always cross-reference the exact schematic for your specific model and serial number, as manufacturers frequently revise AVR pinouts and stator winding gauges mid-production.