
Navigating the GMT900 Electrical Architecture
Upgrading the factory stereo in a 2008 Chevy Silverado requires more than just matching wire colors; it demands a thorough understanding of General Motors' GMT900 electrical platform. As of 2026, these trucks remain incredibly popular on the road, but the original Delphi/Delco head units are increasingly suffering from failed capacitors, unresponsive touchscreens, and dead CD mechanisms. However, swapping the radio is notorious for causing secondary electrical gremlins if the wiring is mishandled.
The 2008 Silverado relies heavily on the Class 2 Serial Data Bus for communication between the Body Control Module (BCM), the Instrument Panel Integration Module (IPM), and the radio. Unlike older vehicles where the radio was a standalone accessory, the 2008 Silverado's radio acts as a node on the vehicle's data network. It processes door chimes, turn signal clicks, and OnStar telematics audio. Hardwiring an aftermarket radio without a data bus interface will result in a loss of these critical safety warnings and potentially trigger BCM error codes.
According to electrical integration bulletins from the official GM Upfitter portal, modifying or bypassing the Class 2 serial data network requires specialized interface modules to maintain vehicle safety compliance and prevent parasitic battery draws.
Primary 24-Pin Harness Pinout & Power Distribution
The base audio system (RPO UQ3) and the premium Bose system (RPO UQA) both utilize a primary 24-pin connector for power, ground, data, and illumination. Below is the exact pinout reference for the factory 24-pin harness. When using a multimeter, always reference your ground probe to Pin 15 (Black/White) or a verified bare metal chassis ground.
| Pin | Wire Color | Function | Multimeter Expected Reading |
|---|---|---|---|
| 16 | Orange | Battery 12V+ (Constant) | 12.2V - 12.6V (Key Off) |
| 15 | Black w/ White Stripe | Chassis Ground | 0.0V / Continuity to Chassis |
| 11 | Brown | Switched Accessory 12V+ | 12.2V+ (Key in ACC/RUN) |
| 12 | Tan | Class 2 Serial Data Bus | 0V - 7V PWM (Oscilloscope) |
| 13 | Gray w/ Black Stripe | Illumination / Dimmer | 0V (Lights Off) to 12V (Lights On) |
| 1 | Pink | Amplifier Turn-On (Bose only) | 12V (Radio On) |
The Class 2 Data Bus Nuance
Pin 12 (Tan) is the most misunderstood wire in the GMT900 harness. It is a single-wire, 0-7V Pulse Width Modulated (PWM) data line. It is not a standard 5V CAN-High/CAN-Low differential pair found in 2010+ vehicles. Standard aftermarket radios cannot read this signal natively. You must use a translation module to convert the Class 2 data into standard switched 12V outputs and analog chime audio.
Speaker Wire Color Code Matrix
If you are bypassing the factory Bose amplifier (using an interface like the Axxess GMOS-01) or wiring a base-model truck, you will connect directly to the factory speaker wires. GM adhered to a strict color-coding standard for the Delco speaker harness.
| Speaker Location | Positive (+) Wire | Negative (-) Wire |
|---|---|---|
| Left Front (Door) | Tan | Gray |
| Right Front (Door) | Light Green | Dark Green |
| Left Rear (Door/Pillar) | Brown | Yellow |
| Right Rear (Door/Pillar) | Dark Blue | Light Blue |
Expert Tip: If your 2008 Silverado is equipped with the Bose UQA system, the speaker wires from the factory radio output low-level (line-level) signals, not high-level amplified signals. Splicing standard high-level aftermarket speaker wires into a Bose low-level harness will result in severe distortion and potential damage to the new head unit's preamp outputs. Always verify your RPO code (found in the glovebox sticker) before cutting wires.
Retaining Safety Chimes and Factory Features
Retaining safety warnings is not just a convenience; the National Highway Traffic Safety Administration (NHTSA) emphasizes the critical importance of audible vehicle warnings for seatbelts, open doors, and turn signals. In the 2008 Silverado, the BCM sends a data request to the radio to generate these chimes through the left-front door speaker. If the radio is removed without a data interface, the truck goes completely silent.
2026 Interface Module Comparison
To retain chimes, OnStar, steering wheel controls (SWC), and the Bose amplifier, you need a dedicated data bus interface. Here is how the top three modules compare in the current market:
- PAC RP5-GM11 ($110 - $130): The gold standard for GMT900 trucks. It retains the Bose amplifier, OnStar, and factory chimes. It features a built-in adjustable chime volume pot, which is a massive advantage if you find the factory door chimes too loud.
- Axxess GMOS-04 ($90 - $110): Excellent for retaining the Bose amp and chimes, but lacks the granular chime volume adjustment of the PAC unit. It requires a separate ASWC-1 module for steering wheel controls.
- iDatalink Maestro RR ($160 - $190): Best if you are installing a high-end Kenwood, Alpine, or Pioneer radio with an iDatalink port. It flashes the factory radio firmware to translate CAN/Class 2 data directly to the screen, allowing you to view vehicle gauges and settings on the aftermarket display.
Step-by-Step Harness Integration & Testing
- Disconnect the Battery: Always disconnect the negative terminal on the GMT900 platform. The airbag system (SIR) is highly sensitive, and probing the wrong pin near the IPM can trigger an SIR fault code.
- Dash Disassembly: Use a trim removal tool to pop the bezel surrounding the radio and HVAC controls. Remove the four 7mm hex-head screws securing the factory radio. Unplug the 24-pin power/data harness, the 12-pin speaker harness, and the coaxial antenna cable.
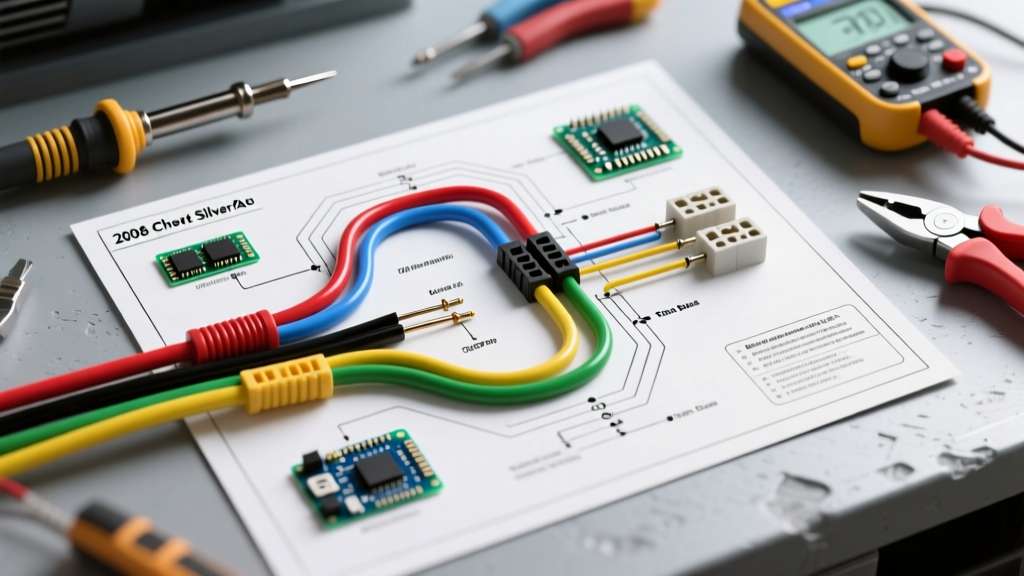
- Bench Wire the Interface: Do not attempt to solder or crimp inside the tight dashboard cavity. Wire your chosen interface module (e.g., PAC RP5-GM11) to your aftermarket radio's harness on a workbench. Use heat-shrink butt connectors or high-quality solder joints. Avoid twist-tape methods, as automotive temperature fluctuations will cause them to fail.
- Verify Power Before Final Assembly: Reconnect the truck battery temporarily. Turn the key to ACC. Use a digital multimeter to verify 12V at the aftermarket radio's red (accessory) and yellow (constant) wires. Ensure the interface module's LED status indicator is blinking, confirming it has successfully handshaked with the BCM via the Tan Class 2 data wire.
- Test the Chimes: Open the driver's door with the key in the ignition. You must hear the warning chime from the left-front speaker. If you do not, the data bus connection on Pin 12 is faulty or the interface module has not been programmed to the vehicle's specific VIN/RPO configuration.
Troubleshooting Common GMT900 Wiring Failures
| Symptom | Probable Cause | Diagnostic Solution |
|---|---|---|
| Radio turns on, but no audio and no door chimes. | Class 2 Data Bus (Tan wire) is disconnected or shorted to ground. | Check continuity of the Tan wire from the 24-pin plug to the interface module. Ensure it is not pinched behind the dash. |
| Radio works, but battery drains overnight (Parasitic Draw). | Constant 12V (Orange) and Accessory 12V (Brown) are swapped, or interface module is failing to sleep. | Verify Pin 16 is Orange (Constant) and Pin 11 is Brown (Switched). If swapped, the radio stays awake when the key is off. |
| Severe audio distortion / alternator whine. | Improper grounding or splicing high-level wires into a Bose low-level harness. | Ensure the Black/White ground wire is terminated to bare, unpainted metal. Verify Bose bypass/retain settings on the interface. |
| Steering wheel controls do not respond. | SWC data wires (typically Green/White and Gray/White) not connected to the radio's SWC input. | Locate the 12-pin secondary connector. Pin 5 (Gray/White) and Pin 6 (Green/White) carry the resistor-ladder SWC signals. |
For advanced diagnostics regarding GM serial data networks and module communication protocols, referencing SAE International standards for J1850 and Class 2 networks provides the foundational engineering data necessary to understand how the BCM prioritizes audio interrupt requests over standard media playback.
Final Installation Considerations
When securing the new radio into the Metra 99-3011G (Double-DIN) or 95-3011G (Single-DIN) dash kit, ensure no bare wire strands are left exposed near the metal HVAC housing behind the radio. The GMT900 dash cavity is incredibly tight, and the HVAC blower motor resistor sits directly behind the radio stack. A stray 12V wire brushing against the HVAC housing will instantly blow the 15A 'Radio' fuse in the underhood fuse block (UBEC), and in worst-case scenarios, can fry the BCM. Wrap the entire aftermarket harness in Tesa tape (fleece automotive harness tape) to eliminate dash rattle and provide an extra layer of abrasion resistance against the factory wiring loom.