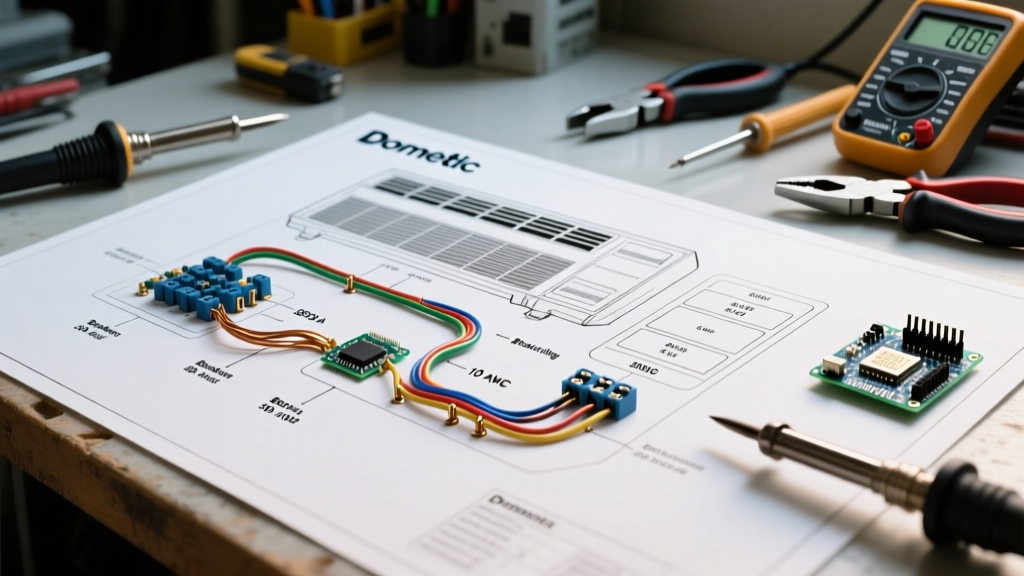

Decoding the Wiring Diagram for Dometic Air Conditioner Systems
When integrating a high-draw appliance into an RV or marine power center, understanding the wiring diagram for Dometic air conditioner units is critical for safety and performance. Unlike residential HVAC systems that pull from a massive 200A municipal grid, RV and marine environments rely on finite 30A or 50A shore power feeds, making branch circuit protection and wire gauge selection paramount. In 2026, with copper prices stabilizing but still high, oversizing wire is an expensive mistake, while undersizing it is a severe fire hazard.
This guide focuses strictly on the panel and breaker side of Dometic's most popular roof-mounted units: the Penguin II, BriskAir Evolution, and CoolAir RTX inverter models. We will bypass basic mechanical installation and dive deep into the electrical distribution, breaker sizing matrices, and control board signal wiring.
120V AC Main Power: Breaker Sizing & Wire Gauge Matrix
The most common failure point in aftermarket AC installations is nuisance breaker tripping during compressor startup. Dometic compressors exhibit a high Locked Rotor Amperage (LRA) spike that lasts for milliseconds but can trip standard thermal-magnetic breakers if the branch circuit is improperly sized. According to the RV Industry Association (RVIA) standards and NFPA 70 (NEC) Article 551, motor circuits must be sized to handle continuous loads plus startup surges.
| Dometic Model | Capacity | RLA (Running Amps) | LRA (Startup Spike) | Required Breaker | Wire Gauge (< 40ft Run) | Wire Gauge (> 40ft Run) |
|---|---|---|---|---|---|---|
| BriskAir Evolution | 13,500 BTU | 9.8A | 42A | 15A (Standard) | 14 AWG Stranded | 12 AWG Stranded |
| Penguin II (Standard) | 15,000 BTU | 11.5A | 51A | 20A (Required) | 12 AWG Stranded | 10 AWG Stranded |
| Penguin II (Heat Pump) | 15,000 BTU | 12.8A | 54A | 20A (Required) | 12 AWG Stranded | 10 AWG Stranded |
| CoolAir RTX (Inverter) | 13,500 BTU | 7.5A (Variable) | 12A (Soft Start) | 15A (Standard) | 14 AWG Stranded | 12 AWG Stranded |
Expert Insight: If you are retrofitting a 15,000 BTU Penguin II onto an older RV with a 30A main service and only 15A branch breakers available in the WFCO power center, you must install a soft-start device (like the Micro-Air EasyStart). This reduces the LRA spike by up to 70%, allowing the 15k unit to run safely on a 15A breaker with 14 AWG wire, provided the run is under 30 feet.
Anatomy of the Wiring Diagram: 120V AC Connections
When you pull the shroud off a Dometic Penguin II, you will find a sealed junction box containing the main terminal block. The wiring diagram for Dometic air conditioner 120V circuits is remarkably simple, but the execution requires strict adherence to torque specifications.
The Three-Wire AC Feed
- L1 (Hot): Connects to the black wire from the breaker panel. This carries the 120V AC load. On Dometic terminal blocks, this is typically labeled 'L' or 'BLACK'.
- Neutral: Connects to the white wire. This completes the circuit back to the RV's neutral bus bar. Labeled 'N' or 'WHITE'.
- Ground: Connects to the bare copper or green wire. This must terminate on the RV's grounding bus bar and the chassis ground. Never bond neutral and ground at the AC unit; this must only occur at the main service entrance.
For marine applications, ABYC standards require all conductors to be tinned marine-grade wire (THHN/THWN-2 or UL 1426) to prevent black oxide corrosion, which increases resistance and causes voltage drop. In 2026, a 50-foot spool of 12 AWG tinned marine wire costs approximately $45, compared to $28 for standard RV stranded copper.
Thermostat and Control Board Wiring (12V DC & Signal)
The most misunderstood part of the Dometic wiring diagram is the low-voltage control side. Dometic does not use standard 24V AC transformer systems like residential thermostats. Instead, they utilize a 12V DC system communicating via a digital data bus.
Dometic Comfort Control Center 2 (CCC 2) Pinout
The CCC 2 thermostat connects to the main control board via a 4-wire RJ11 telephone-style cable. If you are extending this wire or troubleshooting a dead thermostat, you must map the pins correctly. Reversing the data pins will not cause a short, but the thermostat will fail to initialize.
| Wire Color | Function | Voltage / Signal | Troubleshooting Note |
|---|---|---|---|
| Red | 12V DC Power (+) | 12.0V - 13.8V DC | Check 12V fuse on main DC panel if dead. |
| Black | 12V DC Ground (-) | 0V (Reference) | Must have continuity to chassis ground. |
| Green | Data + (Comm) | Digital Pulse (0-5V) | Requires twisted pair with Yellow for noise rejection. |
| Yellow | Data - (Comm) | Digital Pulse (0-5V) | Do not route parallel to 120V AC lines. |
Information Gain: If you are running the RJ11 cable through the RV ceiling, keep it at least 2 inches away from the 120V AC Romex or stranded wire. The electromagnetic interference (EMI) from the AC compressor's contactor switching can corrupt the digital data packets, resulting in the CCC 2 displaying an 'EE' error code or dropping the connection entirely.
Common Panel & Breaker Failure Modes
Even when following the wiring diagram for Dometic air conditioner units perfectly, environmental factors and panel degradation can cause issues. Here are the top three failure modes we diagnose in the field:
- Voltage Drop at the Power Center: If the wire run from the shore power inlet to the main 30A/50A breaker is too long or undersized, the voltage at the AC branch breaker may drop below 108V under load. Dometic compressors will overheat and trip their internal thermal overload protector. Fix: Measure voltage at the AC junction box while the compressor is running. If it reads below 110V, upgrade the main feed wire, not just the branch wire.
- Thermal Nuisance Tripping: RV power centers (like older WFCO 8900 series) are often installed in unventilated cabinets. A 20A breaker carrying an 11.5A continuous load in a 110°F ambient cabinet environment will thermally derate and trip prematurely. Fix: Ensure the power center has adequate louver ventilation or install a 12V DC cooling fan inside the breaker cabinet.
- Corroded Bus Bar Connections: In marine environments, salt air penetrates the breaker panel. A loose or corroded connection on the hot bus bar creates a high-resistance joint, generating massive heat that melts the breaker casing before the breaker ever trips. Fix: Perform annual thermographic inspections or use a torque screwdriver to ensure all bus bar set screws are tightened to the manufacturer's spec (usually 20-25 in-lbs for Square D QO breakers).
Step-by-Step: Wiring the Dedicated AC Breaker
When adding a new dedicated circuit for a Dometic BriskAir to an existing Progressive Dynamics or WFCO panel, follow this exact sequence to ensure code compliance and safety.
- Step 1: Disconnect all shore power and shut off the inverter/charger. Verify zero voltage at the main bus bars using a CAT III multimeter.
- Step 2: Route the 12 AWG stranded wire from the AC roof junction box down through the RV wall cavity to the power center. Use split-loom tubing and grommets where the wire passes through metal framing.
- Step 3: Strip 3/8 inch of insulation from the black (hot) wire. Insert it into the terminal of a new 20A breaker (e.g., Square D QO120) and torque the set screw to 25 in-lbs.
- Step 4: Snap the breaker into an available slot on the hot bus bar.
- Step 5: Terminate the white (neutral) wire onto the neutral bus bar, ensuring no more than two wires are under a single lug screw, as per Dometic installation guidelines and NEC standards.
- Step 6: Terminate the green/bare ground wire onto the dedicated ground bus bar.
- Step 7: Re-energize the system and measure the voltage at the AC unit's terminal block. It should read between 115V and 125V AC before engaging the compressor.
Frequently Asked Questions
Can I use solid copper Romex wire in my RV for the Dometic AC?
No. The NEC Article 551 and RVIA standards strictly require stranded wire for RV branch circuits due to the constant vibration and flexing of the vehicle chassis. Solid wire will work-harden, fracture, and cause an arc fault over time. Always use stranded THHN or automotive-grade GXL wire.
Does the Dometic Penguin II heat pump require a larger breaker than the AC-only model?
While the heat pump draws slightly more running amps (RLA) due to the reversing valve and extended runtime, the maximum branch circuit rating remains 20A for both models. However, if you are operating in freezing conditions where the electric strip heater (if equipped) engages simultaneously, you must verify the specific wattage of the heater kit, as some 1500W heater elements require their own dedicated 15A circuit separate from the compressor circuit.
Why does my Dometic AC trip the GFCI breaker immediately upon startup?
This is usually caused by the high-frequency noise generated by the compressor's start capacitor or a faulty EMI filter on the AC control board leaking current to ground. Standard residential GFCI breakers are highly sensitive to this. In RV applications, the AC branch circuit should not be protected by a GFCI breaker unless specifically mandated by local marine codes for wet locations; standard thermal-magnetic breakers are the correct specification for roof-mounted RV AC units.