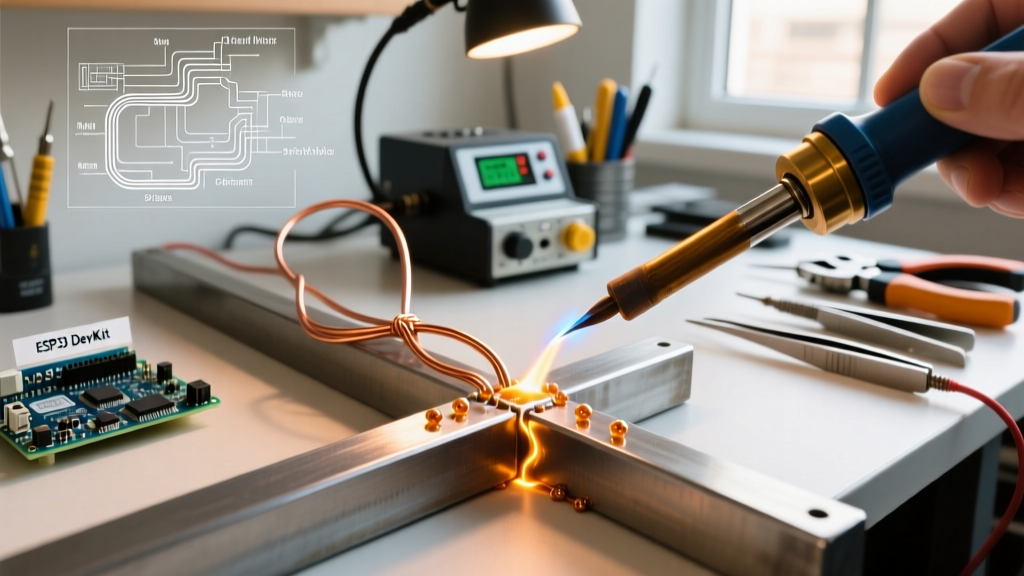

The Metallurgical Challenge of Steel
Soldering steel to steel is fundamentally different from soldering copper or brass. While copper readily accepts rosin flux and standard tin-lead alloys, steel presents a severe metallurgical barrier: a rapidly forming, microscopic layer of iron oxide. Furthermore, the carbon content in mild steel (such as AISI 1018) and the chromium content in stainless steel actively repel standard solder alloys. To achieve a true metallurgical bond, you must mechanically remove the oxide layer, chemically prevent its reformation using aggressive acid-based fluxes, and manage the high thermal mass of steel.
This step-by-step tutorial covers the exact procedures, material specifications, and thermal management techniques required to successfully solder steel to steel in 2026, whether you are repairing automotive brackets, fabricating custom enclosures, or assembling structural armatures.
Critical Distinction: Mild Steel vs. Stainless Steel
This guide focuses on mild/carbon steel. Stainless steel (e.g., 304 or 316 grades) contains chromium, which forms an ultra-dense, self-healing chromium oxide layer. Soldering stainless steel requires specialized, highly corrosive phosphoric acid fluxes or a pre-plating process (like electroless nickel plating). Attempting to solder stainless steel with standard zinc chloride flux will result in immediate joint failure.
Essential Gear & Material Specifications
Do not attempt this process with a standard 40W electronics soldering iron or rosin-core solder. Steel acts as a massive heat sink, requiring high-wattage tools and specific consumables.
- Heat Source: For sheet metal (20-16 gauge), use a Weller W100PG (100W) soldering iron equipped with a CT6E7 heavy-duty chisel tip ($65–$85 total). For thicker structural joints (>14 gauge), use a Bernzomatic TS8000 high-intensity torch ($60) fueled by MAP-Pro gas.
- Flux: Harris Stay-Clean Liquid Flux (Zinc Chloride base). Cost: ~$9.00 per 4oz bottle. Never use rosin or organic acid (OA) fluxes on steel.
- Solder Alloy: Harris Stay-Brite 8 (Silver-bearing, 96.25% Sn / 3.75% Ag). Cost: ~$40 per 1/2lb roll. The silver content drastically improves wetting and tensile strength on ferrous metals.
- Prep & Cleaning: 80-grit aluminum oxide sandpaper, pure acetone ($6/can), and lint-free wipes.
- Neutralization: Standard sodium bicarbonate (baking soda) and distilled water.
Solder Alloy Comparison for Steel Joints
| Alloy Designation | Composition | Melting Point | Tensile Strength (PSI) | Best Use Case |
|---|---|---|---|---|
| Stay-Brite 8 (Silver) | 96.25% Sn, 3.75% Ag | 430°F (221°C) | 14,000 | High-vibration, structural steel joints |
| 95/5 (Antimony) | 95% Sn, 5% Sb | 452°F (233°C) | 11,500 | General fabrication, plumbing brackets |
| 50/50 (Lead) | 50% Sn, 50% Pb | 418°F (214°C) | 7,300 | Non-structural, low-cost prototypes (RoHS restricted) |
Note: According to the American Welding Society (AWS), silver-bearing tin alloys provide superior capillary flow and fatigue resistance on ferrous substrates compared to standard tin-lead or tin-antimony binaries.
Step-by-Step Execution Guide
Step 1: Mechanical and Chemical Preparation
The success of soldering steel to steel is determined before you even turn on your iron. You must expose bare, unoxidized iron.
- Abrasion: Use 80-grit sandpaper or a Scotch-Brite wheel to abrade the mating surfaces until they shine brightly. Remove all rust, mill scale, and paint. Extend the sanded area 1/4 inch beyond the intended joint footprint.
- Solvent Wipe: Douse a lint-free cloth in pure acetone and wipe the sanded areas to remove grinding dust and manufacturing oils.
- The Finger Rule: Once cleaned, do not touch the steel with bare skin. The natural sebum and salts from your fingers will instantly contaminate the surface and block solder wetting.
Step 2: Flux Application
Apply a generous, even coat of Harris Stay-Clean Liquid Flux to both mating surfaces using an acid brush. The zinc chloride in the flux will chemically dissolve any micro-oxidation that formed after sanding. If you are soldering overlapping sheets, use a toothpick to wick the liquid flux directly into the seam via capillary action before heating.
Step 3: Thermal Management & Heating
Steel has a specific heat capacity of roughly 0.49 J/g°C, meaning it requires substantial energy to reach soldering temperatures.
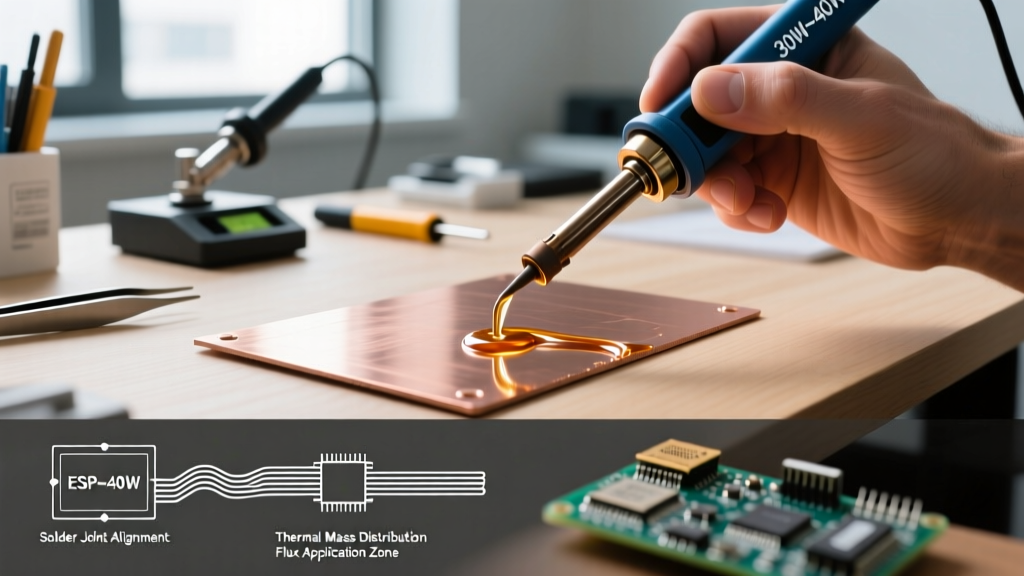
- Using a Soldering Iron: Press the broad face of the CT6E7 tip firmly against the thickest part of the steel joint. Hold for 5–10 seconds. You will see the liquid flux begin to bubble, then settle into a clear, milky layer. This indicates the flux has reached its activation temperature (~300°F).
- Using a Torch: Use a sweeping, circular motion with the MAP-Pro flame. Keep the inner blue cone about 1 inch away from the metal. Do not concentrate the flame on one spot, or you will burn the flux into a useless black carbon crust.
Step 4: Solder Feeding and Wetting
Once the flux is fully active and the steel is hot enough to melt the solder on contact (approx. 450°F surface temp), introduce the Stay-Brite 8 solder.
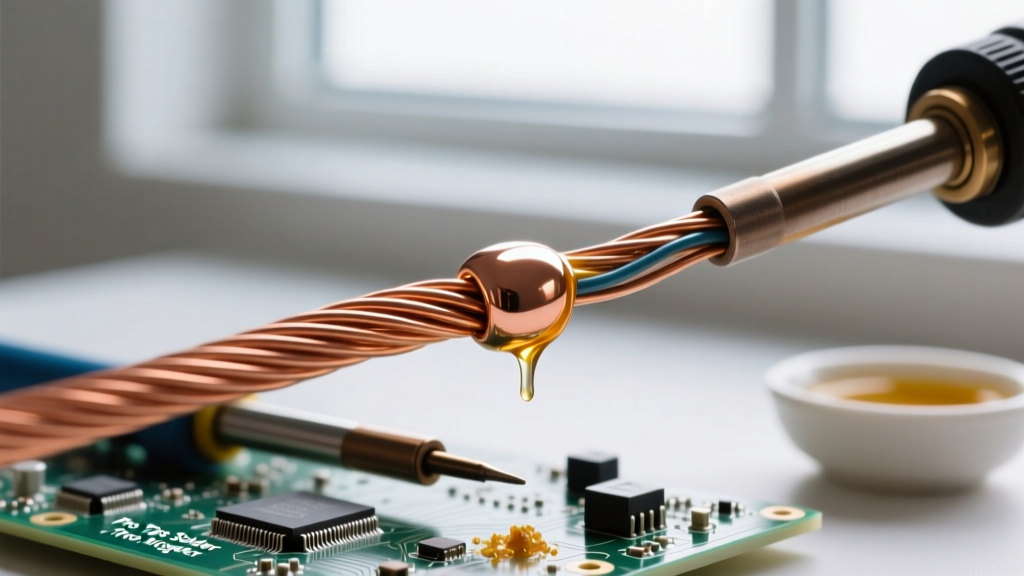
Pro Tip: Never melt the solder directly on the iron tip or torch flame and try to "drop" it onto the steel. The solder must melt against the heated steel surface. If the steel isn't hot enough, the solder will ball up and roll off. Touch the solder wire to the joint interface; if it flashes into a liquid and is instantly sucked into the seam, you have achieved proper capillary wetting.
Feed the solder along the seam until a continuous, smooth fillet forms. Remove the heat source immediately once the joint is filled to prevent flux burn-off.
Step 5: Cooling and Neutralization (CRITICAL)
Allow the joint to cool naturally. Do not quench it with water, as thermal shock can crack the silver-tin crystalline structure. Once the steel is cool to the touch, you must neutralize the acid flux. Zinc chloride is highly hygroscopic; if left on the steel, it will pull moisture from the ambient air and cause severe galvanic corrosion within 48 hours, destroying your joint from the inside out.
- Mix 1 tablespoon of baking soda into 8oz of warm distilled water.
- Scrub the joint vigorously with a stiff nylon brush dipped in the solution. You will see it fizz as the sodium bicarbonate neutralizes the hydrochloric byproducts.
- Rinse with clean water and dry immediately with compressed air or a heat gun.
Troubleshooting Matrix: Failure Modes & Edge Cases
| Visual Symptom | Root Cause | Corrective Action |
|---|---|---|
| Solder balls up and rolls off the steel | Iron oxide layer remains; insufficient mechanical prep or flux activation. | Let cool, re-sand with 80-grit, re-apply Stay-Clean flux, and increase heat dwell time. |
| Flux turns black and crusty before solder melts | Overheating; torch dwell time too long or iron wattage too high for the mass. | Clean joint with wire brush. Apply fresh flux. Use a broader heat sweep or step down to a 75W iron. |
| Joint looks dull, grainy, and cracks when moved | Cold joint; steel acted as a heat sink, dropping alloy below its liquidus temp before crystallization. | Re-heat the joint with a higher BTU source (torch) until the existing solder re-flows smoothly, then add fresh solder. |
| White powdery residue appears days later | Flux was not neutralized; zinc chloride is eating the steel. | Wire brush the corrosion away, scrub with baking soda solution, rinse, and seal with a clear acrylic conformal coating. |
Safety, Fumes, and Ventilation Standards
Soldering steel with zinc chloride flux generates highly toxic and corrosive fumes, including hydrogen chloride gas and zinc oxide particulates. According to OSHA hazard guidelines and industrial hygiene standards, inhaling these fumes can cause metal fume fever and severe respiratory tract irritation.
As of 2026, best practices for DIY and professional shops dictate the use of a Local Exhaust Ventilation (LEV) system. A standard desktop fan blowing fumes across your face is entirely inadequate and dangerous. Position an activated carbon and HEPA-filtered fume extractor (such as the Hakko FA-400 or a ducted industrial snorkel) within 6 inches of the soldering zone. Always wear ANSI-approved safety glasses; boiling acid flux can spit and cause permanent corneal damage.
For comprehensive data on safe handling, storage, and first-aid measures for zinc chloride fluxes and silver-bearing solders, always consult the manufacturer's Safety Data Sheets (SDS) available via the Harris Products Group technical library before beginning your project.