
Pre-Production Briefing: The 'MAPP' Gas Reality Check
Before we roll the camera on our visual guide to sweating copper, we need to address a massive industry misconception. If you are buying MAPP gas for soldering copper pipe in 2026, you are actually buying MAP-Pro. True MAPP gas (methylacetylene-propadiene propane) was discontinued by Dow Chemical in 2008 due to the high cost of production and the rise of safer alternatives.
Today's yellow cylinders contain propylene (MAP-Pro). While it burns slightly cooler than the original MAPP (3,730°F vs. 3,730°F+ depending on the exact mixture and oxygen draw), it burns significantly hotter than standard blue-cylinder propane (3,600°F). This intense, concentrated heat is exactly what you need to quickly bring thick-walled copper pipes and heavy brass fittings up to the 450°F threshold required for lead-free silver-bearing solder.
🎙️ Director's Note: Never use a standard propane torch on 1-inch or larger copper lines, or when working near thick brass valves. The heat dissipates too fast, resulting in cold joints. MAP-Pro is the mandatory choice for these high-mass thermal sinks.
Scene 1: The Gear & Material Setup [WIDE SHOT]
🎥 Visual Cue: Camera pans across a clean, organized workbench. The lighting is bright, highlighting the distinct yellow and red colors of the fuel and flux containers.
To execute a flawless solder joint, your bill of materials must be exact. Here is the professional-grade loadout for a standard residential potable water repipe:
| Category | Specific Product / Model | Est. 2026 Cost | Why We Use It |
|---|---|---|---|
| Torch Head | Bernzomatic TS8000 | $75.00 | Swirl combustion chamber; auto-ignition; locks onto high-temp fuel. |
| Fuel Cylinder | Worthington MAP-Pro (14.1 oz) | $18.00 | Propylene blend for rapid heat transfer on thick copper. |
| Solder Wire | Oatey Safe Flo 95/5 (Lead-Free) | $28.00 / 8oz | 95% Tin, 5% Antimony. Meets EPA Safe Drinking Water Act standards. |
| Flux Paste | Oatey No. 95 Tinning Flux | $9.00 / 8oz | Contains powdered solder to aid capillary draw on vertical joints. |
| Abrasive | Hercules 120-Grit Sand Cloth | $6.00 | Removes cupric oxide without leaving embedded debris. |
Scene 2: Pipe Prep & Fluxing [MACRO CLOSE-UP]
🎥 Visual Cue: Extreme close-up on the pipe end. The camera focuses on the transition from dull, oxidized brown copper to a brilliant, mirror-like shine.
The success of MAPP gas for soldering copper pipe relies entirely on what happens before the flame is ever ignited. Solder will not adhere to cupric oxide (the dark tarnish on copper).
Step 1: Cut, Ream, and Sand
- Cut Square: Use a rigid tubing cutter. A crooked cut leaves a gap that solder cannot bridge.
- Ream the Inside: Use the reaming blade on your cutter to remove the internal burr. Expert Insight: According to the Copper Development Association, failing to ream the inside edge creates water turbulence, leading to erosion-corrosion and eventual pinhole leaks downstream.
- Sand the Outside: Wrap 120-grit sand cloth around the pipe end. Twist until the copper shines like a new penny. Do not touch it with your bare fingers afterward; skin oils will contaminate the joint.
Step 2: The Flux Application
🎥 Visual Cue: Slow-motion shot of a flux brush applying a microscopically thin, even layer of amber paste to the pipe and the inside of the fitting.
Flux is a chemical cleaner (usually zinc chloride-based) that dissolves microscopic oxides when heated. Apply a thin coat to the outside of the pipe and the inside of the fitting. Push the fitting onto the pipe and give it a quarter-turn to spread the flux evenly. Wipe away any excess paste on the outside with a rag—excess flux will boil and splatter when hit with the TS8000's intense heat.
Scene 3: Heating & Capillary Action [ACTION SHOT]
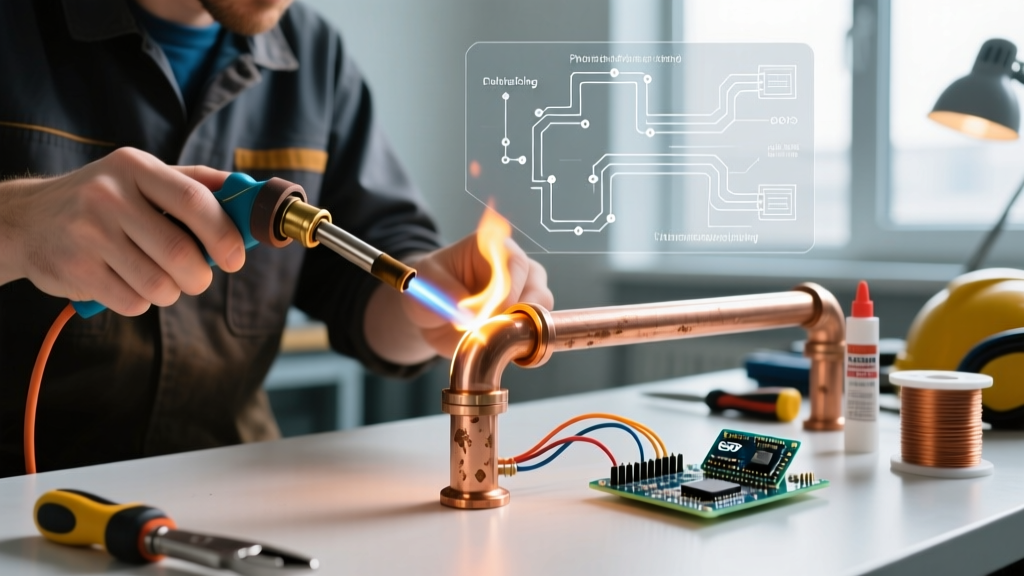
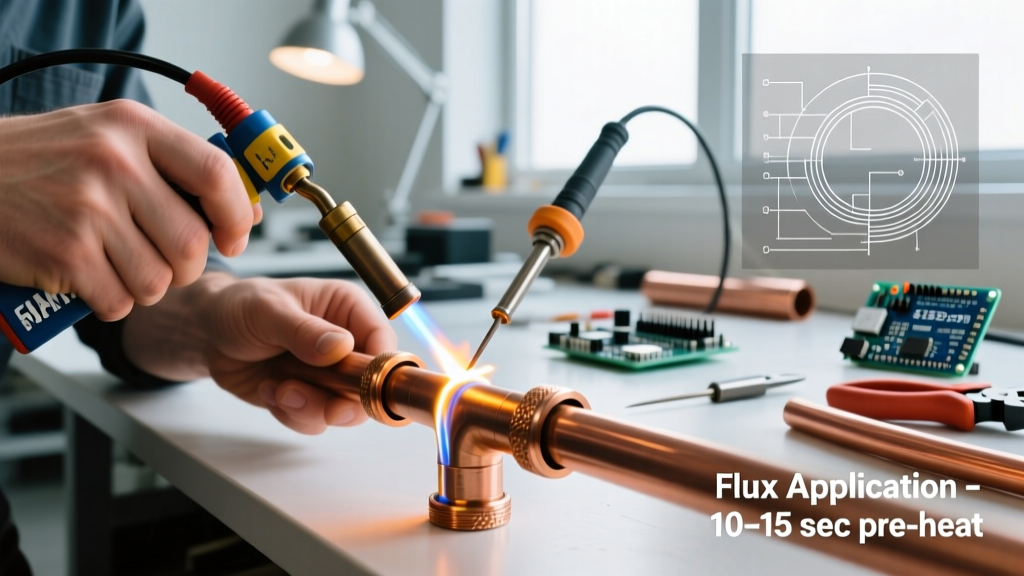
🎥 Visual Cue: Handheld, dynamic camera angle. The blue-inner-cone of the TS8000 torch dances across the copper fitting. The audio captures the distinct, aggressive 'roar' of the MAP-Pro swirl flame.
This is where the magic of physics takes over. We are not melting solder into a hole; we are using capillary action to draw liquid metal into a microscopic gap (usually 0.002 to 0.005 inches wide).
The Heating Technique
- Ignite and Adjust: Trigger the TS8000. Adjust the valve until the inner blue cone is about 1.5 inches long.
- Target the Mass: Do not aim the flame directly at the joint seam. Aim it at the thickest part of the fitting (the middle of the coupling or the body of a valve). The fitting has more mass and needs more time to reach temperature than the thin-walled pipe.
- Keep it Moving: Sweep the flame back and forth across the fitting. Never hold it in one spot, or you will burn the flux, turning it into a black, crusty barrier that blocks solder flow.
The Solder Feed (The 3-Second Rule)
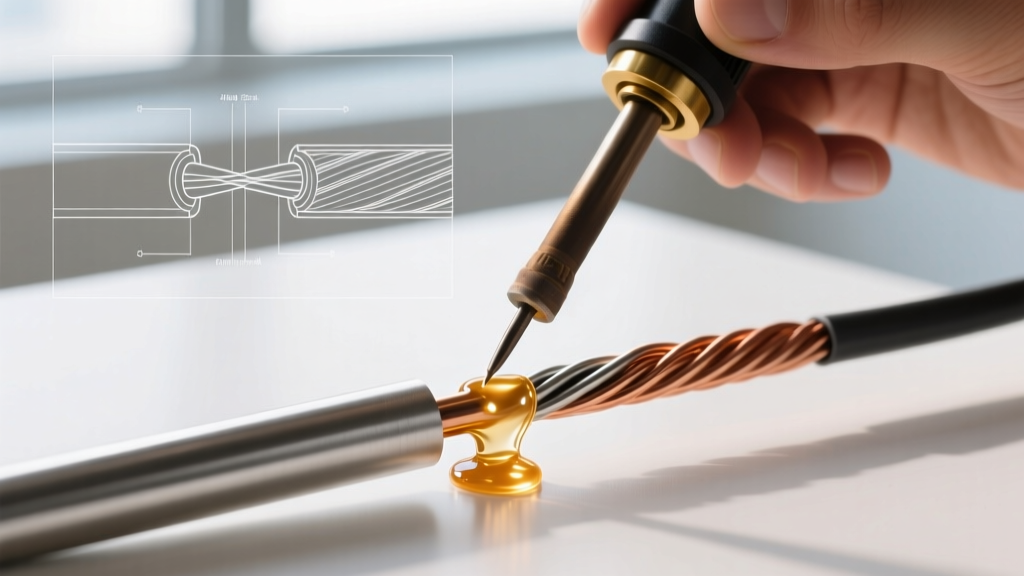
🎥 Visual Cue: Close-up on the opposite side of the joint. The solid silver wire touches the copper and instantly flashes into a liquid, disappearing into the seam like water into a sponge.
After about 5 to 8 seconds of heating (depending on pipe diameter), pull the flame away for one second and touch your 95/5 solder wire to the opposite side of the joint seam.
The Visual Test: If the solder bends and smears, the pipe is too cold. Keep heating. If the solder instantly melts and gets sucked into the joint, you have reached the ~450°F capillary threshold. Feed the solder continuously until a tiny bead rings the entire seam.
⚠️ Pro-Troubleshooting (The Bread Trick): If you are sweating a vertical drop or a line that won't drain completely, trapped water will turn to steam and blow the molten solder out of the joint. Fix: Shove a tight ball of plain white bread up the pipe upstream of your joint. The bread absorbs the water, allowing a dry solder. When you turn the water main back on, the bread dissolves and flushes out through the aerator.
Scene 4: Cooling & Inspection [SLOW PAN]
🎥 Visual Cue: Camera slowly pans across the newly soldered joint. A damp rag gently wipes the fitting, producing a brief wisp of steam. The silver solder ring is perfectly uniform.
Once the solder has flashed around the entire circumference, remove the heat immediately. Overheating will boil the tin out of the solder alloy, leaving a brittle, porous joint.
Wipe the joint with a damp (not soaking wet) rag to clean off the residual, corrosive flux. Be careful of the steam. As the joint cools, inspect your work.
Visual Defect Analysis
- The Perfect Joint: A smooth, shiny, concave silver fillet completely encircling the seam. The copper retains its natural color, free of black scorch marks.
- Cold Joint (Failure): The solder looks dull, grainy, and sits in a convex 'blob' on the outside rather than being drawn inside. Cause: Insufficient heat or moving the pipe before the solder crystallized.
- Burnt Flux (Failure): Black, crusty residue under the solder edge. Cause: Holding the MAP-Pro flame in one spot for too long. The joint will likely leak.
Post-Production: Safety & Code Compliance
When using high-heat MAPP gas for soldering copper pipe, fire safety is paramount. The TS8000 transfers heat so rapidly that it can easily ignite wooden studs or drywall paper behind the pipe. Always use a flame-retardant cloth shield (like a ScorchBlox board) behind your work area.
Furthermore, ensure your solder is strictly lead-free. The Environmental Protection Agency (EPA) mandates that all solder and flux used in potable water lines must meet the strict lead-free requirements of the Safe Drinking Water Act. Never use 50/50 tin-lead solder on drinking water lines; reserve it strictly for HVAC or drain applications where code permits.
By treating your soldering process like a carefully choreographed scene—focusing on prep, precise heat application, and visual feedback—you will produce joints that are structurally sound, leak-free, and built to last decades.