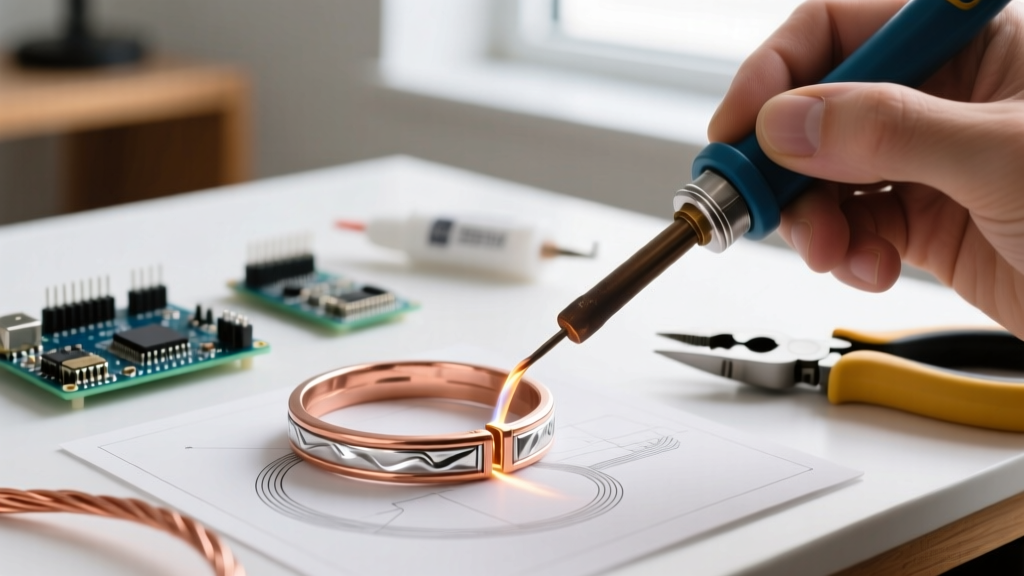

The Metallurgical Challenge of Copper Jewelry
When it comes to soldering copper to copper jewelry, standard electronics techniques will yield catastrophic failures. Copper possesses a thermal conductivity of approximately 401 W/(m·K), meaning it acts as a massive heat sink, pulling thermal energy away from the joint faster than a standard 40W iron can supply it. Furthermore, according to the Copper Development Association, copper rapidly forms a layer of cuprous oxide (Cu2O) when heated above 600°F (315°C) in the presence of oxygen. This oxide layer acts as an impenetrable barrier to solder flow.
To achieve invisible, structural flush joints in advanced copper jewelry fabrication, you must abandon soft lead/tin solders and transition to hard silver solders (brazing alloys) paired with aggressive fluoride-based fluxes. This guide details the exact parameters, tooling, and thermal management strategies required for master-level copper soldering in 2026.
Advanced Solder and Flux Selection
For high-stress jewelry joints (like ring shanks or structural clasps), you need a solder that flows above 1200°F. Standard borax fluxes often burn out before the copper reaches the necessary flow temperature, leading to pitting. We recommend fluoride-enhanced pastes.
| Solder Grade | Silver Content | Flow Temp (°F) | Best Application | Est. Cost (2026) |
|---|---|---|---|---|
| Hard (e.g., Rio Grande Hard) | 75% Ag | 1450°F (788°C) | Primary structural joints, ring shanks | $75 / troy oz |
| Medium (e.g., Stay-Silv 15) | 15% Ag | 1225°F (663°C) | Secondary joints, bezel settings | $45 / troy oz |
| Easy (e.g., Rio Grande Easy) | 65% Ag | 1325°F (718°C) | Final repairs, delicate findings | $65 / troy oz |
Pro-Tip: For heavy-gauge copper cuffs, use Harris Stay-Silv White Flux. Its active fluoride range extends up to 1600°F, preventing the premature burnout that causes solder balling and joint porosity.
Preparing the 'Invisible' Flush Joint
The success of soldering copper to copper jewelry relies 80% on joint preparation. A flush joint requires absolute metal-to-metal contact with zero light gaps.
- Filing: Use a #4 cut Swiss needle file or a 90-degree miter jig to file the mating edges. The surfaces must be perfectly flat.
- The Snap Test: When pushed together, the joint should 'snap' into place and hold its own weight without binding wire. If it wobbles, re-file.
- Binding: Wrap the piece tightly with 0.25mm (24-gauge) annealed iron or stainless steel binding wire. Use a locking tweezer to twist the wire, applying maximum tension. Cross the wires in an 'X' over the joint to prevent shifting during thermal expansion.
- Solder Placement: Cut 1mm x 2mm pallions of your chosen hard solder. Place them along the inside of the joint. Capillary action will draw the molten solder through to the exterior seam.
Thermal Management and Torch Techniques
Because copper dissipates heat so aggressively, a standard butane micro-torch will fail on anything thicker than 18-gauge (1.0mm). For advanced work, the industry standard remains the Smith Little Torch (approx. $375 for the complete oxy-acetylene kit in 2026), specifically using a #5 or #6 tip for broad heating, and a #2 tip for localized flow.
The 'Ghost Flame' Heating Method
Never point the inner blue cone of the flame directly at the solder pallion or the flux. Instead, use the 'Ghost Flame' technique:
- Keep the flame 1.5 inches away from the metal.
- Sweep the flame in continuous 3-inch circles around the joint, heating the mass of the copper, not the seam itself.
- Watch the flux: It will bubble (water boils off), turn white (borax dries), and finally melt into a clear, glassy liquid at roughly 1100°F.
- Once the flux is glassy, move the flame closer. When the copper glows a dull cherry red (approx. 1250°F), the solder will instantly flash and capillary through the joint.
Troubleshooting Advanced Failure Modes
Even master jewelers encounter metallurgical edge cases when soldering copper. Here is how to diagnose and correct them:
1. Solder Balling (Refusal to Flow)
Cause: The flux burned out before the copper reached flow temperature, allowing a microscopic layer of cuprous oxide to form under the solder.
Solution: Quench the piece, re-pickle, and re-flux. Switch to a fluoride-heavy paste flux and increase your gas flow rate to heat the mass faster.
2. Pitting and Porosity in the Seam
Cause: Overheating the joint after the solder flows, or using a solder with too high of a zinc/cadmium content which vaporizes under the torch.
Solution: Remove the flame the millisecond the solder flashes through the seam. Use cadmium-free silver solders (standard in all modern US jewelry supply catalogs) to prevent toxic off-gassing and pitting.
3. Firestain (Dark Purple/Red Blotches)
Cause: Deep cupric oxide penetration into the copper grain structure during prolonged heating.
Solution: Firestain cannot be polished off; it must be cut away. Minimize heating time, and if firestain occurs, use a pumice wheel or aggressive flex-shaft bur to remove the oxidized layer before final sanding.
Post-Solder Pickling: The Galvanic Trap
After soldering, the piece must be quenched and pickled to remove the glassy flux residue and surface oxides. The standard pickle for copper jewelry is Sparex #2 (sodium bisulfate) mixed at a ratio of 1 cup of granules to 1 gallon of distilled water, heated in a dedicated slow cooker to 160°F (71°C).
CRITICAL WARNING: The Copper Plating TrapNever use steel or nickel tweezers to retrieve copper jewelry from a hot pickle bath. If your solder contains any silver (which hard silver solders do), the acidic pickle combined with the dissimilar metals creates a galvanic battery. This will instantly flash-plate a thin layer of pink copper over your silver solder joints, making the seam highly visible. Always use solid copper, plastic, or wooden tongs in a copper pickle pot.
Final Finishing and Patina Considerations
Once pickled and rinsed, the soldered joint will appear silver or brass-colored against the pink copper. To unify the piece, advanced fabricators use liver of sulfur (potassium sulfide) to force a dark patina over the entire item. After oxidizing, use 3M Radial Bristle Discs (starting at 80 grit, moving to 400 grit) on a flex shaft to selectively polish the high points, leaving the dark patina in the recesses and seamlessly blending the soldered joint into the surrounding copper matrix.
Mastering the art of soldering copper to copper jewelry requires respecting the metal's thermal properties and oxidation thresholds. By utilizing hard silver solders, fluoride fluxes, and strict galvanic discipline during pickling, you can achieve structural, invisible joints that rival fine gold and silver fabrication. For further reading on advanced jewelry metallurgy, the Ganoksin Jewelry Making Community maintains an extensive archive of copper-specific fabrication techniques and torch safety protocols.