
The Paradigm Shift: Why Soldering SMD is Easier Than Through-Hole
Many hobbyists and junior engineers view soldering SMD (Surface Mount Device) components as an intimidating, microscope-dependent nightmare reserved for robotic reflow ovens. In reality, hand-soldering surface mount components is often faster, more reliable, and physically easier than traditional through-hole soldering once you understand the underlying physics. According to the IPC J-STD-001 Requirements for soldered electrical assemblies, the primary driver of a reliable joint is proper wetting and thermal mass management, not necessarily the physical size of the component.
Unlike through-hole soldering, where you must heat a massive plated barrel and a thick wire lead simultaneously, SMD pads sit directly on the surface of the FR4 substrate. The thermal mass is incredibly low. This means the joint reaches the solder's melting point in a fraction of a second, reducing the risk of heat damage to surrounding components if the correct technique is applied.
The 2026 SMD Hand-Soldering Toolkit
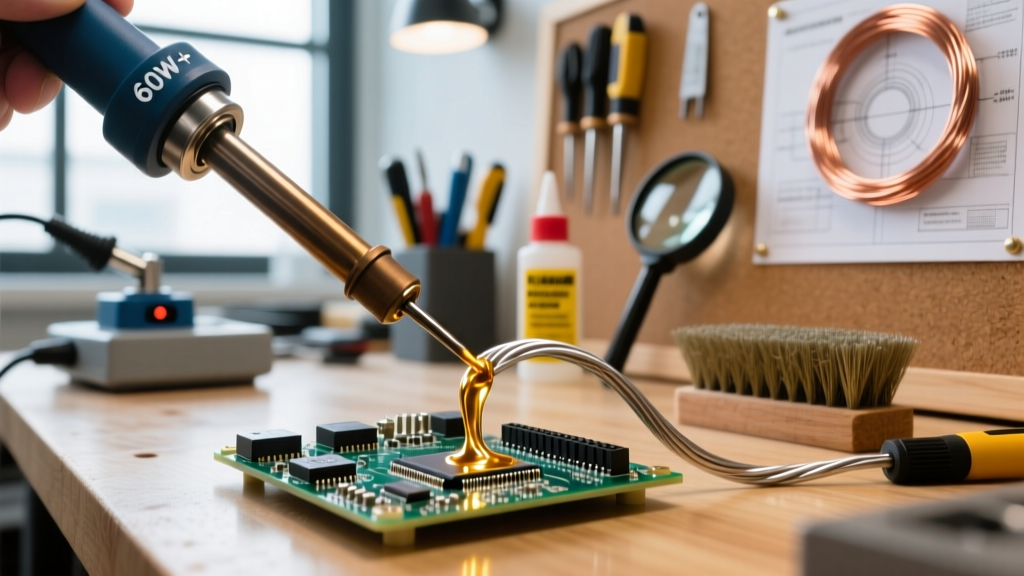
You cannot successfully solder 0402 passives or 0.5mm pitch QFP chips with a generic 60W hardware store iron. Temperature stability and tip geometry are non-negotiable. Below is the exact toolkit required for professional-grade SMD hand assembly, with current market pricing.
| Category | Recommended Model | Purpose & E-E-A-T Insight | Est. Cost |
|---|---|---|---|
| Soldering Station | Hakko FX-888D or Pinecil V2 | Fast thermal recovery. The Pinecil V2 offers PD power delivery for portable labs. | $26 - $115 |
| Iron Tip | Hakko T18-D12 (1.2mm Chisel) | Conical tips (like the T18-B) are useless for SMD. A chisel or knife tip maximizes surface area contact for rapid heat transfer. | $9 |
| Solder Wire | Kester 245 Sn63/Pb37 (0.015') | Eutectic 63/37 melts instantly at 183°C with no plastic phase, preventing cold joints from micro-movements. | $35 |
| Flux Syringe | Chip Quik SMD291AX | Tacky no-clean flux. Acts as a mild adhesive to hold micro-components in place before tinning. | $16 |
| Tweezers | Dumont #5 Anti-Magnetic Titanium | Stainless steel tips can become magnetized and repel solder; titanium prevents heat from traveling up the shaft into your fingers. | $48 |
| Desoldering Wick | Goot Wick CP-3015 (1.5mm) | Essential for removing accidental solder bridges on fine-pitch ICs. | $12 |
Phase 1: Board Preparation and Flux Dynamics
The single most common failure mode in SMD assembly is not using enough flux. Flux does three things: it removes oxidation from the copper pads, it lowers the surface tension of the molten solder (allowing it to flow), and it prevents new oxidation from forming while the joint is hot.
- Substrate Cleaning: Wipe the bare PCB with 99% Isopropyl Alcohol (IPA) and a lint-free swab. Finger oils will carbonize under the iron, creating a resist layer that prevents solder wetting.
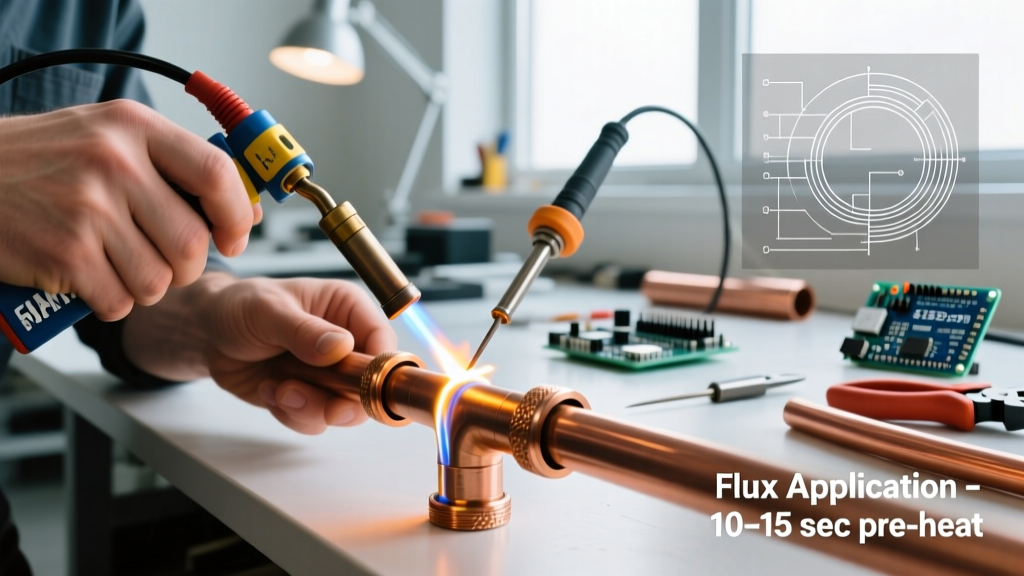
- Flux Application: Dispense a small bead of Chip Quik SMD291AX tacky flux directly onto the pads. For 0402 components, a toothpick is often better for flux application than the syringe needle.
- Temperature Profiling: Set your iron to 320°C (608°F) for Sn63/Pb37 solder. If you are forced to use SAC305 lead-free solder (melting point ~217°C), increase the iron to 350°C, but be aware that dwell times must be strictly monitored to prevent FR4 pad delamination.
Phase 2: Step-by-Step Execution for Passives (0402 & 0603)
Soldering tiny resistors and capacitors (0402 measures just 1.0mm x 0.5mm) relies on the 'Anchor and Complete' method. Do not attempt to hold the component, feed solder, and hold the iron all at once.
Step 1: Pre-Tinning the Anchor Pad
Apply your iron to the left pad only. Feed a microscopic amount of 0.015' solder wire until the pad is coated with a smooth, shiny fillet. Remove the solder wire, then remove the iron. The pad should have a small, distinct 'bump' of solder on it.
Step 2: Component Placement and Tacking
Pick up the component with your Dumont #5 titanium tweezers. Re-heat the pre-tinned left pad with your iron. While the solder is molten, slide the component's left terminal into the liquid solder. Remove the iron while holding the component perfectly still with the tweezers for exactly 1.5 seconds. The solder will solidify, anchoring the part.
Pro-Tip: If the component sits at an angle, do not try to force it flat by pressing down. Simply re-heat the anchor joint, let the surface tension of the molten solder self-align the component, and release.
Step 3: Soldering the Second Terminal
Move to the right pad. Touch the iron to the pad and the component terminal simultaneously. Feed a tiny amount of solder wire. The moment the solder flows and forms a concave fillet, remove the wire, then the iron. Total dwell time should not exceed 2.0 seconds.
Phase 3: Drag Soldering ICs (SOIC-8 and TQFP-48)
Point-to-point soldering is impossible for Integrated Circuits with 0.65mm or 0.5mm pitch pins. Instead, we use a technique called Drag Soldering. This method relies heavily on the PCB's solder mask (the green or black coating between the copper pads) to act as a physical barrier, preventing solder from bridging between pins.
Step 1: Corner Tacking
Apply a thin layer of tacky flux across all IC pads. Align the IC perfectly over the footprint, ensuring pin 1 (denoted by the dot on the chip and a thickened pad trace on the board) is correctly oriented. Tack down two diagonally opposite corner pins to lock the chip in place.
Step 2: The Drag Technique
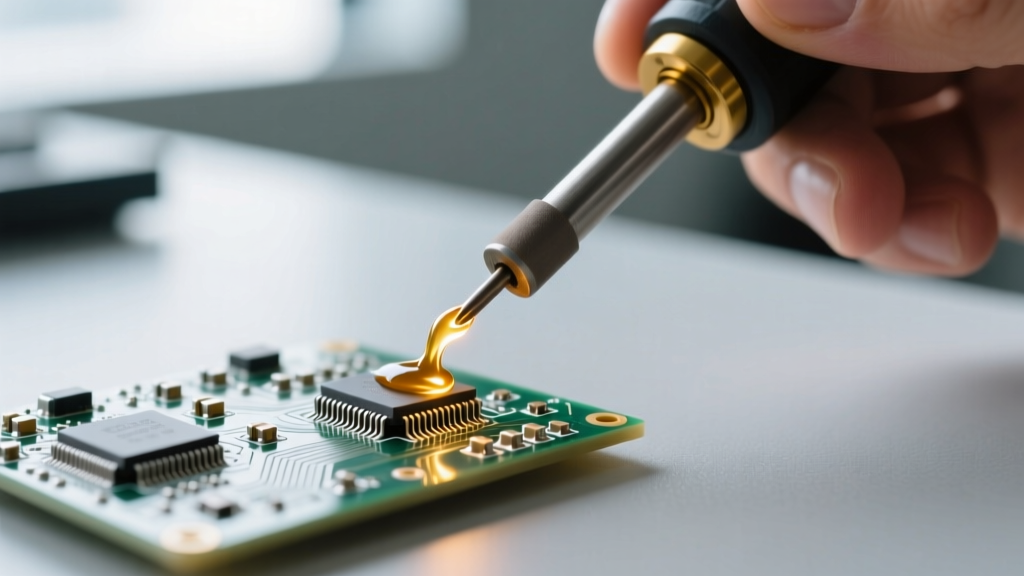
Apply a generous amount of liquid or tacky flux over the entire row of pins. Load your chisel tip with a moderate 'blob' of solder. Place the iron at a 45-degree angle at the first pin of the row. Slowly drag the iron across the pins. The flux will lower the surface tension, and the solder mask will force the solder to cling only to the exposed copper pads and IC leads. If the iron runs dry, add more flux, not more solder.
Troubleshooting Common Failure Modes
Even seasoned engineers encounter defects. The NASA Electronic Parts and Packaging (NEPP) Program categorizes these defects strictly. Here is how to identify and resolve them on your bench.
| Defect | Visual Symptom | Root Cause | Corrective Action |
|---|---|---|---|
| Tombstoning | Passive stands vertically on one end. | Uneven heating of pads or mismatched pad sizes causing unequal surface tension pull. | Pre-tin both pads equally before placing the component. Ensure iron tip touches both pad and component simultaneously. |
| Solder Bridging | Solder connects two adjacent IC pins. | Excess solder volume, lack of flux, or dragging too slowly. | Apply copious flux. Place Goot Wick over the bridge, press the iron on top of the wick for 2 seconds, and lift. |
| Cold Joint | Solder appears dull, grainy, and bulbous. | Insufficient heat transfer; component or pad did not reach melting temp before solder was applied. | Re-apply flux. Add a tiny amount of fresh 63/37 solder to lower the melting point of the existing joint, re-flow, and clean. |
Safety and Cleanup Standards
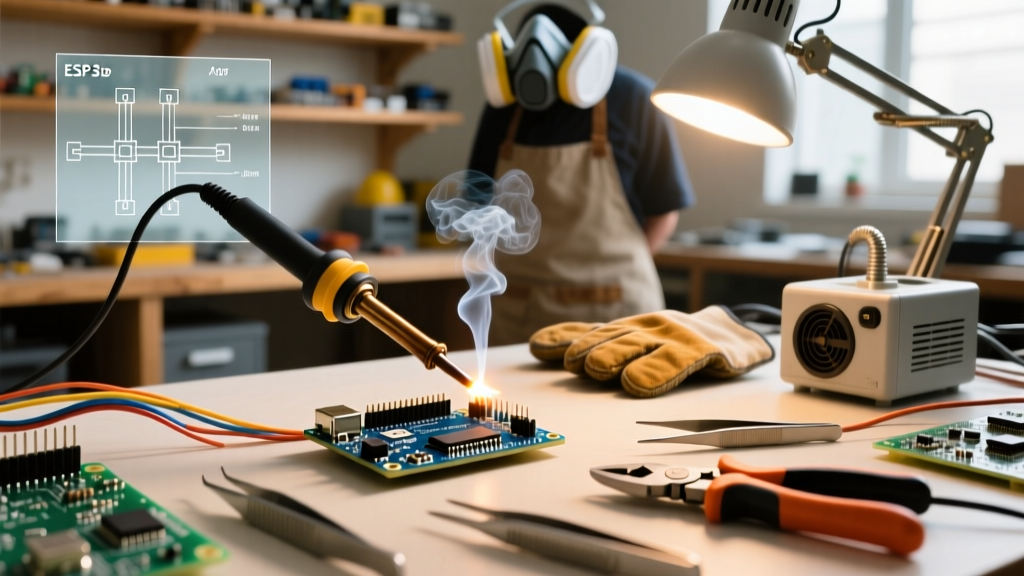
While Sn63/Pb37 solder is vastly superior for hand-soldering SMD due to its eutectic properties, it contains lead. The risk of lead poisoning comes from ingestion, not inhalation of the smoke (the smoke is vaporized flux, not lead). However, you must follow strict hygiene protocols. Always wash your hands with cold water and soap after handling leaded solder, and avoid touching your face. For comprehensive handling guidelines, refer to the OSHA Lead Safety Guidelines. Furthermore, always use a localized fume extractor, such as the Hakko FA-400, to pull rosin fumes away from your breathing zone, as prolonged inhalation of colophony can trigger occupational asthma.
Finally, if your flux is not explicitly labeled 'No-Clean', you must remove the residue after soldering. Use a stiff-bristled ESD-safe brush saturated with 99% IPA, scrubbing in one direction to lift the dissolved flux away from the board, then dry with compressed air. Leaving acidic flux residues on an SMD board can lead to electrochemical migration (dendrite growth) over time, causing silent, catastrophic short circuits in high-impedance analog circuits.