
The Metallurgical Challenge of Soldering Copper
Copper is the undisputed king of electrical conductivity, but its physical properties make it a formidable opponent when it comes to thermal joining. The core issue is thermal conductivity. According to data from the Engineering Toolbox, pure copper has a thermal conductivity of approximately 401 W/(m·K). To put that in perspective, it conducts heat away from your soldering iron tip nearly ten times faster than steel and significantly faster than brass or nickel alloys.
When you are soldering copper in demanding applications—such as heavy-gauge battery cables (4 AWG to 4/0 AWG), thick-copper PCBs (2oz to 4oz base weights), or high-current busbars—a standard 40W pencil iron will simply fail. The copper acts as a massive heatsink, dropping the tip temperature below the solder's liquidus point before a proper intermetallic bond can form. As of 2026, professional electronics technicians and high-end DIYers must adopt advanced thermal management strategies to achieve reliable, IPC-compliant joints.
Professional Tooling: Wattage, Recovery, and Tip Geometry
The biggest misconception in soldering copper is that you need a massive, unregulated 200W iron. In reality, thermal recovery rate and tip mass matter far more than raw maximum wattage. You need a station that can detect a temperature drop and inject power into the tip in milliseconds.
Recommended Soldering Stations for High-Mass Copper
- JBC CD-2SHE (approx. $480): The gold standard for heavy copper. JBC's active-tip technology places the heating element inside the tip itself. When you touch a 2oz copper pad, the station detects the thermal drain and delivers 130W instantly, recovering to 350°C in under two seconds.
- Weller WE1010NA (approx. $115): A highly capable mid-tier 70W station. While it lacks the instant recovery of JBC, its thick RT chisel tips hold enough thermal mass to handle up to 10 AWG copper wire reliably.
- Hakko FX-951 (approx. $280): Features induction heating technology (72W) which provides excellent thermal stability for continuous soldering on thick copper busbars.
Tip Selection Strategy
Never use a conical (pointed) tip for heavy copper. The surface area contact is too small, leading to localized overheating and rapid tip oxidation. Instead, use a heavy chisel (e.g., Weller RT4 or JBC C115-114) for wires, or a large bevel/spoon tip for thick PCB pads. The goal is to maximize the contact patch between the iron and the copper substrate.
Soldering Heavy-Gauge Copper Wire and Lugs
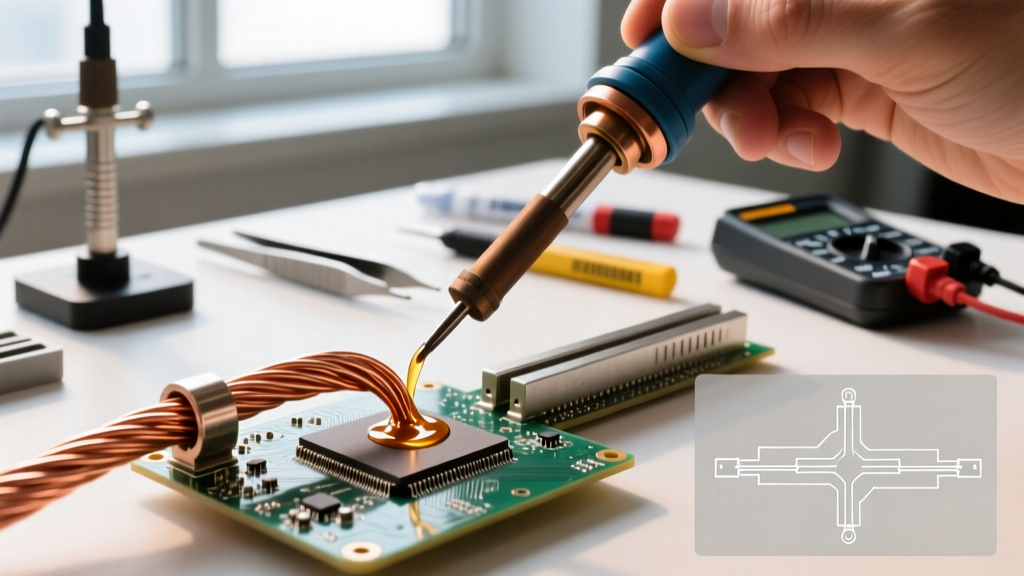
When terminating heavy-gauge copper wire (e.g., 4 AWG battery cables or 2/0 AWG inverter lugs), the sheer volume of copper strands will wick heat away instantly. Follow this professional workflow to prevent cold joints and insulation melt-back.
- Mechanical Preparation: Strip the wire using a ratcheting wire stripper to avoid nicking the copper strands. Use a fiberglass scratch pen or a brass wire brush to remove surface oxidation. Never use sandpaper, as it embeds silica particles into the soft copper, which inhibits solder wetting.
- Pre-Tinning the Strands: Apply a generous amount of RMA (Rosin Mildly Activated) liquid flux to the bare copper. Using a high-wattage iron (or a controlled butane torch like the Bernzomatic TS8000 for 1/0 AWG and larger), feed 63/37 leaded solder (or SAC305 for RoHS) directly into the strands until the wicking reaches the edge of the insulation.
- Fluxing the Lug: Apply flux inside the copper lug barrel. Insert the pre-tinned wire.
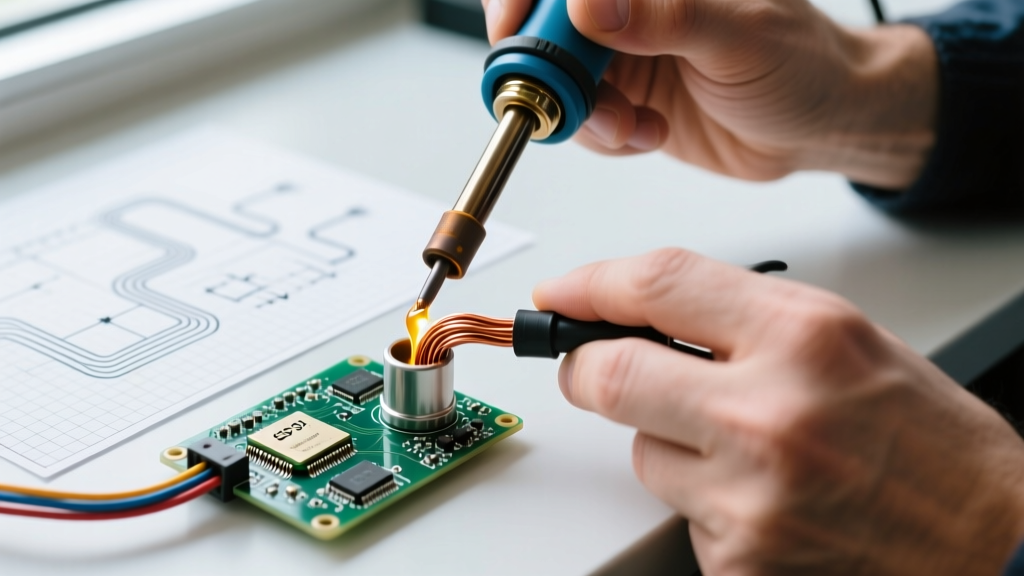
- The Final Sweat: Apply heat to the outside of the lug barrel, not the wire. Watch for the solder to flash and flow smoothly into the barrel via capillary action. Remove heat immediately once the flow is complete to prevent the insulation from charring.
Pro Tip: When soldering massive 4/0 AWG copper lugs, a soldering iron is often insufficient. Professionals use a localized induction heater or a precisely adjusted oxy-acetylene torch with a #3 tip, applying heat to the lug while feeding a rosin-cored solder wire (minimum 0.125" diameter) to ensure rapid thermal saturation.
Mastering Thick Copper PCBs (2oz to 4oz)
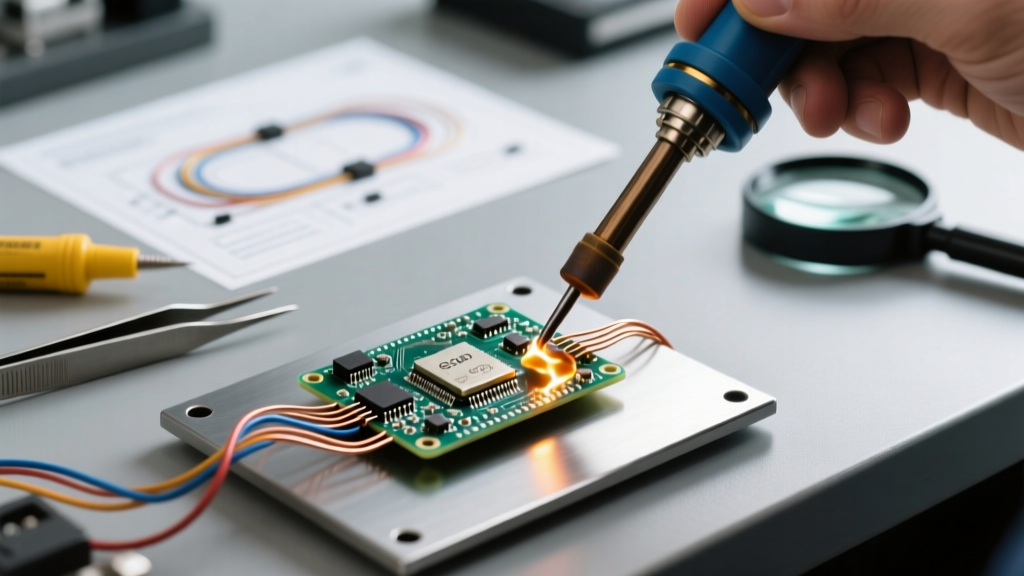
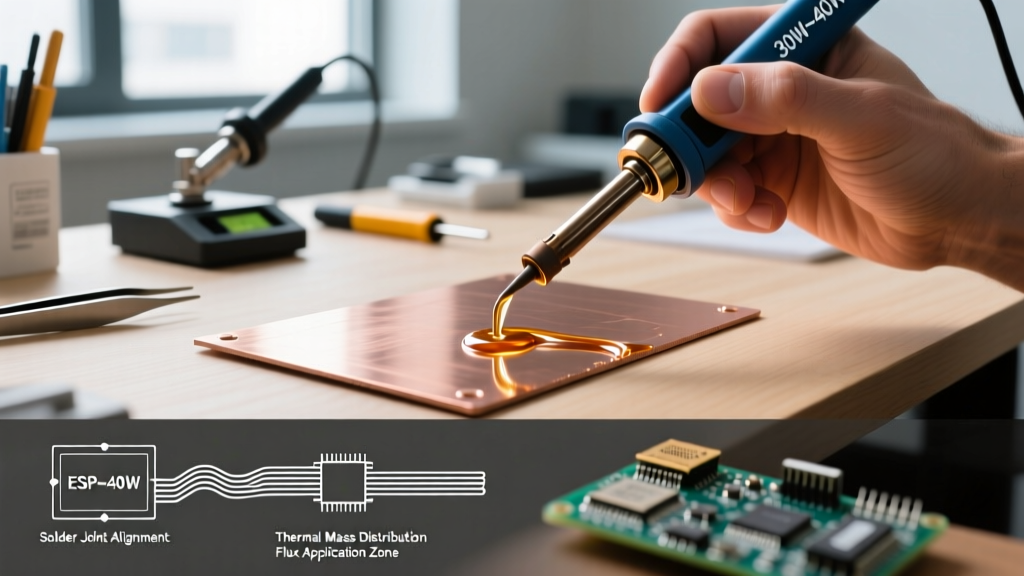
Designers of power electronics frequently use 2oz (70µm) to 4oz (140µm) copper weights to handle high amperage. Soldering components to these massive pads introduces a severe risk of pad delamination, thermal shock to the component, and incomplete wetting.
According to the IPC J-STD-001 standards for soldered electrical assemblies, proper wetting requires the entire joint to reach the solder's liquidus temperature simultaneously. On a 4oz ground plane, this is nearly impossible with an iron alone.
The Mandatory Pre-Heating Protocol
You must elevate the ambient temperature of the PCB before the iron touches the pad. Using a dedicated PCB preheater (such as the Hakko FR-830, approx. $380), set the bottom heat to 110°C - 130°C. This reduces the thermal delta (the difference between the board temperature and the solder melting point) from ~330°C down to ~200°C. Your soldering iron now only needs to supply the final 200°C of thermal energy, preventing the iron from dwelling on the pad long enough to delaminate the copper from the FR4 substrate.
Thermal Relief and Pad Design
If you are designing the PCB, ensure that heavy copper pads have adequate thermal reliefs (spokes) when connected to large internal ground planes. Without thermal reliefs, the internal plane will act as an infinite heatsink, making hand soldering virtually impossible even with preheating.
Flux Chemistry: The Unsung Hero of Copper Joints
Copper oxidizes rapidly when heated, forming cupric oxide (a black/green barrier) that solder absolutely will not adhere to. Flux is the chemical solvent that removes this oxide layer. Choosing the right flux is critical for long-term reliability.
- Kester 186 RMA (Rosin Mildly Activated): The industry benchmark for heavy copper wire and lugs. It contains mild activators that cut through heavy oxidation but leaves a benign rosin residue that is non-corrosive if left uncleaned. Available via Kester's official flux catalog and major electronics distributors.
- Amtech NC-559-V2-TF (No-Clean): Ideal for thick-copper PCBs and SMD components. It is a halogen-free, no-clean flux that provides excellent wetting on 2oz pads without requiring post-solder cleaning, which is difficult under tight-pitch power MOSFETs.
- Water-Soluble (OA) Fluxes: While they offer the most aggressive oxide removal for heavily tarnished copper busbars, they must be thoroughly cleaned with hot DI water post-soldering. Any trapped residue will cause severe galvanic corrosion and eventual joint failure.
Troubleshooting Matrix: Copper Soldering Defects
When soldering copper, visual inspection is your first line of defense. Use this matrix to diagnose and correct common high-mass soldering failures.
| Defect | Visual Symptom | Root Cause | Professional Solution |
|---|---|---|---|
| Cold Joint | Dull, gray, lumpy, or cracked solder surface. | Copper mass drew heat away before the intermetallic layer (Cu6Sn5) could form. | Increase iron temperature by 20°C, use a larger chisel tip, or implement PCB preheating. |
| Pad Delamination | Copper pad lifts off the fiberglass (FR4) substrate. | Excessive dwell time with a high-wattage iron trying to force heat into a ground plane. | Mandatory use of a bottom preheater (120°C). Limit iron contact time to under 4 seconds per joint. |
| Solder Wicking | Solder crawls up the wire/component lead away from the joint. | Wire was heated before the terminal/lug; flux boiled off prematurely. | Always apply heat to the heavier thermal mass (the lug/pad), allowing capillary action to draw solder toward the heat source. |
| Non-Wetting | Solder balls up and rolls off the copper surface. | Severe cupric oxide layer or silicone contamination on the copper. | Mechanically abrade the copper with a fiberglass pen, clean with 99% IPA, and apply aggressive RMA flux. |
Final Thoughts on Thermal Management
Soldering copper at a professional level is entirely an exercise in thermal management. By respecting the metallurgical properties of the metal, investing in active-recovery soldering equipment, utilizing mandatory preheating for PCBs, and selecting the correct flux chemistry, you can achieve bulletproof electrical connections that will withstand high-current loads and harsh environmental conditions for decades.