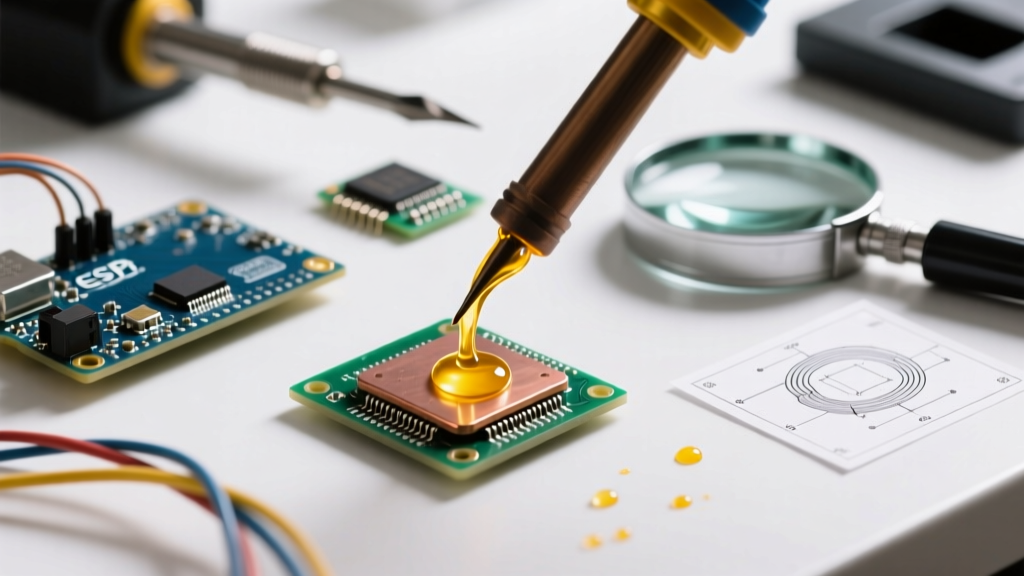

The Thermodynamics of Soldering: Why One Temperature Fails All
Ask any veteran technician what the best soldering temperature is, and they will likely give you a nuanced answer rather than a single number. The reality is that soldering is an exercise in applied thermodynamics. The optimal heat setting depends entirely on the substrate's thermal mass, its oxidation rate, and the specific alloy's liquidus point. Applying a blanket 350°C setting across all projects is a guaranteed path to destroyed PCB pads, unwetted steel joints, and charred flux.
In this comprehensive material-specific guide, we break down the exact temperature profiles required for everything from delicate FR4 circuit boards to heavy-gauge steel and stubborn aluminum. Whether you are using a precision digital station like the Weller WE1010 or a high-wattage torch, understanding how heat transfers through different metals is the key to mastering the craft.
The Golden Rule: Liquidus Plus Delta
Before setting your dial, you must understand the baseline formula used by manufacturing engineers worldwide. The best soldering temperature for your iron or station is not the melting point of the solder; it is the melting point plus a thermal delta required to overcome heat dissipation.
According to guidelines from the IPC (Association Connecting Electronics Industries), the soldering iron tip temperature should generally be set 50°C to 150°C above the liquidus temperature of the alloy, depending on the thermal mass of the joint and the required dwell time.
If your solder melts at 183°C (like standard Sn63/Pb37), setting your iron to 185°C will result in a cold, grainy joint because the substrate instantly robs heat from the tip, dropping the localized temperature below the melting threshold. You must provide a thermal surplus.
Material-Specific Temperature Matrix
Use the following reference table as your baseline. Note that dwell time (how long the iron touches the joint) is inversely proportional to temperature; higher thermal mass requires either higher temperatures, longer dwell times, or larger tip geometries.
| Material / Substrate | Recommended Alloy | Liquidus Temp | Best Soldering Temperature (Iron Setting) | Target Dwell Time |
|---|---|---|---|---|
| PCB (FR4 / Delicate) | Sn63/Pb37 (Leaded) | 183°C | 300°C - 330°C | 2 - 3 seconds |
| PCB (FR4 / Delicate) | SAC305 (Lead-Free) | 217°C | 350°C - 380°C | 3 - 4 seconds |
| Heavy Copper Wire | Sn60/Pb40 (Rosin Core) | 183°C | 360°C - 390°C | 4 - 6 seconds |
| Steel / Cast Iron | Sn95/Sb5 (or Torch Brazing) | 235°C | 400°C+ (or Oxy-Acetylene Torch) | 5 - 10 seconds |
| Aluminum | Zn/Al (e.g., Indalloy 3) | 199°C | 380°C - 400°C | 5 - 8 seconds |
| Silver (Jewelry) | Hard Silver Solder | 730°C | Butane/Oxy Torch (750°C+) | N/A (Visual flow) |
Deep Dive: PCBs and Delicate Electronics
When working with printed circuit boards, your primary enemy is thermal degradation. The FR4 fiberglass substrate has a Glass Transition Temperature (Tg), typically ranging from 130°C to 170°C for standard boards, and up to 180°C for high-Tg materials. If you apply excessive heat for too long, the resin softens, leading to catastrophic pad lifting and internal delamination.
Leaded vs. Lead-Free Profiles
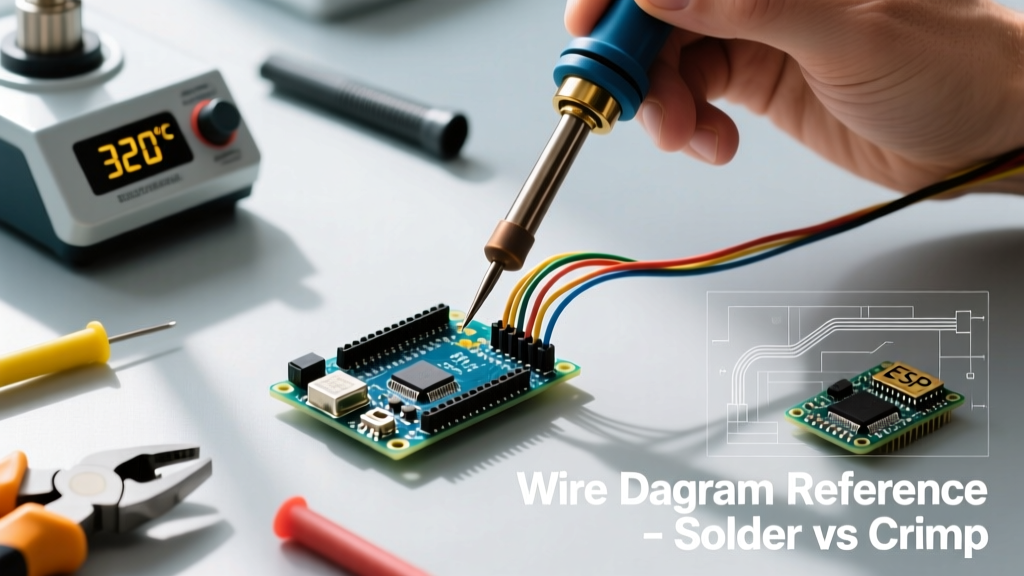
- Leaded (Sn63/Pb37): This eutectic alloy transitions from solid to liquid instantly at 183°C. For standard 2-layer PCBs, a station like the Hakko FX-888D set to 315°C with a chisel tip provides the perfect thermal transfer to wet the pad and component lead within 2 seconds without scorching the flux.
- Lead-Free (SAC305): The industry standard lead-free alloy (96.5% Tin, 3% Silver, 0.5% Copper) melts at 217°C. Because it has a higher surface tension and poorer wetting characteristics, manufacturers like Indium Corporation recommend iron settings between 350°C and 380°C. However, you must use a high-thermal-capacity tip (like a bevel or heavy chisel) to deliver the heat rapidly, minimizing the time the board spends at elevated temperatures.
Heavy Metals: Copper Wire and Steel
Transitioning from microelectronics to structural or heavy-gauge work requires a complete paradigm shift. A 70-watt digital station will utterly fail when attempting to solder a 10 AWG copper wire to a steel bracket. The thermal mass of the metal acts as an infinite heat sink, pulling energy away from the joint faster than a standard iron can replenish it.
The Steel Challenge: Oxidation and Flux
Steel and iron are notoriously difficult to solder due to rapid oxidation and high thermal conductivity. Rosin-based fluxes (RMA) used in electronics are completely ineffective here. You must use a highly active, corrosive flux like Zinc Chloride or Phosphoric Acid.
For the best soldering temperature on steel, you need to exceed 400°C. Since most precision stations cap at 400°C to 450°C to protect their heating elements, professionals often switch to a 100W to 250W heavy-duty iron (such as the Weller W100PG) or a propane torch. The goal is to heat the steel until the zinc chloride flux bubbles and clears the oxide layer, then introduce a high-tin alloy like Sn95/Sb5 (Tin/Antimony), which offers superior tensile strength for mechanical joints.
The Aluminum Anomaly: Breaking the Oxide Barrier
Aluminum is the bane of many DIYers. The metal itself melts at 660°C, but it is instantly encased in a layer of aluminum oxide (Al2O3) when exposed to air. This oxide layer has a melting point of over 2,000°C, meaning no standard soldering iron can melt through it.
To solder aluminum, you must use specialized zinc-based or tin-zinc alloys (like Indalloy 3) and a fluoride-based flux. The technique relies on mechanical abrasion. You heat the aluminum to roughly 380°C - 400°C, apply the flux, and then physically scrub the surface underneath the molten pool of solder using a stainless steel brush or the edge of your iron tip. This breaks the oxide layer in an oxygen-free environment, allowing the zinc to alloy with the bare aluminum. According to technical resources from Hakko Corporation, maintaining a stable, high-temperature tip is critical here, as aluminum dissipates heat incredibly fast.
Jewelry and Precious Metals: Torch Soldering
When repairing silver or gold jewelry, electronic soldering irons are useless. Precious metal soldering (often called brazing or hard soldering) relies on capillary action and specialized alloys that melt at vastly different temperatures to allow for multi-step assembly.
- Hard Solder: Melts around 730°C - 788°C. Used for the first joint.
- Medium Solder: Melts around 690°C - 730°C. Used for subsequent joints.
- Easy Solder: Melts around 650°C - 690°C. Used for final repairs or attaching clasps.
The best temperature control here is achieved visually using a butane or oxy-acetylene torch, combined with a borax-based flux on a charcoal or ceramic block. The artisan heats the entire piece evenly until the flux turns glassy, then focuses the flame on the metal adjacent to the joint, allowing the heat to draw the molten solder into the seam via capillary action.
Troubleshooting Temperature-Related Defects
Even with the correct dial setting, physical variables can ruin a joint. Here is how to diagnose temperature-related failures:
- Cold Joints (Grainy/Dull Appearance): Caused by insufficient heat transfer. The solder melted on the tip but not on the workpiece. Fix: Increase temperature by 20°C, switch to a larger chisel tip, or apply the iron to both the pad and the lead simultaneously.
- Flux Charring (Black Residue): Caused by excessive temperature or prolonged dwell time. The flux burns away before it can clean the metal, leading to oxidation and poor wetting. Fix: Lower the iron temperature, use a larger tip to reduce dwell time, or switch to a high-temperature/activated flux.
- Tombstoning (SMD Components): A surface-mount defect where one side of a component lifts. This is caused by uneven heating, where one pad reaches the best soldering temperature faster than the other, creating unequal surface tension. Fix: Use a preheating board (like the Hakko FR-820) set to 100°C - 150°C to elevate the ambient temperature of the PCB, allowing the iron to heat both pads symmetrically.
Final Thoughts on Thermal Management
Mastering the best soldering temperature is less about memorizing a single number and more about understanding the relationship between your alloy, your substrate, and your tool. Invest in a quality station with fast thermal recovery, maintain a library of tip geometries, and always respect the thermal limits of your materials. By tailoring your heat profile to the specific metal you are working with, you will achieve joints that are both electrically flawless and mechanically indestructible.