
The Metallurgical Challenge of Dissimilar Metals
Soldering copper to brass is a routine but technically demanding task in HVAC fabrication, custom plumbing, instrumentation, and heavy-duty electronics. While both materials are copper-based, their metallurgical and thermal properties differ drastically. In 2026, with the rising cost of raw materials and stricter workplace safety regulations regarding flux fumes, executing this joint correctly the first time is critical for both structural integrity and operator safety.
The primary hurdle when joining these two metals is the thermal conductivity delta. Pure copper (C11000) boasts a thermal conductivity of roughly 401 W/m·K. In contrast, standard cartridge brass (C26000) sits much lower, at approximately 120 W/m·K. This means copper dissipates heat more than three times faster than brass. If you apply a soldering iron or torch directly to the joint seam, the copper acts as a massive heatsink, pulling thermal energy away from the brass. The result? A classic cold joint on the brass side, leading to catastrophic mechanical or fluid failure under pressure.
Critical Safety Protocols for Copper-Brass Joining
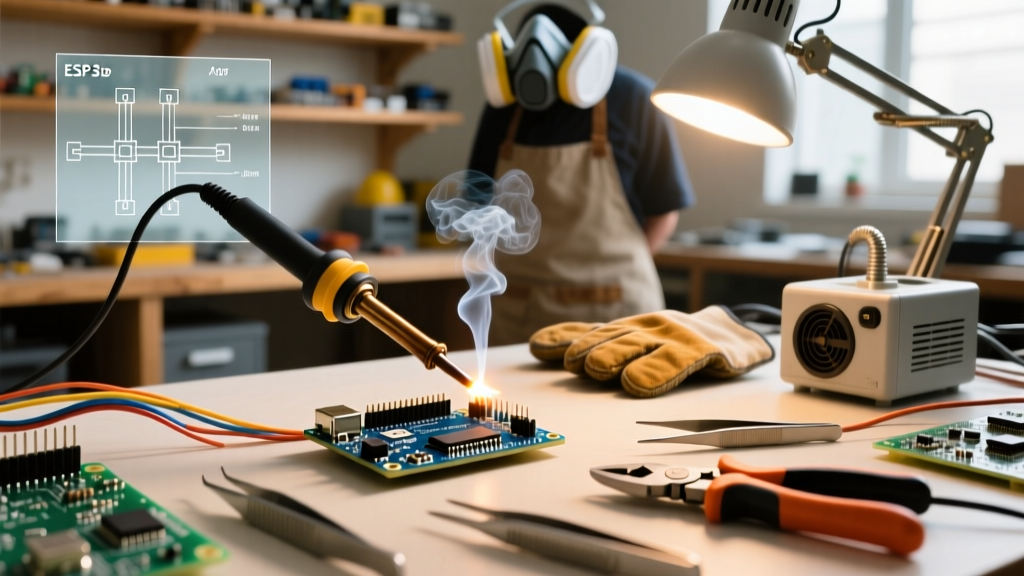
Before striking an arc or heating an iron, you must address the specific hazards associated with brass and the fluxes required to wet it. According to the CDC and NIOSH guidelines on soldering safety, prolonged exposure to soldering fumes can cause severe respiratory issues, but brass introduces an additional risk: zinc oxide fume generation.
1. Fume Extraction and PPE
Brass contains up to 30% zinc. While standard soldering temperatures (250°C - 350°C) are well below zinc's vaporization point (907°C), careless use of a MAPP gas torch or an iron set above 400°C can cause localized dezincification and zinc oxide off-gassing. Inhalation of these fumes causes "metal fume fever," a flu-like condition. Always use a HEPA/activated carbon fume extractor positioned within 6 inches of the workpiece, and wear ANSI Z87.1-rated safety glasses to protect against flux spatter.
2. Acid Flux Handling
Because brass oxidizes rapidly and forms a stubborn zinc oxide layer, mechanical and plumbing joints often require aggressive zinc-chloride-based acid fluxes. These fluxes are highly corrosive and can cause chemical burns. Always wear nitrile gloves (minimum 5 mil thickness) and have a baking soda (sodium bicarbonate) and water solution on standby to neutralize accidental skin contact or post-solder residue.
Material Selection: Flux and Solder Alloys
Choosing the right chemistry is non-negotiable. Using electronics-grade rosin flux on a mechanical brass-to-copper plumbing joint will result in inadequate wetting. Conversely, using acid flux on an electrical connection will guarantee long-term galvanic corrosion.
| Application | Recommended Flux | Recommended Solder Alloy | Approx. 2026 Cost |
|---|---|---|---|
| Plumbing / HVAC / Mechanical | Zinc-Chloride Acid (e.g., Harris Stay-Clean) | 95/5 Tin-Antimony or Silver-Bearing (Stay-Brite 8) | $25 - $45 / lb |
| Heavy-Duty Electrical / Grounding | Water-Soluble Organic Acid (OA) | SAC305 (Sn96.5/Ag3.0/Cu0.5) | $60 - $80 / lb |
| Precision Electronics / Sensors | Rosin-Core (e.g., Kester 44) or No-Clean | Sn63/Pb37 (if RoHS exempt) or SAC305 | $35 - $55 / lb |
Step-by-Step Execution: The Thermal Bias Technique
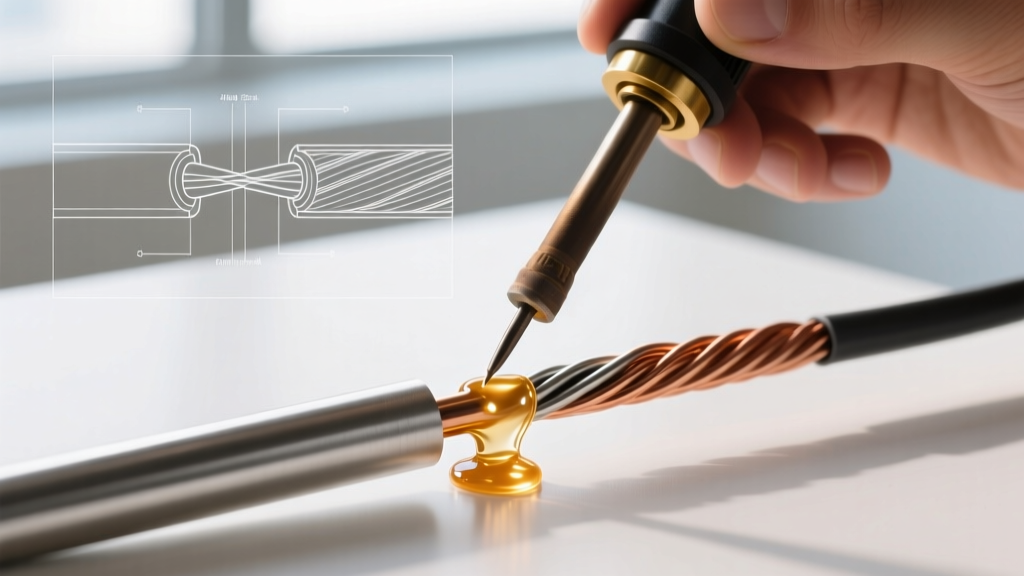
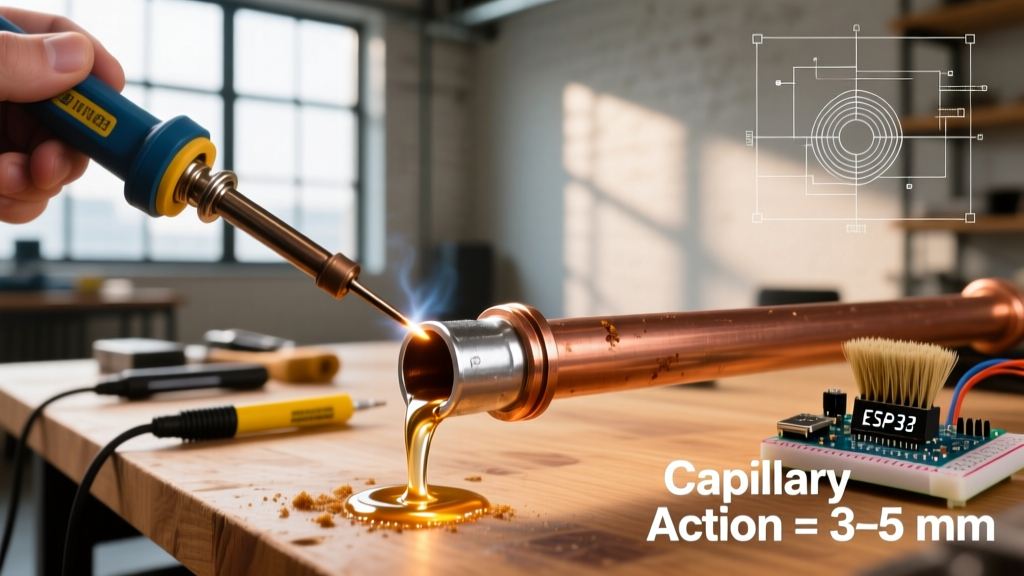
To overcome the thermal conductivity mismatch, we use the Thermal Bias Technique. This method relies on heating the copper component and allowing capillary action to draw the solder into the brass interface. For this guide, we assume the use of a high-thermal-mass soldering station, such as the Weller WE1010NA (priced around $125 in 2026), equipped with a heavy 1/4-inch chisel tip (ETA) to maximize surface area contact.
Step 1: Surface Preparation
Brass and copper must be mechanically abraded. Use 220-grit sandpaper or a Scotch-Brite pad to remove surface oxidation. Immediately wipe both parts with 99% isopropyl alcohol or acetone. Do not touch the cleaned surfaces with bare skin; the oils from your fingers will inhibit solder wetting.
Step 2: Flux Application
Apply a thin, even layer of your chosen flux to the brass component first, then the copper. If using an acid flux for a slip-fit joint, apply it to the male (inserted) part to prevent flux from being pushed out of the joint during assembly.
Step 3: Heat Application (The Bias)
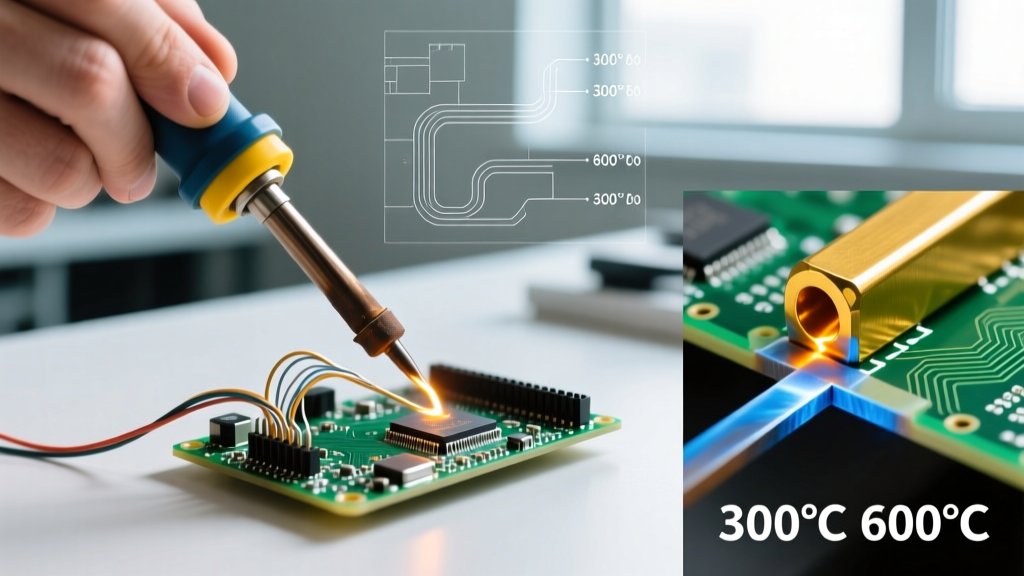
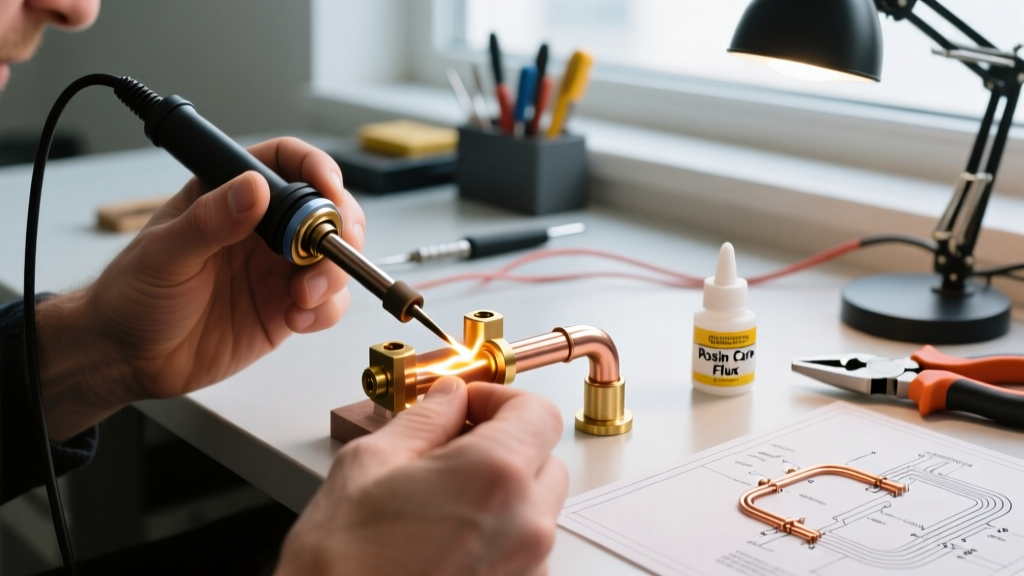
Set your soldering station to 380°C (715°F). Place the chisel tip primarily on the copper component, roughly 1/4 inch away from the joint seam. Hold for 5 to 8 seconds. The copper will rapidly conduct the heat toward the brass fitting.
Pro-Tip: Touch your solder wire to the brass side of the seam, not the iron tip. When the brass has absorbed enough heat conducted through the copper, the solder will instantly melt and be drawn into the joint via capillary action. This guarantees the brass has reached the liquidus temperature.
Step 4: Solder Feeding and Dwell Time
Feed the solder until a complete fillet forms around the entire circumference of the joint. Remove the solder wire first, then remove the iron. Hold the assembly perfectly still for 10-15 seconds. Moving the joint while the alloy is in its "plastic" (semi-solid) phase will cause micro-fractures, resulting in a grainy, disturbed joint that will fail under vibration.
Step 5: Neutralization (For Acid Flux Only)
If you used a zinc-chloride acid flux, the joint must be neutralized. Wipe the joint with a rag soaked in a baking soda and distilled water solution. You will see it fizz as the base neutralizes the acid. Rinse with clean water and dry thoroughly. Failure to do this will result in green copper chloride corrosion eating through the joint within months.
Troubleshooting Common Failure Modes
Even experienced technicians encounter issues when bridging dissimilar metals. Refer to the NASA Workmanship Standard for Soldered Electrical Connections for visual defect criteria, which apply equally to high-reliability mechanical joints.
- Cold Joint on Brass (Solder balls up and rolls off): The brass did not reach the liquidus temperature. You applied heat to the copper, but the copper mass was too large, or the iron tip was oxidized. Fix: Clean the iron tip with a damp brass sponge, apply fresh flux to the brass, and pre-tin the brass separately before joining.
- Dezincification (Brittle, porous joint): The brass was overheated, typically by a torch or an iron set above 420°C. The zinc in the brass oxidized and leached out, leaving a weak copper sponge structure. Fix: Lower your iron temperature to 360°C and use a larger tip geometry to transfer heat faster without requiring extreme temperatures.
- Flux Inclusions (Voids inside the joint): The joint was heated too quickly, causing the flux to boil and trap gas bubbles inside the capillary space. Fix: Apply heat more gradually and ensure the flux is appropriate for the operating temperature.
Frequently Asked Questions
Can I use a butane or MAPP gas torch instead of an iron?
Yes, for large plumbing fittings (1/2 inch and above), a torch is often necessary due to the sheer thermal mass. However, you must use a sweeping flame motion. Lingering a torch flame on brass will rapidly cause dezincification and ruin the fitting. For anything under 1/4 inch, or any electrical/sensor applications, a high-wattage soldering station is mandatory for precision.
Do I need to use silver-bearing solder for copper-to-brass?
For high-pressure plumbing or HVAC refrigerant lines, yes. Silver-bearing alloys (like Stay-Brite 8, which contains 8% silver) offer significantly higher tensile strength and better capillary flow than standard tin-lead or tin-antimony alloys. For low-stress electrical grounding, standard SAC305 or 95/5 is sufficient.
Why is my solder joint turning green a few weeks later?
Green corrosion is copper chloride or copper carbonate, a direct result of failing to neutralize and clean acid-based flux residue. Once the corrosion starts, it will eventually wick under the solder and compromise the seal. You must mechanically clean the joint and re-solder if the corrosion has penetrated the seam.