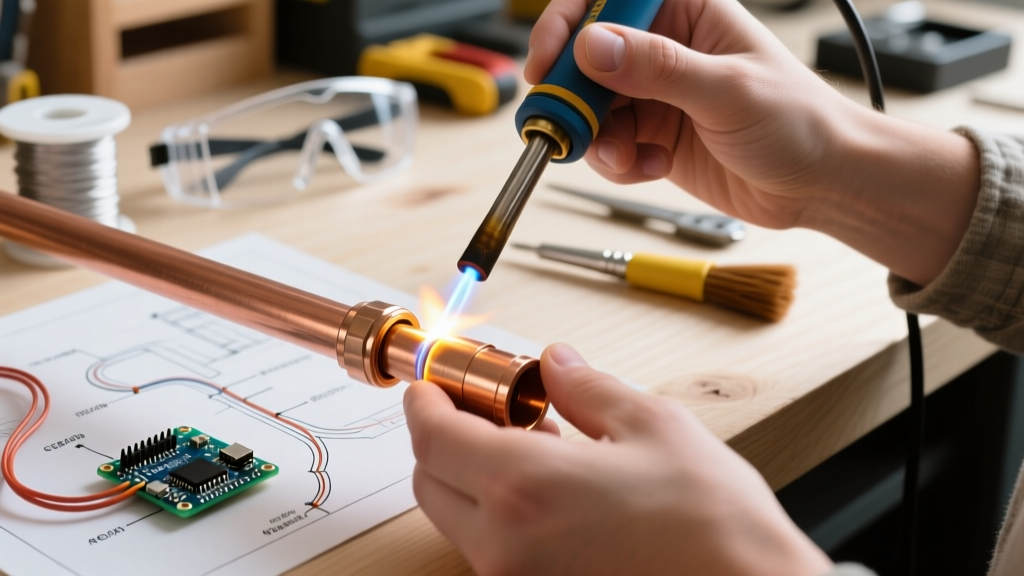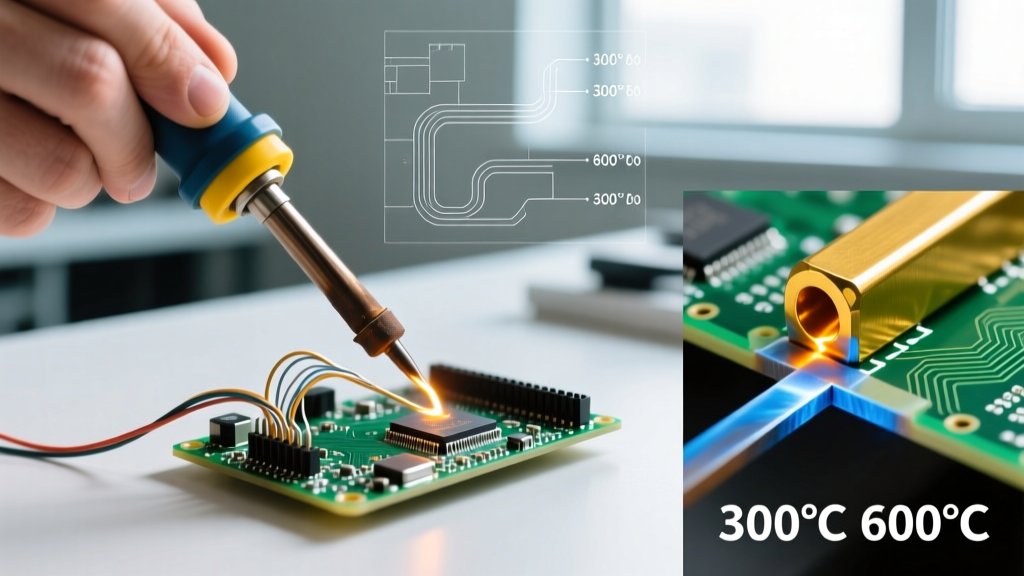

The 842°F Threshold: Defining the Metallurgical Boundary
When fabricating metal assemblies, the most common point of confusion for both hobbyists and junior technicians is deciding between soldering or brazing. While both processes rely on capillary action to draw a molten filler metal between two closely fitted base metals without melting the base material itself, the metallurgical boundary separating them is strictly defined by temperature.
According to the American Welding Society (AWS), the dividing line is 450°C (842°F). Processes occurring below this threshold are classified as soft soldering, while those above it are classified as hard brazing. This thermal distinction fundamentally alters the filler alloys used, the joint tensile strength, and the required heat delivery systems.
Expert Insight: In 2026, modern HVAC and plumbing codes strictly delineate these processes. You cannot substitute soft solder for brazed joints in high-pressure refrigerant linesets, nor is it economically or practically viable to braze standard residential Type M water lines. Choosing the correct process prevents catastrophic joint failure under thermal expansion and pressure cycling.
Decision Matrix: Soldering vs. Brazing
Before striking an arc or lighting a torch, use this matrix to determine the correct process for your specific copper application.
| Feature | Soft Soldering (Plumbing/Electrical) | Hard Brazing (HVAC/Structural) |
|---|---|---|
| Temperature Range | 350°F – 800°F (175°C – 425°C) | 1,100°F – 1,500°F (600°C – 815°C) |
| Filler Alloys | Sn95/Sb5, Sn96/Ag4 (Lead-Free) | Sil-Fos (15% Ag), Safety-Silv 45 |
| Joint Tensile Strength | 5,000 – 10,000 PSI | 30,000 – 60,000+ PSI |
| Capillary Penetration | Extremely High (Deep Draw) | Moderate to High |
| Primary Applications | Potable water, drain lines, PCBs | Refrigerant lines, high-pressure gas |
| Base Metal Prep | Mechanical abrasion + Flux | Abrasives + Nitrogen Purge |
Phase 1: Step-by-Step Soft Soldering (Potable Water Lines)
For residential plumbing, lead-free soldering is mandated by the EPA's Safe Drinking Water Act, requiring alloys with no more than 0.2% lead. We will focus on sweating a 3/4-inch Type L copper pipe joint.
Required Tooling & Materials (Approx. $95 Setup)
- Torch: Bernzomatic TS8000 (High-intensity swirl burner, ~$55)
- Filler: Solderite 95/5 Tin-Antimony, 0.032" diameter (~$18)
- Flux: Oatey #95 Tinning Flux (Water-soluble, ~$8)
- Abrasive: Oatey Emery Cloth or specialized wire fitting brush
The 5-Step Sweat Soldering Process
- Cut and Ream: Cut the copper square using an approved tubing cutter. Crucially, use the reaming blade to remove the internal burr. An unreared pipe creates turbulence that causes pinhole leaks over time.
- Mechanical Prep: Sand the outside of the pipe and the inside of the fitting with emery cloth until both shine brightly. Do not touch the cleaned metal with bare fingers; skin oils inhibit capillary draw.
- Flux Application: Apply a thin, even layer of Oatey #95 flux to the pipe exterior. Insert the pipe into the fitting and give it a quarter-turn to distribute the flux evenly, wiping away excess from the exterior to prevent corrosion.
- Thermal Soaking: Ignite the TS8000. Apply the flame to the fitting, not the pipe. The fitting has more mass and needs to reach the thermal threshold first. Heat until the flux bubbles and turns slightly translucent (approx. 400°F).
- Capillary Draw: Remove the flame. Touch the 95/5 solder wire to the opposite side of the joint from where the flame was applied. If the joint is hot enough, the solder will instantly melt and be drawn into the joint by capillary action. A continuous silver ring should appear around the fitting edge.
Phase 2: Step-by-Step Hard Brazing (HVAC Linesets)
When working on air conditioning refrigerant lines (Type ACR copper), the system operates under pressures exceeding 400 PSI (with R-410A or modern R-32 refrigerants). Soft solder will extrude and fail. You must use hard brazing.
Required Tooling & Materials (Approx. $450+ Setup)
- Torch: Victor Journeyman Oxy-Acetylene Outfit (Neutral flame capability)
- Filler: Harris Safety-Silv 45 (45% Silver, Cadmium-Free, ~$55/oz)
- Purge Gas: Dry Nitrogen cylinder with a dual-stage regulator
- Flux: None required (Phosphorus in the filler acts as a fluxing agent for copper-to-copper)
The 5-Step Nitrogen-Purged Brazing Process
- Surface Preparation: Clean the ACR copper with a stainless-steel wire brush. Avoid carbon steel brushes, as embedded iron particles will rust inside the refrigerant circuit and destroy the compressor.
- Dry Nitrogen Purge (Critical Step): Connect your nitrogen regulator to one end of the lineset and leave the other open. Set the flow to 2 to 3 SCFH (Standard Cubic Feet per Hour). This displaces atmospheric oxygen inside the pipe. Without this purge, the extreme brazing heat will form cupric oxide scale inside the pipe, which will eventually flake off and clog the HVAC expansion valve.
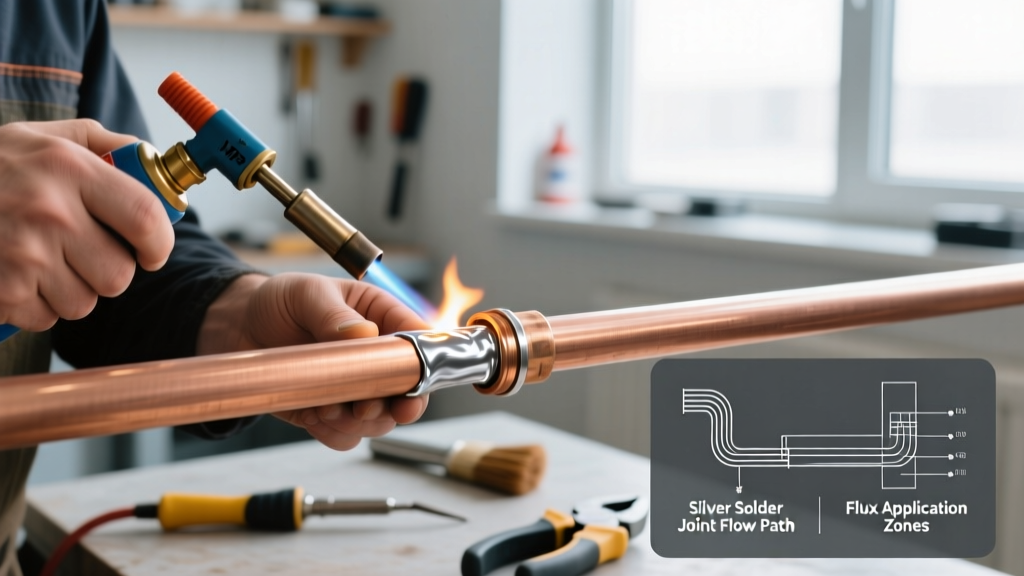
- Thermal Equalization: Using an oxy-acetylene torch with a neutral flame (equal inner cones), heat the base metals evenly. Move the flame in a figure-eight pattern across the joint to prevent localized melting of the thin ACR copper walls.
- Alloy Introduction: Once the copper reaches a dull cherry-red color (approx. 1,300°F), remove the flame and touch the Safety-Silv 45 rod to the joint. The phosphorus in the alloy will clean minor surface oxides, and the silver will flash into the joint.
- Controlled Cooling: Allow the joint to cool naturally while maintaining the nitrogen purge. Quenching a brazed joint with water causes thermal shock, leading to micro-fractures in the silver-copper matrix.
Metallurgical Failure Modes & Troubleshooting
Even experienced fabricators encounter joint failures. Understanding the metallurgy behind these failures is key to mastering the decision of soldering or brazing.
1. Solder Balling and Refusal to Flow
The Symptom: The solder melts into a bead on the pipe but does not enter the fitting.
The Root Cause: The base metal has not reached the liquidus temperature of the alloy, or the flux has burned off due to prolonged, excessive heating. Water-soluble plumbing fluxes burn at roughly 600°F. If you overheat the joint before applying solder, the copper instantly oxidizes, blocking capillary action.
The Fix: Disassemble, clean, and re-flux. Heat the fitting faster using a higher-BTU swirl tip.
2. Brazing Flux Inclusions (Slag Traps)
The Symptom: A porous, brittle joint that leaks under pressure testing.
The Root Cause: If you are brazing copper to brass or steel, you must use a borax-based white flux (like Harris Stay-Clean). If the joint is overheated, the flux boils and becomes trapped inside the capillary space as glass-like slag, preventing the silver alloy from achieving a metallurgical bond.
The Fix: Use the minimum amount of flux required, and rely on the heat of the base metal to melt the flux, rather than melting the flux directly with the torch flame.
3. Base Metal Erosion (Washout)
The Symptom: The copper pipe wall thins out and collapses at the joint edge.
The Root Cause: Holding an oxy-acetylene torch too close to thin-walled copper during brazing. The high-velocity flame physically erodes the semi-molten copper.
The Fix: Keep the inner cones of the oxy-acetylene flame at least 1/2 inch away from the workpiece, and keep the torch in constant motion.
Safety & Compliance in 2026
Both processes generate hazardous fumes. When brazing with silver-phosphorus alloys, the phosphorus vaporizes and forms phosphoric acid in the presence of ambient moisture, which is highly irritating to the respiratory tract. Always operate in compliance with OSHA's Welding, Cutting, and Brazing standards, utilizing localized exhaust ventilation (LEV) or an N95/P100 respirator rated for metal fumes. Furthermore, never braze sealed vessels; the rapid expansion of trapped gases will result in a lethal explosion. Always ensure linesets are open to the atmosphere or purged before applying heat.