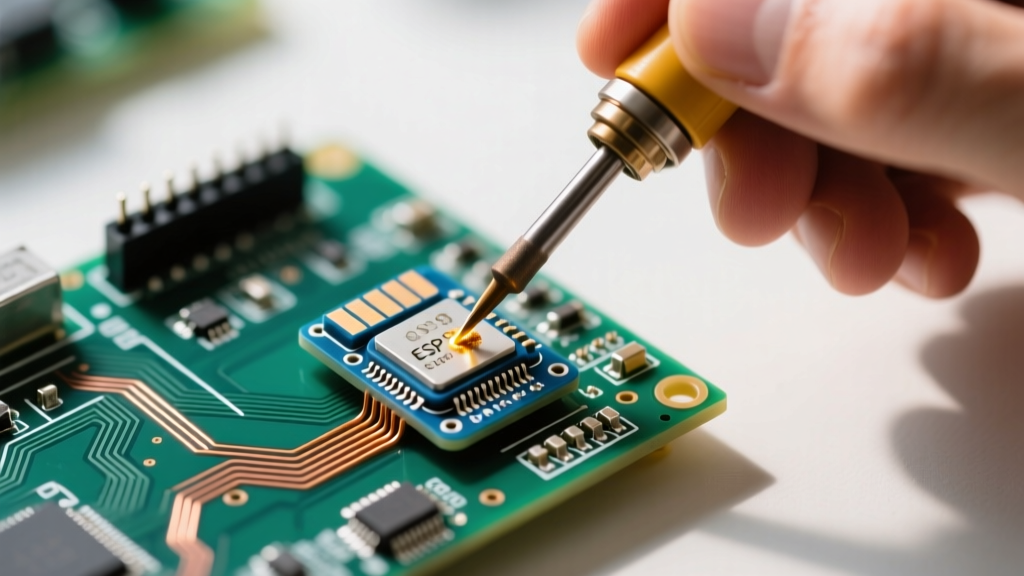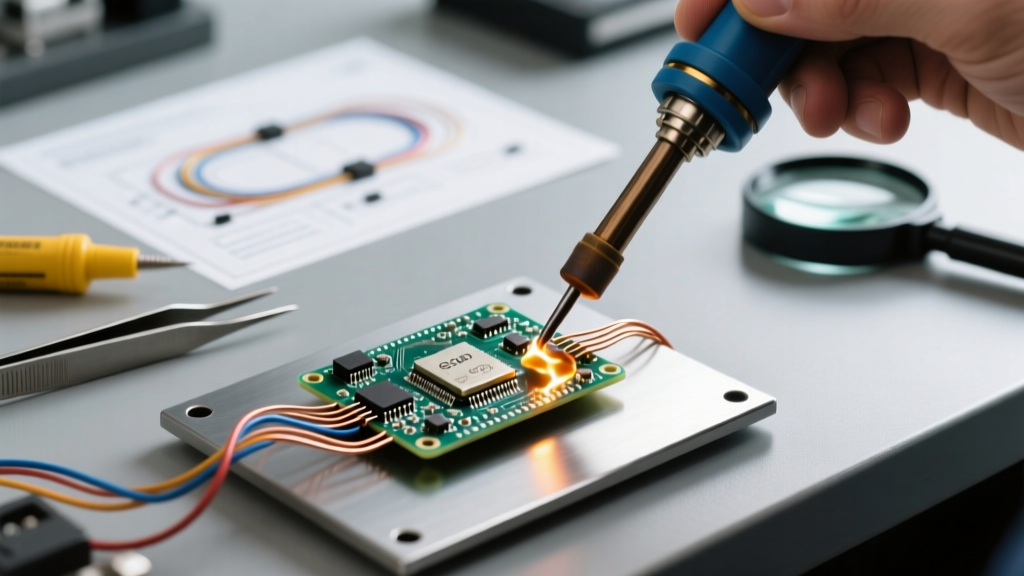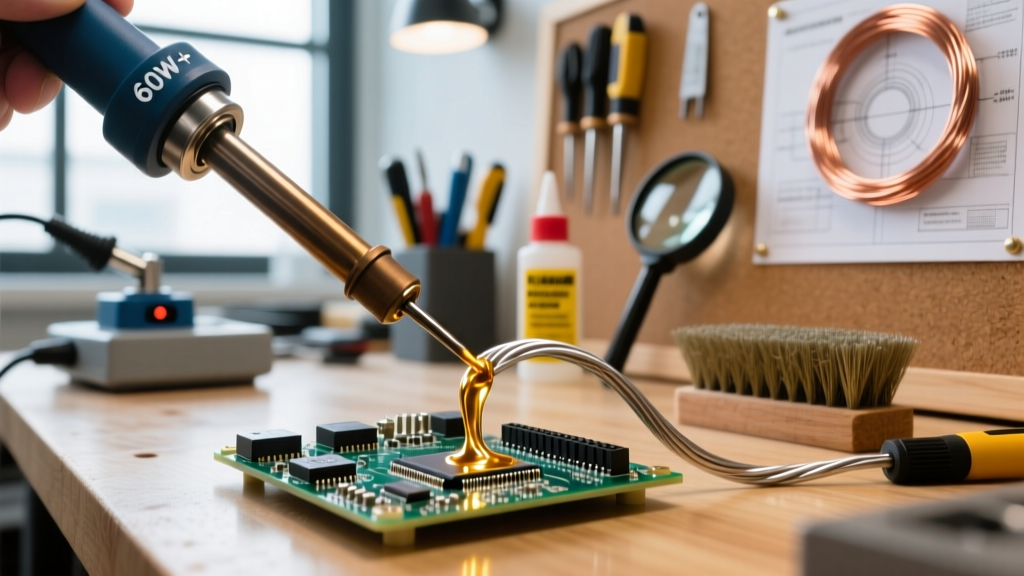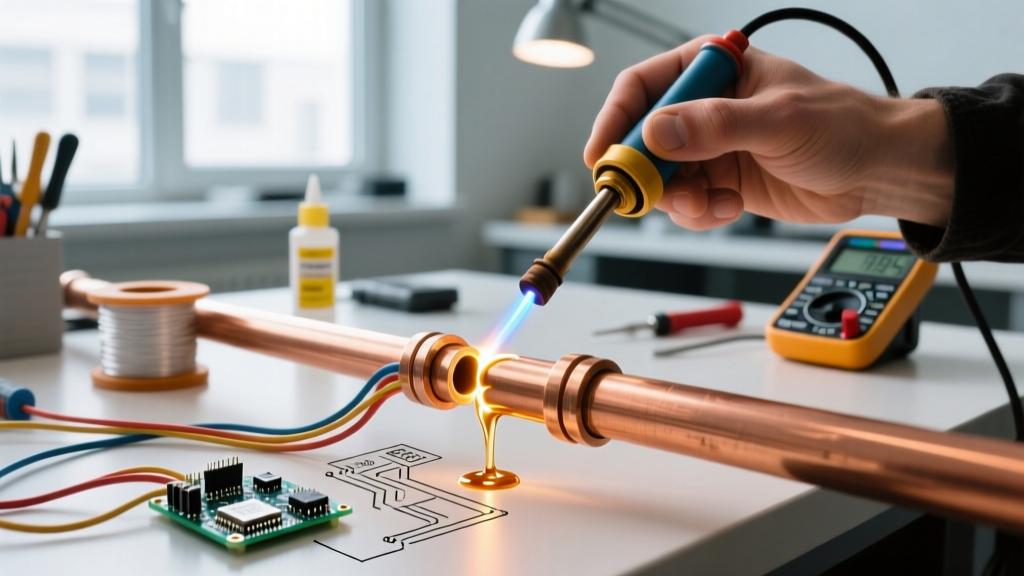

Press Play: Introduction to Brazing Soldering
Welcome to this visual storyboard guide. When technicians and DIYers search for brazing soldering techniques, they are usually looking for the bridge between standard soft soldering and full-scale fusion welding. Often referred to as "silver soldering" or "hard soldering," this process relies on capillary action—just like soft soldering—but operates at significantly higher temperatures to create joints with immense tensile strength. In this guide, we are treating the text as a camera lens. We will walk through the exact visual cues, color changes, and thermal milestones you need to watch for when brazing copper pipes for high-pressure HVAC lines or heavy-duty electrical grounding buses.
Scene 1: The Workbench Setup (Gear & 2026 Pricing)
Visual Cue: The camera pans across a clean, fire-resistant workbench. The focus pulls from the background fire extinguisher to the primary tools laid out on a silicone mat.
Before we strike the arc or ignite the torch, you need the right metallurgy. Using standard plumbing solder for a high-vibration or high-pressure joint will result in catastrophic failure. Here is the exact 2026 loadout required for professional-grade copper brazing:
| Tool / Material | Specific Model / Alloy | 2026 Est. Cost | Visual Purpose |
|---|---|---|---|
| Torch Head | Bernzomatic TS8000 | $58.00 | Swirl flame for even, wrap-around heating. |
| Fuel Cylinder | MAP-Pro (Yellow Tank) | $16.50 | Burns at 3,730°F; necessary to reach brazing temps. |
| Braze Alloy | Harris Stay-Silv 15 (15% Silver) | $48.00 / oz | Melts at 1145°F, flows at 1205°F. Contains phosphorus for copper-to-copper. |
| Flux | Stay-Silv White Paste Flux | $12.00 / jar | Dissolves oxides; turns clear when the joint reaches flow temperature. |
| Abrasive | Norton 120-Grit Emery Cloth | $8.00 / roll | Creates the microscopic scratches needed for capillary draw. |
Scene 2: The Metallurgy Breakdown (Soft Solder vs. Braze)
Visual Cue: A split-screen graphic appears. On the left, a standard 95/5 tin-copper solder joint. On the right, a Stay-Silv 15 brazed joint. A digital overlay displays the tensile strength PSI.
To understand why we use specific alloys, we must look at the thermal crossover. The term brazing soldering often confuses beginners because the physical application looks identical to plumbing soldering, but the metallurgical bond is entirely different.
- Soft Soldering (e.g., Oatey Lead-Free 95/5): Melts around 450°F (232°C). The base metal (copper) does not anneal or change structurally. Tensile strength is relatively low (~6,000 PSI). Ideal for low-pressure residential water lines.
- Brazing Soldering (e.g., Stay-Silv 15): Melts at 1145°F (618°C) and flows at 1205°F (652°C). The base metal reaches a dull cherry red. The silver-phosphorus alloy actually diffuses into the copper grain structure, creating a joint that is often stronger than the pipe itself (exceeding 60,000 PSI tensile strength).
Director's Note on Copper-to-Brass: If your visual guide shifts from copper-to-copper to copper-to-brass, the phosphorus in the Stay-Silv 15 will cause a brittle joint. You must switch to a cadmium-free silver alloy like Stay-Silv 45 and aggressively apply white paste flux to the brass fitting.
Scene 3: Prepping the Joint (Macro Lens View)
Visual Cue: Extreme close-up. The camera focuses on the outside of a 1/2-inch Type L copper pipe and the inside of a wrought copper elbow fitting.
Brazing relies entirely on capillary action. If the surfaces are oxidized, the alloy will ball up and roll off like water on a hot skillet.
- The Scuff: Wrap the emery cloth around the pipe end. Rotate it 4 to 5 times until the copper shines brightly. Visual check: No dark oxidation rings or factory clear-coat should remain.
- The Ream: Insert the fitting wire brush into the elbow. Twist until the inner wall matches the brightness of the outer pipe.
- The Flux Application: Using a dedicated flux brush, apply a thin, even layer of Stay-Silv White Paste to the outside of the pipe only. Pro Tip: Never flux the inside of the fitting. Excess flux will get pushed into the line, potentially clogging HVAC expansion valves or refrigerant filters.
- The Assembly: Push the pipe into the fitting and give it a quarter-turn twist to spread the flux evenly and eliminate air pockets.
Scene 4: Applying the Flame (Thermal Camera Perspective)
Visual Cue: The lights dim. The TS8000 torch ignites with a sharp hiss. We switch to a simulated thermal imaging view, watching the heat gradient spread across the copper.
This is where most DIYers fail. They aim the flame directly at the silver rod, melting it onto the surface of the pipe like glue. This is a "cold joint" and will fail under pressure.
The Sweeping Technique
Ignite the MAP-Pro torch and adjust the flame so the inner blue cone is about 1 inch long. Keep the tip of the inner cone roughly 2 inches away from the copper. Begin sweeping the flame back and forth across the fitting, not the pipe. The fitting has more mass and requires more thermal energy to reach the 1205°F flow point.
Watch the Flux: As the temperature climbs past 600°F, the white paste flux will begin to bubble and boil. This is the water evaporating. Around 1000°F, the flux will melt into a clear, glassy liquid. This visual cue is your green light. According to the American Welding Society, the flux must become completely fluid to dissolve the copper oxides before the filler metal is introduced.
Scene 5: The Capillary Draw (Slow Motion)
Visual Cue: Slow-motion playback. The copper fitting is now a dull, dark cherry red (approx. 1150°F). The torch is pulled back slightly.
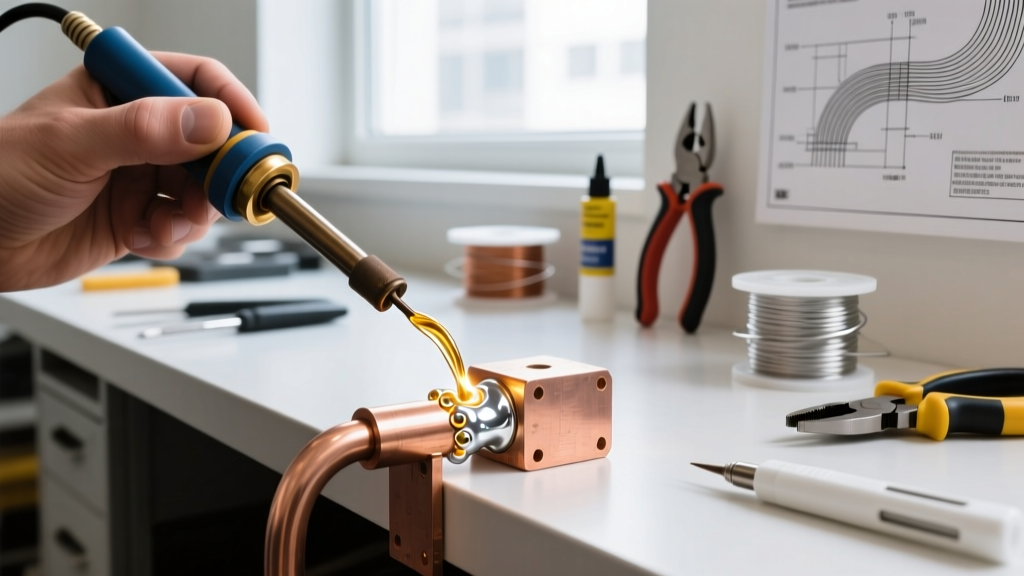
Remove the flame from the joint for exactly one second. Touch the tip of the Stay-Silv 15 rod to the seam where the pipe meets the fitting.
The Flash Melt: If the base metal is at the correct temperature, the silver alloy will instantly snap into a liquid state and violently wick into the joint. You will see a bright silver ring form around the entire circumference of the fitting. If the rod bends and smears like putty, the joint is too cold. Pull the rod away, apply more heat to the fitting, and try again.
Once the silver ring is complete, apply a tiny amount of heat to the back of the fitting to ensure the alloy has pulled all the way through to the other side. Visual check: Look inside the opposite end of the elbow; you should see a distinct silver line indicating full capillary penetration.
Director's Cut: Troubleshooting Bad Joints
Even with the right gear, edge cases happen. Here is how to diagnose visual failures in your brazing soldering workflow:
- The Black Crust (Burnt Flux): If your flux turns into a hard, black, glassy crust, you overheated the joint (exceeding 1500°F). The flux is dead and will no longer clean the metal. Fix: You must let the joint cool, disassemble it by heating and pulling, sand off the burnt flux, and start over.
- The Silver Ball (Balling Up): The alloy melts but refuses to enter the joint, forming beads on the surface. Cause: Oxidation inside the joint or insufficient heat in the fitting. Fix: Ensure you heated the heavier fitting, not the thinner pipe.
- Pinhole Leaks: The joint looks perfect on the outside but leaks under nitrogen pressure testing. Cause: Moisture in the line turned to steam during brazing, blowing microscopic holes in the silver before it solidified. Fix: Always purge copper lines with dry nitrogen at 2-3 PSI while brazing, a standard mandated by modern HVAC codes.
Safety & Compliance (The Credits)
Brazing generates intense UV light, extreme heat, and potentially hazardous fumes from the flux and base metal coatings. According to OSHA Standard 1910.252 regarding welding, cutting, and brazing, proper ventilation and PPE are non-negotiable. Always wear shade 3 or 4 brazing goggles to protect your retinas from the sodium flare of the MAP-Pro flame, and use an N95 or P100 respirator if brazing in confined spaces to avoid inhaling atomized flux particulates.
For a deeper dive into the structural differences between joining methods, Lincoln Electric's process theory archives provide excellent metallurgical cross-sections showing how capillary brazing differs from fusion welding.
Fade to black. End of guide. Now, grab your torch and practice on some scrap copper before touching your main project.