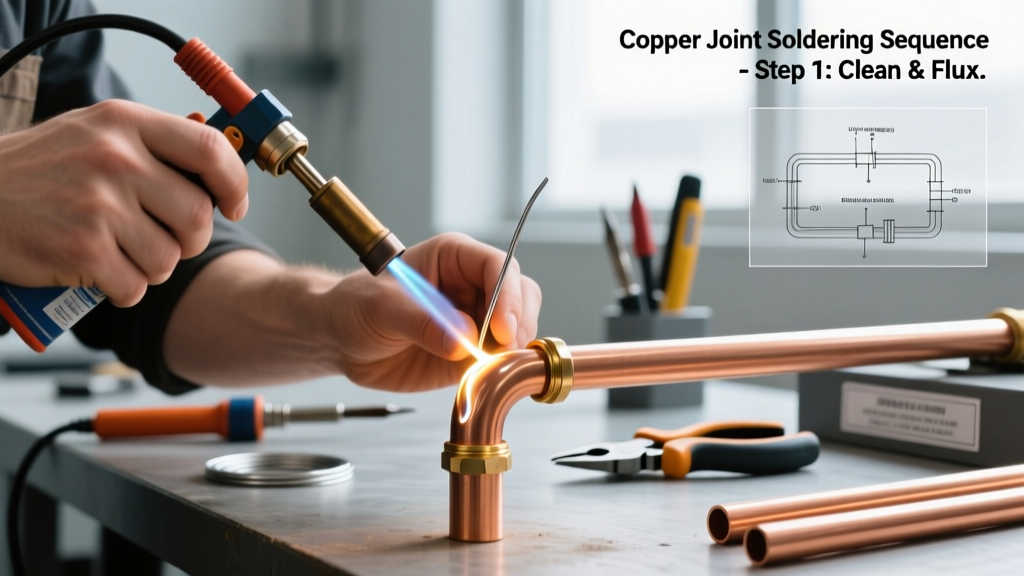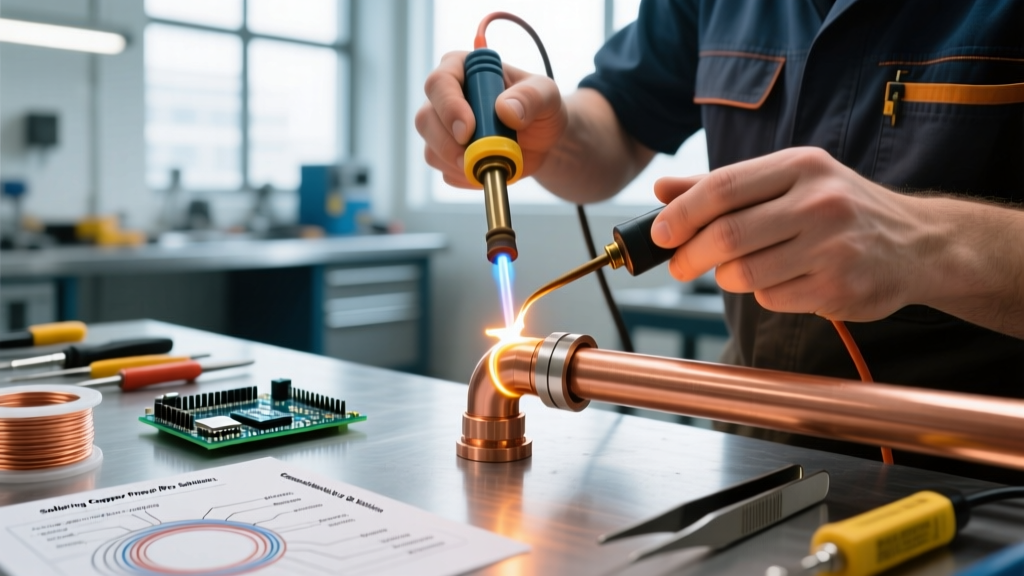

Mastering the Art of Sweating Copper: Beyond the Basics
Soldering copper pipe fittings—commonly known in the trades as 'sweating'—is a foundational plumbing skill that relies on the physics of capillary action. When executed correctly, a soldered copper joint can withstand over 1,000 PSI and last for decades. However, the transition away from lead-based solders to meet modern EPA Safe Drinking Water Act standards has made the process significantly less forgiving. Lead-free alloys require higher temperatures, precise flux application, and immaculate surface preparation.
Whether you are running a new 3/4-inch Type L copper water main or repairing a pinhole leak in a 1/2-inch branch line, avoiding critical errors is the difference between a watertight system and a flooded basement. Below, we break down the seven most common mistakes DIYers and junior apprentices make when soldering copper pipe fittings, paired with actionable, professional-grade solutions.
Mistake 1: Inadequate Surface Preparation (The #1 Cause of Leaks)
Copper naturally oxidizes when exposed to air, forming a microscopic layer of copper oxide. Solder will not bond to oxidized metal. Many beginners give the pipe a quick wipe with a rag and assume it is clean enough. This guarantees a cold joint and an eventual leak.
The Pro Solution:
You must mechanically remove all oxidation and debris. Use a properly sized wire brush for the inside of the fitting and #120-grit sand cloth or a specialized tube cleaning brush for the outside of the pipe. Critical measurement: Clean the pipe to exactly 1/16-inch past the insertion depth of the fitting (usually about 1/2-inch to 3/4-inch for standard 1/2-inch and 3/4-inch fittings). Immediately after sanding, apply a thin, even coat of water-soluble or tinning flux (such as Oatey No. 5 or Harris Stay-Clean) to prevent flash-oxidation before the torch is even ignited.
Mistake 2: Ignoring Water in the Line (The Steam Blowout)
Copper is an exceptional thermal conductor. If there is even a few drops of water resting in the pipe near your joint, the heat from your torch will instantly convert that water into steam. The expanding steam will violently blow through the joint, pushing the molten solder out and creating a porous, Swiss-cheese-like joint interior that will fail under pressure.
The Pro Solution:
Gravity is your enemy here. If you cannot drain the line completely, use a water-soluble pipe plug (like the Oatey Magic Plug, which costs about $8 for a multi-pack) to dam the water upstream. In a pinch, veteran plumbers use the 'bread trick': tightly wad up a piece of plain white bread (no seeds or crust) and push it into the pipe upstream of the joint. The bread acts as a temporary dam, and once the system is pressurized, it dissolves completely and washes out through the nearest aerator or hose bib.
Mistake 3: Overheating and Burning the Flux
Flux is designed to clean the metal and lower the surface tension of the solder at specific temperature ranges. Most standard paste fluxes begin to burn, carbonize, and turn into a hard, black crust at temperatures exceeding 600°F. Once the flux burns, it acts as a physical barrier, completely blocking capillary action.
The Pro Solution:
Do not blast the joint with a high-BTU torch for 30 seconds. Use a trigger-start torch like the Bernzomatic TS8000 (retailing around $35-$40) with MAP-Pro gas for rapid, controlled heating. Apply the flame to the fitting, not the pipe, because the fitting has more mass and needs more heat. Watch the flux: when it bubbles vigorously and turns clear/translucent, the joint is at the optimal temperature (around 450°F). For absolute precision, apply a temperature-indicating paste like Tempilaq 450°F to the opposite side of the joint; when it melts, pull the torch.
Mistake 4: Using the Wrong Solder Alloy for Potable Water
Using 50/50 (tin/lead) solder or electronics rosin-core solder on a domestic water line is not just a code violation; it is a severe health hazard and a structural failure waiting to happen. Rosin-core flux is non-corrosive and will not clean copper plumbing, while 50/50 solder lacks the structural integrity for pressurized hot water lines and leaches toxic lead.
The Pro Solution:
Always use an NSF/ANSI 61 certified lead-free solder for potable water. The industry standard is 95/5 (95% Tin, 5% Antimony) or 97/3 (97% Tin, 3% Copper). According to the Copper Development Association's Copper Tube Handbook, these alloys provide the necessary shear strength for pressurized systems. Note that lead-free solder has a narrower plastic range (it transitions from solid to liquid very quickly), meaning your timing and heat control must be much more precise than with legacy leaded solders.
| Alloy Type | Composition | Melting Point Range | Best Use Case | Avg Price (8oz Spool) |
|---|---|---|---|---|
| 95/5 Lead-Free | 95% Tin, 5% Antimony | 430°F - 460°F | Potable water lines (Hot & Cold) | $12 - $16 |
| 50/50 (Restricted) | 50% Tin, 50% Lead | 360°F - 420°F | Drain/Waste/Vent (DWV) only | $8 - $11 |
| 97/3 Lead-Free | 97% Tin, 3% Copper | 440°F - 480°F | High-temp HVAC & Refrigeration | $18 - $24 |
| Silver Bearing (BCuP-3) | Copper/Phosphorus/Silver | 1,190°F - 1,475°F | Brazing medical gas / high PSI | $45 - $60 |
Mistake 5: Applying Solder to the Flame Instead of the Pipe
A classic rookie error is melting the solder wire directly in the torch flame and trying to 'drip' it onto the joint. This results in a superficial smear of solder on the outside of the fitting with zero penetration into the capillary space. The joint will hold water while sitting on the bench, but will blow apart the moment the system is pressurized to 60 PSI.
The Pro Solution:
The heat stored in the copper must melt the solder. Remove the torch flame and immediately touch the solder wire to the seam of the joint, preferably on the side opposite to where you were heating. If the copper is at the correct temperature, the solder will instantly flash-melt and be violently sucked into the joint via capillary action. You should see a continuous, shiny silver ring appear entirely around the seam.
Mistake 6: Starving or Overfeeding the Joint
How much solder is actually required? Applying too little leaves voids inside the fitting cup. Applying too much results in ugly, bulbous drips on the outside that can restrict water flow or hide a joint that never actually drew solder inward.
The Pro Solution:
Follow the 'rule of thumb' for solder length. For a standard 1/2-inch copper joint, you need roughly 1/2-inch to 3/4-inch of 3/32-inch diameter solder wire. For a 3/4-inch joint, you need about 1 inch of solder. Keep the wire bent at a 90-degree angle; when the straight portion of the wire is consumed, the joint is usually perfectly full. Stop feeding the moment the solder refuses to be drawn in and begins to pool on the outside.
Mistake 7: Disturbing the Joint During Solidification (Hot Tearing)
Lead-free solders like 95/5 have a very tight 'pasty range'—the temperature window between completely liquid and completely solid. If the pipe is bumped, twisted, or subjected to vibration while the solder is in this semi-solid crystallization phase, the internal molecular structure fractures. This creates a microscopic crack known as a 'hot tear' or 'cold joint,' which will leak under thermal expansion cycles.
The Pro Solution:
Once the solder ring is complete, remove the heat and hold the pipe completely still for 10 to 15 seconds. Do not wipe the joint with a damp rag to 'make it pretty' until the solder has fully lost its liquid shine and solidified. Wiping it prematurely can induce thermal shock and micro-fractures.
Essential Safety and Tool Maintenance
Soldering copper pipe fittings involves open flames and temperatures exceeding 450°F, often in tight joist bays or near wooden framing. Always use a flame-retardant heat shield cloth (such as a fiberglass welding blanket) tucked behind the pipe to protect structural lumber. Keep a pump sprayer filled with water nearby to mist down surrounding wood after the joint is complete. Finally, wipe your soldering tip and the outside of the joint with a damp, dedicated emery cloth or rag while it is still warm (but not molten) to remove corrosive flux residue, which can cause pinhole leaks on the exterior of the pipe years down the line.
Pro Tip for Vertical Joints: When soldering vertical pipes, always heat the fitting and apply solder at the bottom edge of the joint. Capillary action will draw the molten solder upward against gravity, ensuring the entire cup is filled before the solder begins to drip.
By respecting the metallurgy of lead-free alloys and adhering to strict preparation protocols, your soldered copper joints will easily outlast the PEX and CPVC alternatives, providing a permanent, leak-free plumbing infrastructure for your home or commercial project.