
The Anatomy of a Failed Sweat Joint
A single pinhole leak in a sweated copper joint can cause thousands of dollars in water damage before it is discovered. Sweat soldering is not merely about melting metal; it is a precise metallurgical process reliant on capillary action. When you are soldering copper pipe joints, the molten alloy is drawn into a microscopic clearance gap—ideally between 0.002 and 0.004 inches—between the pipe and the fitting. If this gap is compromised by oxidation, moisture, or thermal mismanagement, the joint will fail.
Whether you are a DIYer tackling a basement remodel or an apprentice plumber refining your craft, understanding the failure modes of copper soldering is critical. This guide dives deep into the exact troubleshooting protocols, specific product recommendations, and thermal management techniques required to fix and prevent leaking copper joints in 2026.
Diagnostic Troubleshooting Matrix
Before applying heat, you must correctly diagnose why a joint is failing. Use this matrix to identify your specific issue and apply the correct fix.
| Symptom | Root Cause | Diagnostic Test | Fix Protocol |
|---|---|---|---|
| Solder beads up and rolls off the pipe | Severe oxidation or contaminated copper surface | Visual inspection reveals dark, pitted, or dull copper | Disassemble, clean with 120-grit emery cloth, apply fresh tinning flux |
| Solder melts but won't wick into the fitting | Burnt flux or insufficient heat on the fitting hub | Flux turns into a hard, black, glassy crust | Remove heat, let cool, disassemble, wire-brush flux residue, re-flux |
| Joint leaks immediately upon pressurization | Moisture in the line creating steam pockets | Hissing sound during heating, solder blows out of the joint | Drain line completely, use water-soluble plugs or compressed air purge |
| Micro-leak develops weeks after installation | Thermal shock or joint movement during solidification | Drip originates from the back edge of the fitting shoulder | Re-sweat the joint using a high-temperature silver-bearing solder |
The 'Water in the Line' Nightmare: Steam vs. Capillary Action
The most common reason for a catastrophic failure when soldering copper pipe joints is trapped moisture. Water turns to steam at 212°F (100°C). Solder melts at roughly 430°F to 460°F (for 95/5 lead-free alloys). If even a single drop of water is present inside the pipe, it will flash into steam exactly as you apply the torch. This expanding steam will literally blow the molten solder out of the capillary gap, resulting in a porous, leaky joint.
Pro-Level Moisture Management
While the old-school 'white bread' trick (stuffing a piece of bread into the pipe to absorb water, which later dissolves when the tap is turned on) is a popular DIY hack, it carries risks. Bread can contain salts and acids that promote internal corrosion, and large chunks can clog aerators or washing machine inlet valves.
- The Professional Alternative: Use Oatey Sure-Seal water-soluble pipe plugs (approx. $14 for a 5-pack). These are formulated specifically to dissolve completely without leaving corrosive residues.
- The Air Purge Method: Connect a low-PSI air compressor (set to 5 PSI) to a hose bib downstream. The gentle, continuous airflow will push residual droplets away from the joint while you heat it. Never use high pressure, as it will blow molten solder onto your skin.
Overheating and the 'Burnt Flux' Phenomenon
Flux is a chemical cleaning agent designed to dissolve copper oxide at elevated temperatures, allowing the solder to wet the metal. However, flux has a thermal limit. Standard paste fluxes, like the widely used Oatey No. 95 Tinning Flux ($12 for a 4oz tub), begin to break down and carbonize if exposed to temperatures exceeding 600°F for prolonged periods.
When using a high-output torch like the Bernzomatic TS8000 (approx. $54) paired with a MAP-Pro cylinder (flame temperature of 3,730°F), it is incredibly easy to overheat a 1/2-inch copper fitting in under four seconds. When the flux burns, it forms a hard, black, glassy slag. Solder will not flow over this slag.
Master Plumber Insight: 'Amateurs apply the flame directly to the solder wire. Professionals apply the flame to the hub of the fitting, heating the heaviest mass of metal first, and only touch the solder to the opposite side of the joint to test for capillary draw.'
How to Fix a Burnt Flux Joint
- Cool and Disassemble: Allow the joint to cool naturally. Do not quench it with a wet rag, as thermal shock will warp the copper and ruin the 0.004-inch clearance. Use two wrenches to break the joint apart.
- Mechanical Cleaning: Chemical flux removers will not dissolve burnt carbon slag. You must use a stainless steel wire brush (e.g., Milwaukee 48-22-7024 fitting brush, $8) and 120-grit emery cloth to physically scrub the fitting hub and pipe end down to bright, shiny copper.
- Re-Flux and Re-Sweat: Apply a thin, even coat of fresh tinning flux. Heat the fitting hub, not the pipe, and re-sweat.
Metallurgy Matters: Choosing the Right Solder Alloy
The alloy you choose dictates your working temperature, joint strength, and code compliance. According to the EPA's Lead-Free mandate, any solder used on potable water lines must contain less than 0.2% lead. The old 50/50 tin-lead solder is strictly illegal for drinking water and should only be used on HVAC drain lines or non-potable applications.
Common Potable Water Alloys in 2026
- 95/5 Tin-Antimony (e.g., Oatey Safe Flo): The standard for residential water lines. Melts at 452°F. Cost: ~$28 per 1lb spool. Excellent capillary action, but brittle under high vibration.
- 95/5 Tin-Silver (e.g., Harris Stay-Brite): Contains a small amount of silver, which dramatically increases tensile strength and resistance to thermal fatigue. Melts slightly higher at 460°F. Cost: ~$45 for a 1/2lb kit with specialized flux. Highly recommended for hot water recirculation lines and joints near water heaters where thermal expansion is constant.
For deeper technical specifications on copper tube preparation and joint clearances, always refer to the guidelines published by the Copper Development Association (CDA) and local codes enforced by the International Association of Plumbing and Mechanical Officials (IAPMO).
Step-by-Step Protocol: Re-Sweating a Leaking Joint
If a joint is already assembled and leaking, you do not always need to cut it out and replace the fitting. You can 're-sweat' the joint if you follow this exact sequence:
- Drain and Dry: Open all downstream valves. Use a heat gun on a low setting to blow warm air through the pipe for 5 minutes to ensure zero moisture.
- Prep the Exterior: Clean the exterior of the joint with emery cloth to remove dirt and old flux crust.
- Apply Flux Paste: Brush a generous layer of Oatey No. 95 tinning flux around the rim where the pipe meets the fitting. Capillary action will draw the flux into the joint as it heats up.
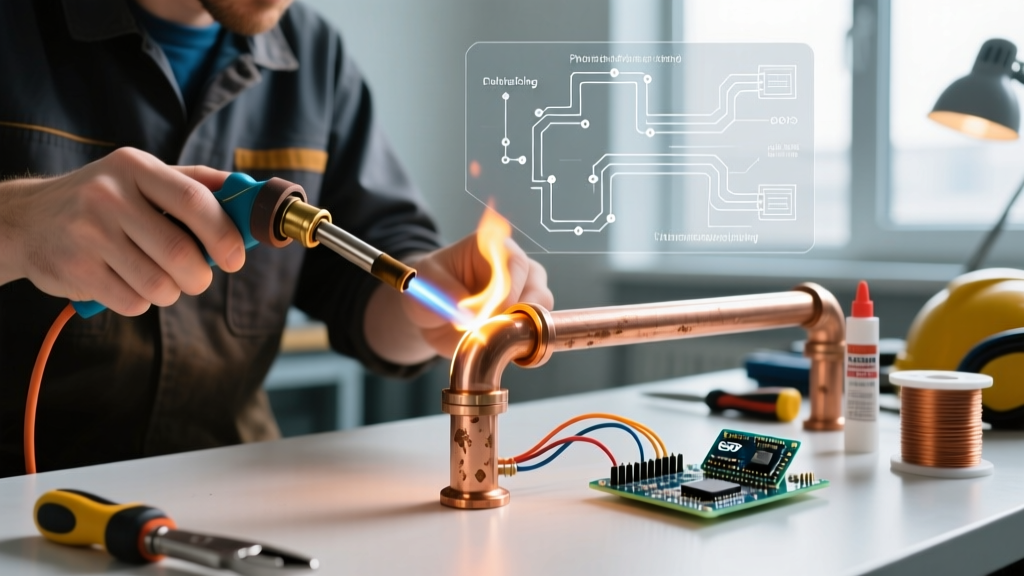
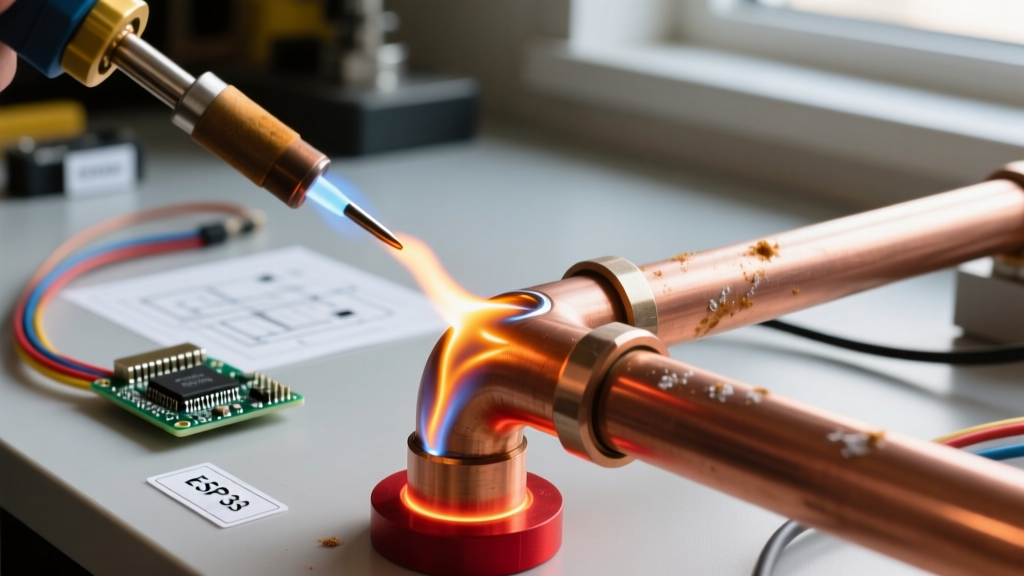
- Heat Strategically: Use a MAP-Pro torch. Keep the flame moving in a circular motion around the fitting hub. Never hold the flame in one spot.
- Test with Solder: After 5-7 seconds, touch your 95/5 solder wire to the top edge of the joint. If it melts instantly and gets sucked into the seam, the joint is at temperature. Feed exactly 1/2 inch of solder per 1/2 inch of pipe diameter.
- The Wipe: Immediately wipe the joint with a dry, heavy cotton rag (like an old denim towel). This smooths the solder bead and removes excess acidic flux before it can cause exterior corrosion.
Edge Case: Soldering Type M vs. Type L Copper
A frequent mistake made by DIYers is treating all copper pipe identically. Type M copper (identifiable by a red stamp) has a thinner wall thickness (0.028 inches for 1/2-inch pipe) compared to Type L (blue stamp, 0.040 inches). Because Type M has less thermal mass, it heats up approximately 30% faster. If you use the same heating duration on Type M as you do on Type L, you will instantly burn the flux and potentially anneal (soften) the copper, leading to blowouts under municipal water pressure (typically 60-80 PSI). Reduce your dwell time by 2-3 seconds when working with Type M.
Final Safety and Quality Checks
Always use an Oatey Flame Protector Cloth ($15) when soldering near wooden joists or PEX tubing. After the system is pressurized, do not just look for drips; run a dry paper towel along the bottom edge of every joint. Even a micro-weep that evaporates before it drops will show up instantly on the paper towel, saving you from a catastrophic failure down the line.