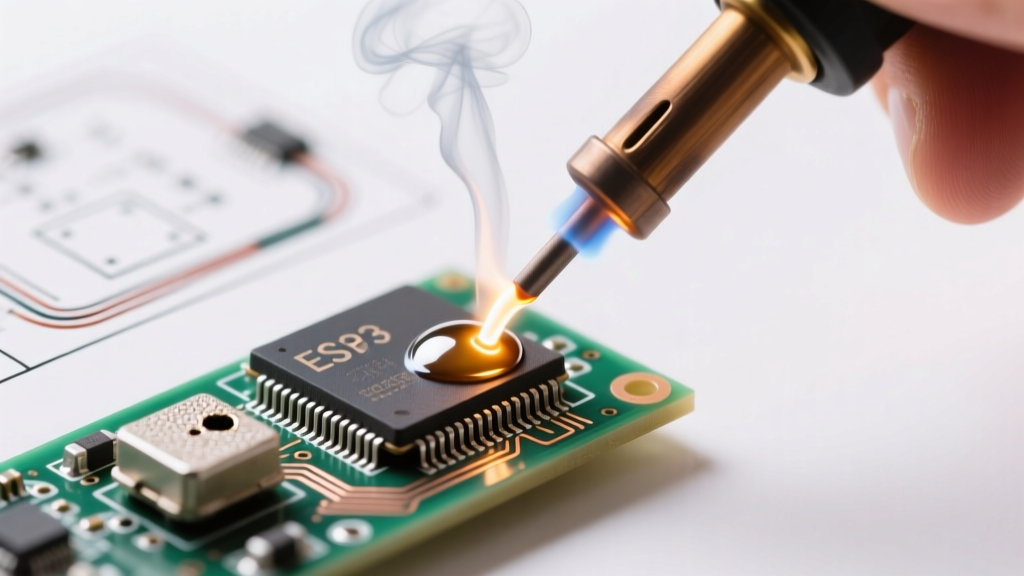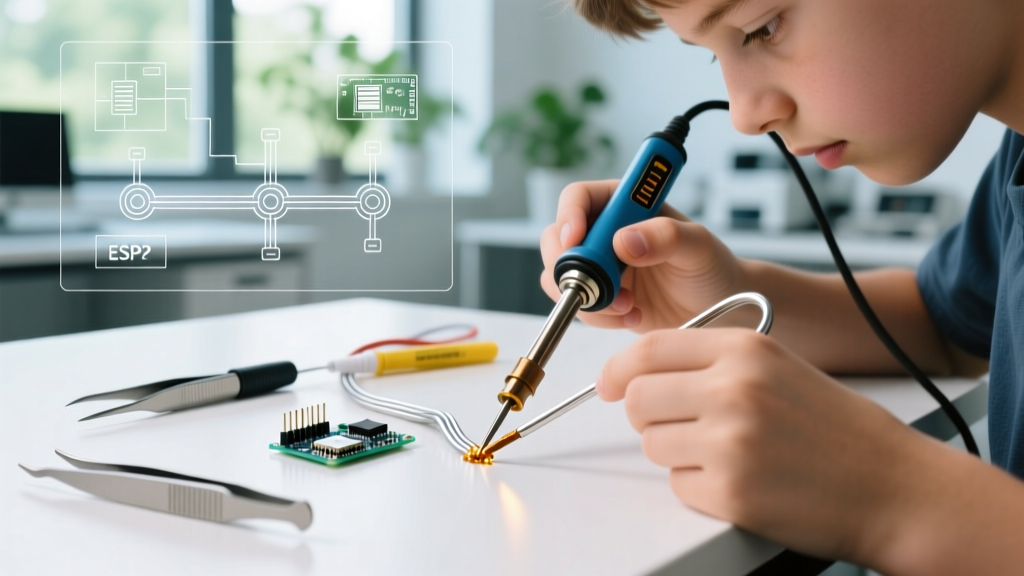

The Aluminum Oxide Barrier: Why Standard Soldering Fails
Soldering aluminum is notoriously frustrating for beginners. If you have ever tried to apply standard rosin-core solder to an aluminum heat sink or wire, you likely watched the molten solder bead up and roll off the surface. Many beginners search for how to soldering aluminum without realizing that the grammatical quirk of their search reflects a deeper misunderstanding of the metallurgy involved. You are not just melting metal; you are fighting a chemical barrier.
The core issue is aluminum oxide (Al2O3). When bare aluminum is exposed to oxygen, it instantly forms a microscopically thin, incredibly hard oxide layer. According to Lincoln Electric, while the base aluminum metal melts at roughly 660°C (1220°F), the aluminum oxide layer melts at over 2072°C (3762°F). Standard soldering irons max out around 400°C (752°F), meaning the oxide layer remains completely solid, blocking the molten solder from wetting the base metal. To successfully join aluminum, you must mechanically and chemically breach this barrier simultaneously.
The Temperature Paradox: You cannot simply 'turn up the heat' to burn through aluminum oxide. Doing so will melt your aluminum workpiece into a puddle long before the oxide layer yields. Chemical flux and mechanical abrasion are mandatory.
Essential Gear for Soldering Aluminum (2026 Beginner Checklist)
Standard electronics soldering kits are insufficient for aluminum. You need high thermal recovery, specialized chemistry, and specific abrasives. Below is the exact bill of materials required for a reliable DIY aluminum soldering setup.
| Component | Recommended Specification | Est. Cost (2026) | Why It Matters |
|---|---|---|---|
| Soldering Station | Weller WE1010NA or Hakko FX-888D (65W-70W) | $110 - $140 | Aluminum acts as a massive heat sink. Low-wattage irons will suffer severe thermal droop, resulting in cold joints. |
| Soldering Tip | Heavy Chisel (e.g., Hakko T18-D24 or Weller ETA) | $8 - $12 | Maximizes surface area contact for rapid thermal transfer into the aluminum base. |
| Flux | Superior Flux N515-A (Zinc Chloride base) | $25 (2oz jar) | Rosin flux is useless on aluminum. N515-A chemically dissolves the oxide layer and prevents immediate re-oxidation. |
| Solder Alloy | SAC305 (Sn96.5/Ag3.0/Cu0.5) or Zinc-based Alusolder | $45 / lb | Silver-bearing alloys provide better wetting and shear strength on aluminum substrates than standard Sn/Pb. |
| Abrasive | Stainless Steel Wire Brush | $6 | Removes heavy oxidation. Never use carbon steel, as embedded iron particles will cause rapid galvanic corrosion. |
Step-by-Step Walkthrough: How to Solder Aluminum Successfully
Follow this precise sequence to ensure the oxide layer is removed and kept at bay long enough for the solder to wet the joint. This method aligns with the rigorous cleanliness and wetting requirements outlined in IPC-A-610 standards for challenging substrates.
Step 1: Mechanical Preparation (T-Minus 60 Seconds)
Using your stainless steel wire brush, aggressively scrub the exact area on the aluminum where the joint will be made. You are physically scraping away the Al2O3 layer. Do not use sandpaper, as the embedded grit can interfere with the flux chemistry. Wipe away any loose debris with isopropyl alcohol (IPA).
Step 2: Immediate Flux Application (T-Minus 0 Seconds)
The moment you stop brushing, the oxide layer begins reforming. Within milliseconds, a new barrier is born. You must immediately apply a generous coat of Superior Flux N515-A or an equivalent zinc-chloride aluminum flux directly over the scrubbed area. The flux seals the metal from ambient oxygen and begins chemically etching any remaining microscopic oxides.
Step 3: Thermal Transfer (Dwell Time: 3-5 Seconds)
Set your soldering station to 380°C (716°F). Press the heavy chisel tip firmly into the fluxed aluminum. Do not apply solder to the iron tip. You must heat the base metal. Aluminum's high thermal conductivity will pull heat away from the tip rapidly. Hold the tip in place for 3 to 5 seconds to allow the flux to activate (it will bubble and smoke) and the base metal to reach flow temperature.
Step 4: Feed the Solder
Touch your SAC305 solder wire to the intersection of the iron tip and the aluminum workpiece. If the base metal is hot enough and the flux has done its job, the solder will instantly flash and flow, wetting the aluminum surface with a dull, frosty grey finish. If the solder beads up, remove the iron, re-brush, re-flux, and try again with slightly more dwell time.
Step 5: Neutralization and Cleaning (Critical)
Aluminum fluxes are highly acidic and corrosive. If left on the joint, they will eat through the solder and the aluminum within weeks, creating a white, powdery aluminum chloride residue. Once the joint cools, wash it thoroughly with hot water and a stiff brush, followed by a baking soda and water solution to neutralize any remaining acid. Rinse and dry completely.
Troubleshooting Common Failure Modes
Even with the right materials, beginners frequently encounter specific edge cases. Here is how to diagnose and fix them.
The 'Rolling Ball' Effect
Symptom: The solder melts but forms perfect spheres that roll off the aluminum.
Diagnosis: The oxide layer was not fully breached, or the base metal is too cold. The flux may have burned off before the aluminum reached flow temperature.
Solution: Increase your iron temperature by 20°C. Apply fresh flux and use a larger chisel tip to deliver more thermal mass. Ensure you are heating the aluminum, not just melting the solder on the iron.
Rapid Tip Degradation (Pitting)
Symptom: Your soldering tip develops deep pits and loses its ability to transfer heat after only a few aluminum soldering sessions.
Diagnosis: Zinc chloride fluxes are aggressively corrosive to the iron plating on standard soldering tips. If the plating is breached, the flux will dissolve the copper core of the tip in minutes.
Solution: Dedicate a specific, inexpensive chisel tip exclusively for aluminum work. Never use your precision micro-tips for aluminum. After every session, clean the tip on damp brass wool and re-tin it heavily with standard rosin-core leaded solder to protect the plating.
Galvanic Corrosion Over Time
Symptom: The joint holds perfectly initially but fails structurally after a few months in a humid environment.
Diagnosis: Aluminum and tin are far apart on the galvanic series. In the presence of an electrolyte (humidity), they form a weak battery, causing the aluminum to corrode away from the solder.
Solution: For structural or outdoor joints, soldering aluminum is generally not recommended; use mechanical fasteners or specialized epoxies. For electrical joints, coat the finished, cleaned joint in a marine-grade heat shrink tube or a conformal coating like MG Chemicals Silicone Conformal Coating to block moisture entirely.
Frequently Asked Questions (FAQ)
Can I use standard plumbing solder and paste flux on aluminum?
No. Standard plumbing paste flux (usually zinc chloride but formulated for copper) and solid tin/antimony plumbing solder will not wet aluminum. The surface tension and oxide breakdown requirements are entirely different. You must use flux specifically engineered for aluminum, like N515-A, and a solder alloy that contains silver or zinc to promote wetting.
Is ultrasonic soldering better for aluminum?
Ultrasonic soldering is the industrial gold standard for aluminum and glass because the high-frequency acoustic waves physically shatter the oxide layer in the molten solder pool, eliminating the need for corrosive chemical fluxes. However, ultrasonic soldering irons cost upwards of $2,000, making them entirely impractical for DIY beginners. The chemical/mechanical method outlined above is the only viable path for hobbyists.
Can I solder aluminum wires to copper PCB pads?
Directly soldering aluminum wire to copper pads is highly discouraged due to the extreme galvanic corrosion risk and the formation of brittle intermetallic compounds. If you must connect aluminum wire to a PCB, use a mechanical crimp terminal (like a Kosman or specialized AMP connector) and then solder the copper side of the terminal to the PCB.