
The Fundamentals of Soldering Wire for Jewelry
When transitioning from electronics to metalsmithing, artisans quickly realize that soldering wire for jewelry operates on an entirely different metallurgical paradigm. Unlike the tin-lead or SAC (tin-silver-copper) alloys used in PCB assembly, jewelry solders are precious metal alloys engineered to match the color, karat, and structural integrity of the base metals they join. While pre-cut pallions are common for simple butt joints, soldering wire is the undisputed professional choice for long seams, ring sizing, chain repair, and continuous feed applications where capillary action must be guided in real-time.
In 2026, with precious metal spot prices continuing to fluctuate, mastering the precise application of solder wire is not just a technical skill—it is a critical cost-control measure. Wasting expensive 14k gold or sterling silver solder wire through poor heat management or incorrect flux selection directly impacts your studio's bottom line. This guide dives deep into the professional techniques, alloy chemistry, and thermal dynamics required to execute flawless jewelry soldering using wire forms.
Metallurgy and Flow Temperatures: Silver Solder Grades
Silver solder wire is categorized by its flow temperature, not its melting point. The flow temperature is the exact moment the alloy becomes fully liquid and is drawn into the joint via capillary action. Professional jewelers rely on a tiered system to perform multiple soldering steps on a single piece without melting previous joints. According to technical data from The Ganoksin Project, understanding the precise thermal windows of these alloys is the first step to preventing catastrophic joint failures.
| Grade | Flow Temperature (°F / °C) | Primary Application | Wire Gauge Recommendation |
|---|---|---|---|
| Hard | 1450°F / 788°C | Initial structural joints, ring shanks, bezels | 18 or 20 AWG |
| Medium | 1390°F / 754°C | Secondary joints, adding findings to pre-soldered pieces | 20 or 22 AWG |
| Easy | 1325°F / 718°C | Final repairs, chain links, low-heat base metals | 22 or 24 AWG |
| Extra Easy | 1240°F / 671°C | Emergency repairs, soldering near heat-sensitive stones | 24 AWG |
Note: Always maintain at least a 50°F to 100°F differential between sequential solder grades to prevent the underlying joint from re-flowing and collapsing.
Gauge Selection and Wire Preparation
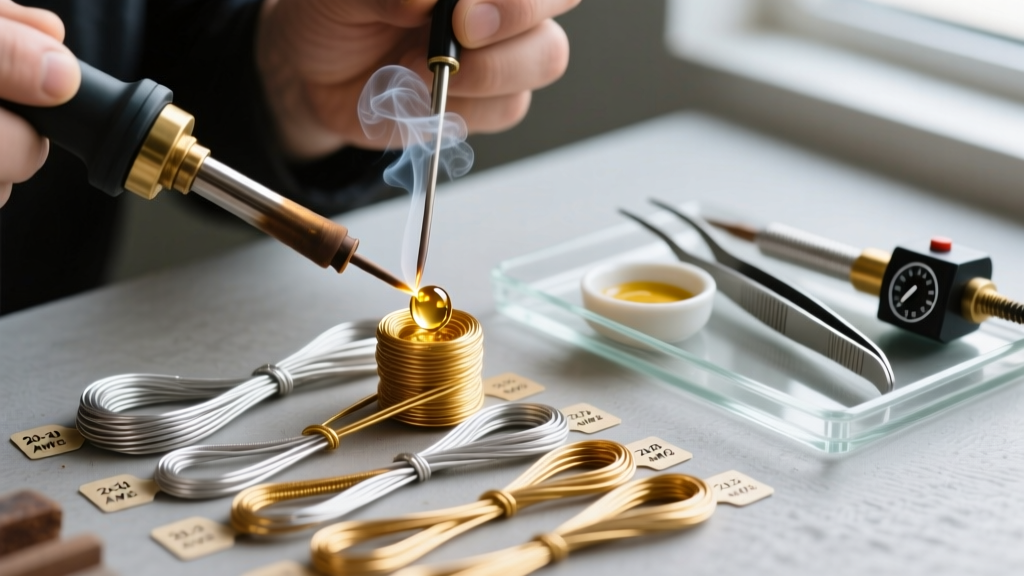
The diameter of your soldering wire dictates the volume of filler metal introduced to the joint. For most sterling silver ring shanks and structural seams, 18-gauge (1.02mm) or 20-gauge (0.81mm) wire is the professional standard. Thinner wires (22-24 gauge) are reserved for delicate filigree, jump rings, or gold alloys where material cost is a primary concern.
The Annealing Imperative
Never feed hard, springy solder wire directly from the spool into a joint. The mechanical tension in unannealed wire causes it to pull away from the seam as it heats, resulting in the dreaded 'balling up' failure mode. Before use, cut your required length, coil it loosely, and anneal it to a dull cherry red (approx. 1100°F) using a soft, bushy flame. Quench in water. This dead-soft wire will conform perfectly to the contour of your jewelry piece, ensuring maximum surface contact before the torch is even ignited.
Flux Chemistry: Borax vs. Commercial Fluorides
Flux is the chemical gatekeeper of jewelry soldering. Its primary role is to dissolve copper oxides that form on the surface of sterling silver and karat gold when heated, allowing the solder to wet the base metal. For soldering wire applications, where the wire is often introduced into the flame zone while hot, flux selection is critical.
- Traditional Borax Cone: Mixed with water to a creamy consistency, borax is excellent for high-heat hard soldering. However, it requires higher temperatures to become active and can leave a glassy, difficult-to-remove residue.
- Commercial Fluxes (e.g., Handy Flux, Aquiflux): These are typically boric acid and zinc chloride or fluoride-based liquid pastes. They become active at much lower temperatures (around 1100°F), providing a protective glassy shield before the silver reaches its critical oxidation point. Rio Grande's technical guides consistently recommend fluoride-based fluxes for seamless wire-feeding applications because they maintain a longer active working window under the torch.
Pro Tip: When feeding solder wire into a joint, paint the seam with flux, but leave the tip of your solder wire unfluxed. If the tip is heavily coated in flux, it will insulate the wire from the torch flame, delaying the melt and causing you to overheat the base piece while waiting for the solder to flow.
Heat Management and Torch Dynamics
Using soldering wire requires a dynamic, two-handed technique: one hand controls the torch, the other feeds the wire. This demands precise thermal management. The Smith Little Torch (acetylene/air or oxygen/propane) is the industry standard. For wire feeding, a #2 or #3 welding tip provides the ideal balance of a concentrated inner cone for melting the wire and a broader outer envelope for heating the base mass.
The most common failure mode when using wire is thermal balling. This occurs when the solder wire reaches its melting point before the base metal reaches its flow temperature. Because solder will not flow onto cooler metal, it retracts into a sphere due to surface tension. To prevent this, use the torch to heat the base metal adjacent to the joint, not the solder wire itself. Bring the base metal to a dark cherry red, then touch the annealed wire to the seam. The residual heat of the base metal will instantly flash-melt the wire and draw it into the capillary gap.
Step-by-Step: Sizing a Ring Shank with Solder Wire
Sizing a ring up by more than half a size requires inserting a new piece of metal, creating two parallel seams. This is where soldering wire outperforms pallions.
- Preparation: File both mating surfaces of the ring shank and the sizing insert perfectly flat. Any gaps wider than 0.005 inches will starve the capillary action.
- Binding: Secure the insert in the ring shank using cross-locking tweezers and bind the seams tightly with 24-gauge iron or titanium binding wire.
- Fluxing: Apply a thin, even coat of fluoride-based flux to both seams.
- Heating: Using a #3 torch tip, apply a soft, neutral flame to the inside of the ring band, moving continuously to distribute heat evenly. The mass of the ring must reach a uniform dark red.
- Feeding the Wire: Touch 20-gauge Hard silver solder wire to the outside edge of the seam. The moment the wire flashes and flows, pull the torch back slightly and draw the flame along the seam, feeding the wire continuously to 'zip' the joint closed.
- Quench and Inspect: Allow the piece to air cool until the red glow fades, then quench in water. Inspect the seam for a continuous silver line, indicating full capillary penetration.
Pickling, Cleanup, and Safety Protocols
After soldering, the piece will be coated in fire scale (copper oxide) and glassy flux residue. Submerge the piece in a heated pickle pot containing Sparex #2 (sodium bisulfate) maintained at 140°F (60°C). Sparex is significantly safer than traditional sulfuric acid baths, though NIOSH guidelines still mandate proper studio ventilation and the use of acid-resistant PPE when handling any heated pickling compounds.
Critical Warning: Never use steel tweezers or binding wire to retrieve items from the pickle. The acidic solution, combined with the steel and the silver, creates a galvanic cell that will instantly flash-plate a layer of pure copper onto your jewelry piece. Always use copper, brass, or titanium tongs.
Cost Considerations in 2026
With the spot price of silver remaining highly volatile, the cost of sterling silver soldering wire averages between $55 and $85 per troy ounce, depending on the alloy grade and supplier. Gold solder wire is exponentially more expensive and is usually purchased by the pennyweight (dwt). Professionals mitigate costs by purchasing bulk 1-ounce coils of wire and rolling them down to custom gauges using a mini rolling mill, rather than paying the premium for pre-drawn, spooled wire in niche diameters.
Final Thoughts on Wire Mastery
Mastering soldering wire for jewelry is a rite of passage for serious metalsmiths. It transitions the artisan from a passive observer of melting pallions to an active director of molten metal flow. By respecting the metallurgy of the alloys, maintaining rigorous thermal discipline, and utilizing the correct flux chemistry, you can achieve invisible seams that stand up to decades of wear and professional polishing.