
The Metallurgy of Sweat Fittings: Understanding Capillary Action
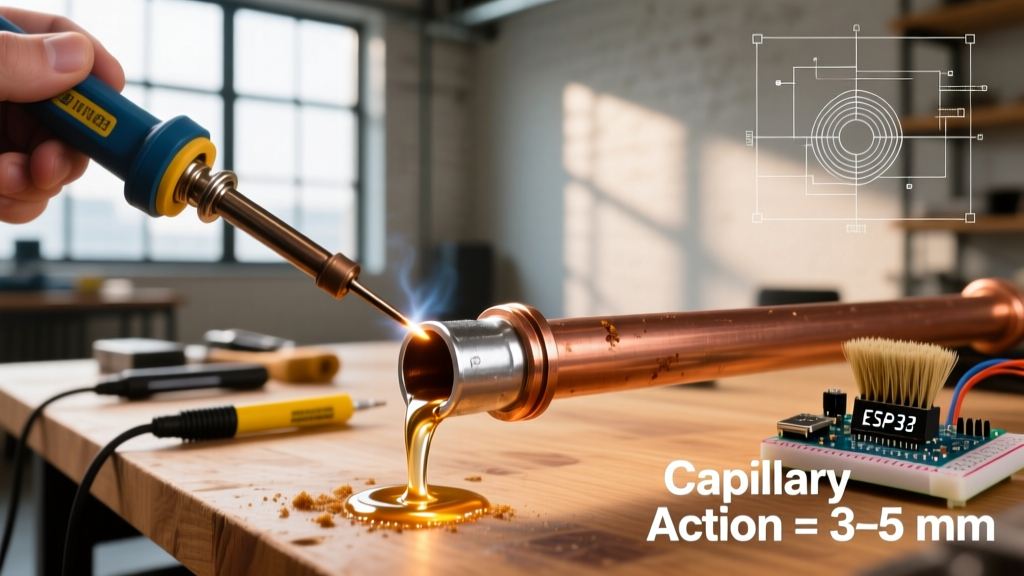
While electrical soldering focuses on creating conductive pathways on PCBs, soldering copper pipes (often called "sweating") is an exercise in fluid dynamics and thermal mass management. The integrity of a plumbing joint does not rely on the solder acting as a glue; rather, it relies on capillary action. When copper is heated to the proper flow temperature (typically between 450°F and 500°F for lead-free alloys), the molten solder is drawn into the microscopic gap between the pipe and the fitting. This gap, ideally between 0.003 and 0.005 inches, creates a surface tension vacuum that pulls the alloy deep into the joint, forming a metallurgical bond that can withstand over 1,000 PSI of burst pressure.
As of 2026, with copper commodity prices stabilizing around $4.10 to $4.50 per foot for standard 1/2-inch Type L tubing, making a mistake and having to cut out a failed joint is an expensive and frustrating error. Mastering the thermal dynamics of copper plumbing ensures permanent, leak-free results on the first attempt.
Material & Tool Matrix: Selecting the Right Components
Not all copper is created equal, and the thermal mass of the pipe dictates your torch selection and heating time. Below is a breakdown of standard residential copper types and their soldering characteristics.
| Pipe Type | Wall Thickness (1/2") | Primary Use Case | Thermal Mass & Heating Strategy |
|---|---|---|---|
| Type M | 0.028" | Residential interior supply | Low. Heats rapidly; high risk of overheating and burning flux. |
| Type L | 0.040" | Standard residential & commercial | Medium. The DIY standard; requires balanced, even heat application. |
| Type K | 0.049" | Underground, mains, HVAC | High. Requires MAP-Pro gas and larger torch tips to penetrate mass. |
Solder Alloy Selection: The Lead-Free Mandate
Under the Environmental Protection Agency (EPA) regulations enforcing the Safe Drinking Water Act, any solder used on potable water lines must contain less than 0.2% lead. The 50/50 tin-lead solder of the past is strictly banned for plumbing. For 2026 DIY and professional applications, you must use:
- 95/5 Tin-Antimony: The most common lead-free plumbing solder (e.g., Oatey Safe Flo). Melts at ~452°F. Excellent for standard water lines.
- 97/3 Tin-Silver: Higher melting point (~480°F). Superior vibration resistance; often mandated for refrigeration lines and high-pressure HVAC applications.
The 80% Rule: Preparation and Flux Dynamics
In plumbing soldering, 80% of the work happens before the torch is ever ignited. If the copper is not chemically and mechanically clean, capillary action will fail, resulting in a "cold joint" that will leak under pressure.
Mechanical Abrasion
Use a dedicated copper tubing wire brush (for the outside of the pipe) and a fitting brush (for the inside of the socket). You must remove all oxidation and machining oils. The copper should shine like a new penny. Crucial Edge Case: Do not touch the cleaned copper with your bare fingers. The oils from your skin will act as a barrier, preventing the flux from bonding to the metal.
Flux Application Dynamics
Plumbing flux (typically a zinc chloride or ammonium chloride water-soluble paste) serves two purposes: it prevents oxidation during heating and lowers the surface tension of the molten solder. Apply a thin, even layer to the outside of the pipe and a microscopic dab inside the fitting. Warning: Excess flux will pool inside the pipe, leading to localized corrosion (pinhole leaks) years down the line. Always wipe away excess flux from the exterior shoulder of the joint immediately after the solder cools using a hot, damp rag to neutralize the acidic compounds.
Thermal Management: Propane vs. MAP-Pro
When soldering copper pipes of varying diameters, your heat source is critical. Standard propane torches (like the Bernzomatic TS4000) burn at approximately 3,600°F in air. While sufficient for 1/2-inch Type M copper, they struggle to bring 3/4-inch or 1-inch Type L fittings up to the 450°F flow temperature before the pipe overheats and oxidizes.
Pro Tip: Upgrade to a MAP-Pro torch (e.g., Bernzomatic TS8000). Propylene gas burns at roughly 3,730°F and transfers BTUs significantly faster. The TS8000 costs around $55-$65, but the time saved and the reduction in burnt flux on larger fittings makes it an mandatory investment for serious DIYers and pros.
Step-by-Step Execution Flow
Follow this precise sequence to ensure optimal capillary draw and joint integrity.
- Assemble Dry: Push the pipe into the fitting until it hits the internal shoulder. Give it a slight quarter-turn to spread the flux evenly and eliminate air pockets.
- Apply Heat to the Fitting: This is the most common beginner mistake. The fitting has greater thermal mass than the pipe. Apply the inner blue cone of the flame to the fitting, not the pipe. Keep the flame moving in a circular motion around the fitting shoulder.
- The Visual Cue: Watch the flux. It will bubble, then turn clear and liquid. Simultaneously, the copper will shift from bright salmon to a dull, dark oxidized bronze. This indicates you are approaching 400°F.
- The Touch Test: Remove the flame. Touch your 95/5 solder wire to the opposite side of the joint from where you applied the heat. If the joint is at the correct temperature, the solder will instantly melt and be sucked into the joint via capillary action.
- Feed the Solder: For a 1/2-inch joint, you need roughly 1/2 inch of solder wire. For a 3/4-inch joint, use 3/4 inch. Feed until a continuous, shiny silver ring (a "fillet") appears entirely around the seam.
- Cool and Neutralize: Let the joint cool naturally for 60 seconds. Do not quench it with water, as thermal shock can crack the crystalline structure of the solder. Wipe the exterior with a wet rag to remove acidic flux residue.
Edge Cases and Troubleshooting Failure Modes
The "Trapped Water" Problem
Water has a massive specific heat capacity and acts as a heat sink. If you are repairing an existing line and cannot fully drain the system, even a few drops of water trapped in the pipe will absorb all the BTUs from your torch. The joint will never reach 450°F, and the solder will simply ball up and fall off. The Fix: Use the "bread trick." Push a tightly wadded piece of plain white bread into the pipe upstream of the joint. The bread will block the water, allowing you to solder. Once the system is pressurized, the bread dissolves and flushes out through an aerator or hose bib. Alternatively, use specialized water-swellable pipe plugs or dry ice to freeze a localized dam.
Burnt Flux (Black, Crusty Joints)
If the flux turns black and crusty before the solder melts, you have overheated the copper. Burnt flux acts as an insulator and a physical barrier; solder will not adhere to it. You must let the joint cool, disassemble it (if possible), re-sand the copper to bare metal, and start over. If the joint is already sweated but leaking, you cannot simply "add more solder." The joint must be desoldered using a propane torch and a solder sucker, or cut out and replaced.
Underheating (Cold Joints)
A cold joint occurs when the solder melts against the flame or the pipe exterior, but the interior of the fitting hasn't reached flow temperature. The solder fills the exterior gap but does not draw inward. Visually, the joint looks lumpy and dull gray instead of smooth and shiny. Cold joints will fail under standard municipal water pressure (typically 50-80 PSI) within weeks. Always verify the heat has penetrated the entire fitting mass before applying solder.
Safety and Code Compliance
When working with open flames near wood framing or drywall, always use a flame-retardant soldering shield (e.g., a fiberglass heat mat or a metal protector plate). Furthermore, ensure adequate ventilation; while lead-free 95/5 solder is safe from heavy metal toxicity, the rosin and chloride vapors generated by boiling flux are respiratory irritants. Always wear ANSI Z87.1 rated safety glasses to protect against molten solder splatter and flux spitting.
By respecting the metallurgical properties of copper, utilizing the correct MAP-Pro thermal tools, and strictly adhering to capillary preparation standards, you will achieve professional-grade, leak-free plumbing joints that last for decades.