
The Metallurgy of a Failed Sweat Joint
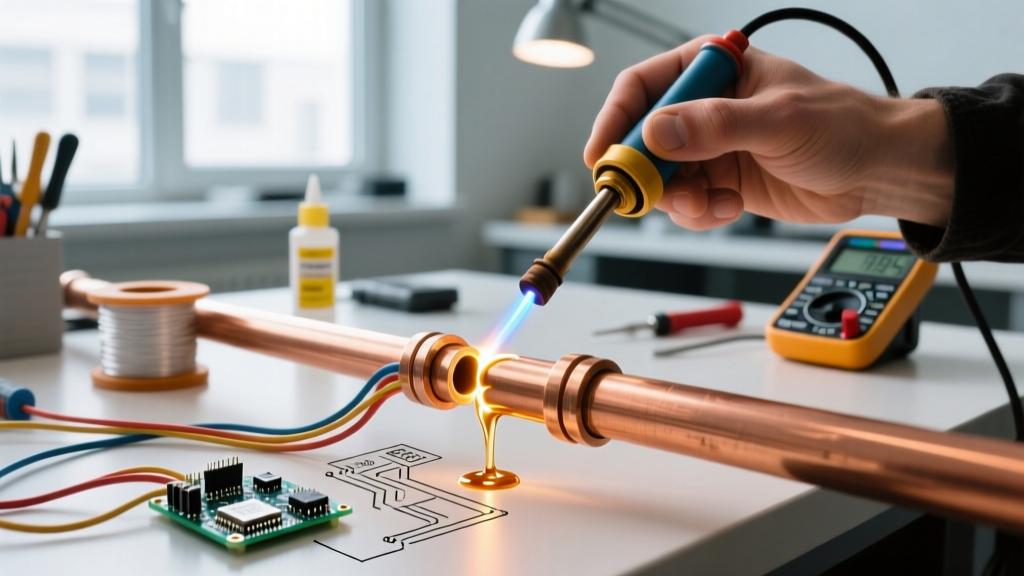
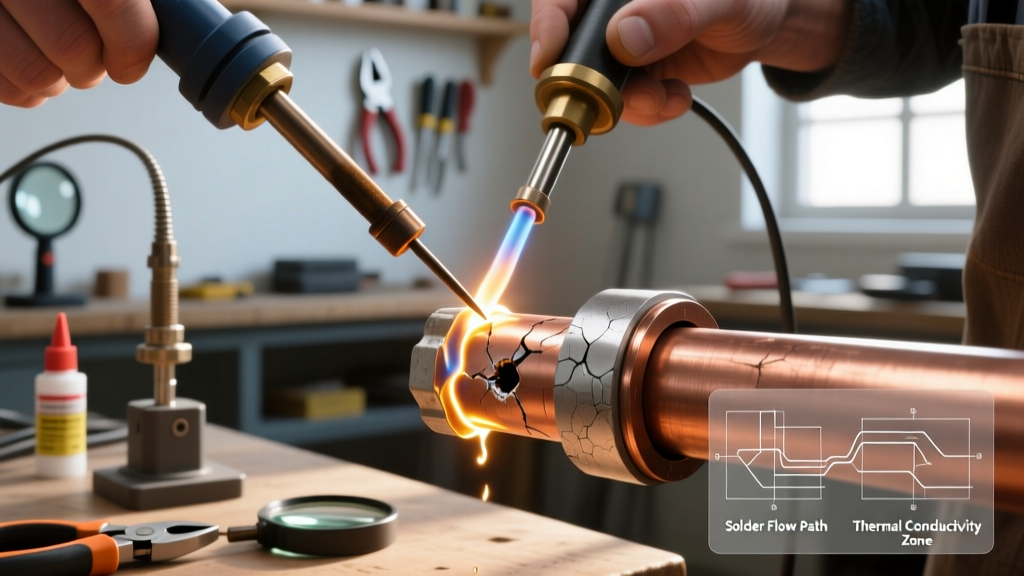
There are few things more frustrating in plumbing than pressurizing a newly installed system, only to hear the unmistakable hiss of a weeping joint. Soldering copper water pipe is not about gluing two pieces of metal together; it is a precise metallurgical process reliant on capillary action. When executed correctly, the molten solder is drawn deep into the microscopic valleys between the pipe and the fitting, creating a bond that is often stronger than the copper itself. When it fails, the result is a cold joint, a pinhole leak, or a catastrophic blowout under pressure.
As a senior technician, I see the same three mistakes repeated on job sites and in DIY basements: trapped moisture, oxidized copper surfaces, and improper heat management. This guide bypasses the basic 'how-to' tutorials and dives straight into advanced troubleshooting, failure analysis, and the exact protocols required to salvage a compromised joint.
Diagnostic Matrix: Identifying Your Solder Failure
Before you fire up the torch, you must diagnose why the joint failed. Use this diagnostic matrix to identify the root cause of your leak and apply the correct corrective action.
| Symptom | Visual Indicator | Root Cause | The Fix |
|---|---|---|---|
| Solder balls up and rolls off | Charred, black crust around fitting | Overheated joint; flux burned off and oxidized the copper | Let cool, disassemble, sand to bright copper, re-flux, use lower heat |
| Solder won't draw into joint | Solder melts but stays on the outside | Cold joint; copper did not reach capillary temperature (430°F+) | Apply heat to the fitting (not the pipe) for 2-3 more seconds |
| Pinhole leak under pressure | Tiny droplet or steam venting | Trapped moisture turned to steam, blowing out the solder seal | Drain line completely, use the 'bread dam' trick, re-sweat |
| Dull, grey, pitted solder bead | Solder looks crystalline or fractured | Movement during cooling; disturbed metallurgical crystallization | Cut out the fitting and start over with a new coupling |
The Hidden Enemy: Moisture and the 'Bread Dam' Technique
The number one reason for pinhole leaks when soldering copper water pipe is hidden moisture. Even if you have shut off the main valve and opened the lowest faucet, residual water can remain trapped in horizontal runs or be held back by surface tension in vertical drops. When your torch hits the copper, that single drop of water instantly flashes into steam. Steam expands 1,600 times its liquid volume, effectively blowing the molten solder out of the capillary space and leaving a microscopic vent hole.
Executing the White Bread Trick
When gravity draining isn't enough, professional plumbers rely on the bread dam method. This is not an old wives' tale; it is a highly effective, code-accepted temporary water stoppage technique.
- Preparation: Use standard, cheap white bread. Remove all crusts and ensure there are no seeds or nuts that could clog aerators later.
- Insertion: Ball up a piece of bread slightly larger than the inside diameter of the pipe (e.g., for a 1/2-inch pipe, use a ball about 5/8-inch wide).
- Placement: Push the bread ball into the pipe at least 6 inches upstream from the joint you are soldering. This prevents the radiant heat from toasting the bread and creating a hardened clog.
- Soldering: Proceed with your flux and solder application. The bread will hold back the weeping water, keeping the joint bone-dry.
- Flushing: Once the joint cools, turn on the water. The bread will instantly dissolve and flush out through the nearest open faucet. (Always remove aerators from faucets before flushing).
Heat Management: Torch Selection and Timing
You cannot achieve a proper sweat joint with a standard hardware-store butane pencil torch. You need a high-BTU output to heat the thick copper fitting rapidly before the heat dissipates down the pipe and melts adjacent soldered joints or damages nearby framing.
Recommended Setup: The Bernzomatic TS8000 trigger-start torch (approx. $55-$65) paired with a MAP-Pro cylinder. MAP-Pro gas burns at roughly 3,730°F, providing the aggressive, concentrated heat required for 3/4-inch and 1-inch copper lines.
The 3-Second Capillary Rule: For a standard 1/2-inch copper joint, apply the flame to the fitting, not the pipe. Keep the flame moving in a circular motion. After 3 to 4 seconds, touch the solder to the opposite side of the joint. If it doesn't instantly melt and wick inward, remove the solder and apply heat for 2 more seconds. Never melt the solder directly with the torch flame.
Re-Soldering a Pinhole Leak: A Step-by-Step Fix
If you have pressurized the system and found a weeping joint, do not attempt to simply melt more solder over the outside of the leak. Solder will not adhere to oxidized copper or dried flux. You must perform a complete joint reset.
Phase 1: Desoldering and Cleaning
- Drain the Line: Relieve all pressure and drain the water below the level of the joint.
- Apply Heat: Use your TS8000 torch to heat the fitting evenly. Once the solder melts, use channel-lock pliers (with a rag to protect the copper) to twist and pull the fitting off the pipe.
- Remove Old Solder: While the fitting and pipe are still hot, wipe them vigorously with a heavy cotton rag to remove the bulk of the old solder.
- Abrasion: Once cooled, use 120-grit emery cloth or a dedicated copper wire brush to polish both the outside of the pipe and the inside of the fitting until they shine like a new penny. Any dark oxidation will cause the new joint to fail.
Phase 2: Fluxing and Re-Sweating
Apply a thin, even layer of water-soluble, non-corrosive flux (such as Oatey #5 Paste Flux, approx. $9). Do not drown the joint; excess flux will boil and create voids inside the capillary space. Push the fitting on, give it a quarter-turn to spread the flux, and wipe away any exterior excess with a rag. Apply your MAP-Pro heat to the fitting, test with Oatey Safe-Flo Silver-Bearing Solder (approx. $28 for 8oz), and allow the capillary action to pull a continuous silver ring around the entire rim.
2026 Code Compliance: Lead-Free Mandates
As of 2026, enforcement of the Safe Drinking Water Act's lead-free mandates is strictly monitored by local inspectors. According to the Environmental Protection Agency (EPA), any solder used on potable water lines must contain no more than 0.2% lead. The old 50/50 tin-lead solder is strictly illegal for drinking water and is now relegated to drain, waste, and vent (DWV) or electronic applications. Always verify that your solder spool is explicitly stamped with 'NSF-61' or 'NSF/ANSI 372' certification to ensure compliance with modern health and safety standards.
Furthermore, the Copper Development Association (CDA) recommends using silver-bearing or antimony-alloyed lead-free solders for potable water, as they offer superior tensile strength and better flow characteristics in tight capillary spaces compared to pure tin-copper alloys.
Expert FAQ: Edge Cases and Troubleshooting
Can I use a heat sink paste to protect nearby walls?
Yes, but with caveats. Commercial heat sink gels (like Oatey's Heat Shield) can protect drywall and wood framing from radiant heat. However, they absorb a massive amount of thermal energy, meaning you will need to apply the torch longer to get the copper fitting up to soldering temperature. For tight spaces near studs, a folded piece of sheet metal or a dedicated fiberglass flame guard cloth is often more effective and doesn't alter your heating time.
Why is my solder turning into a slushy, grainy mess?
This is a classic sign of a 'disturbed joint.' If the pipe is bumped, twisted, or subjected to vibration while the solder is transitioning from a liquid to a solid state (the plastic range), the crystalline structure fractures. This results in a weak, porous joint that will eventually leak. If this happens, you must reheat the joint until the solder is fully liquid, let it be, and allow it to cool completely undisturbed.
Is it better to use 95/5 Tin-Antimony or Silver-Bearing solder?
For standard residential 1/2-inch and 3/4-inch water lines, 95/5 Tin-Antimony (melting point ~452°F) is the industry standard and provides excellent capillary flow. Silver-bearing solder (melting point ~428°F) flows slightly easier and creates a stronger bond, making it the preferred choice for high-vibration areas, larger diameter pipes (1-inch+), or commercial applications where joint integrity is paramount. Both are fully code-compliant for potable water.