
The Metallurgical Divide: Soldering vs Brazing Explained
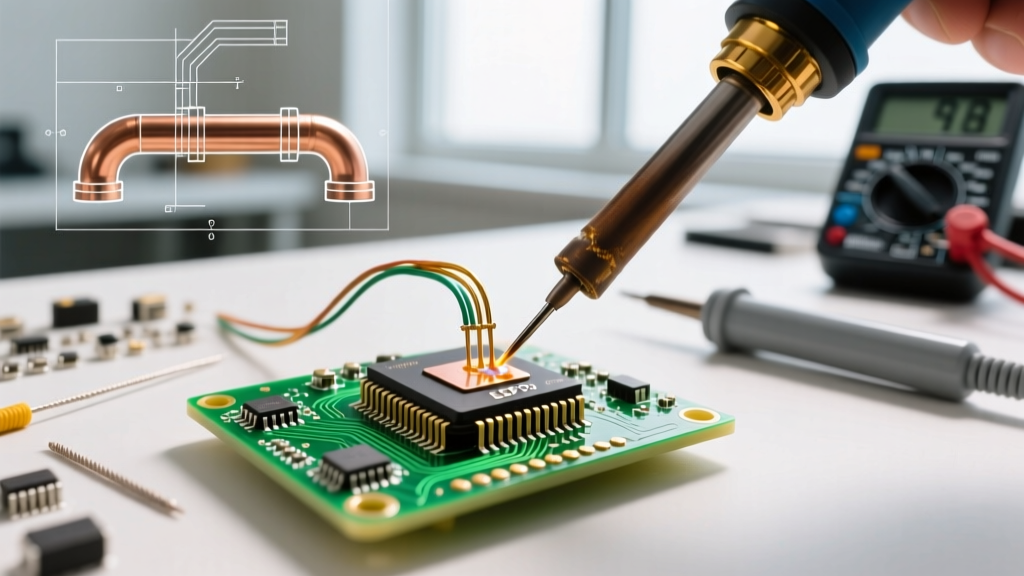
When joining copper busbars, heavy-gauge grounding lugs, or high-pressure refrigerant lines, the decision between soldering and brazing dictates the structural and electrical integrity of your project. While both processes rely on capillary action to draw a molten filler metal between closely fitted base metals, the American Welding Society (AWS) defines a strict metallurgical boundary between the two: 450°C (840°F).
If the filler metal melts below 450°C, you are soldering. If it melts above 450°C, you are brazing. This temperature threshold fundamentally changes the equipment, flux chemistry, and joint tensile strength required for the task. In this step-by-step tutorial, we will break down exactly how to execute both techniques on copper, complete with specific alloy recommendations, torch settings, and real-world failure modes.
Comparison Matrix: Soldering vs Brazing
| Feature | Soft Soldering | Brazing |
|---|---|---|
| Temperature Threshold | 180°C – 400°C (356°F – 752°F) | 600°C – 850°C (1112°F – 1562°F) |
| Base Metal State | Remains solid; minimal annealing | Remains solid; localized annealing occurs |
| Joint Tensile Strength | Low to Moderate (up to 15,000 PSI) | High (up to 45,000+ PSI) |
| Recommended Filler (Copper) | Stay-Brite 8 (95% Tin, 5% Silver) | Sil-Fos 5 (5% Silver, Copper/Phosphorus) |
| Typical 2026 Material Cost | ~$45 per 1/2 lb spool | ~$95 per 1 lb tube |
| Primary Use Case | Electrical lugs, low-pressure plumbing | HVAC lines, structural busbars, high-vibration |
Phase 1: Universal Preparation (The Secret to Capillary Action)
Whether you are soldering or brazing, capillary action will fail if the copper surface is oxidized or contaminated. Do not skip these preparation steps.
- Mechanical Cleaning: Use 120-grit emery cloth or a dedicated copper fitting brush to polish the male and female joint surfaces until they shine brightly. Do not use steel wool, as embedded iron particles will cause galvanic corrosion later.
- Chemical Degreasing: Wipe the joint with acetone or isopropyl alcohol (99%) to remove skin oils and machining lubricants. Allow it to flash off completely.
- Fitment Check: The ideal gap for capillary draw is between 0.002 and 0.005 inches. If the joint is too loose, the filler metal will drip through rather than pooling in the gap.
Phase 2: Step-by-Step Soft Soldering Tutorial
Target Application: Joining a 2/0 AWG copper grounding lug to a copper busbar.
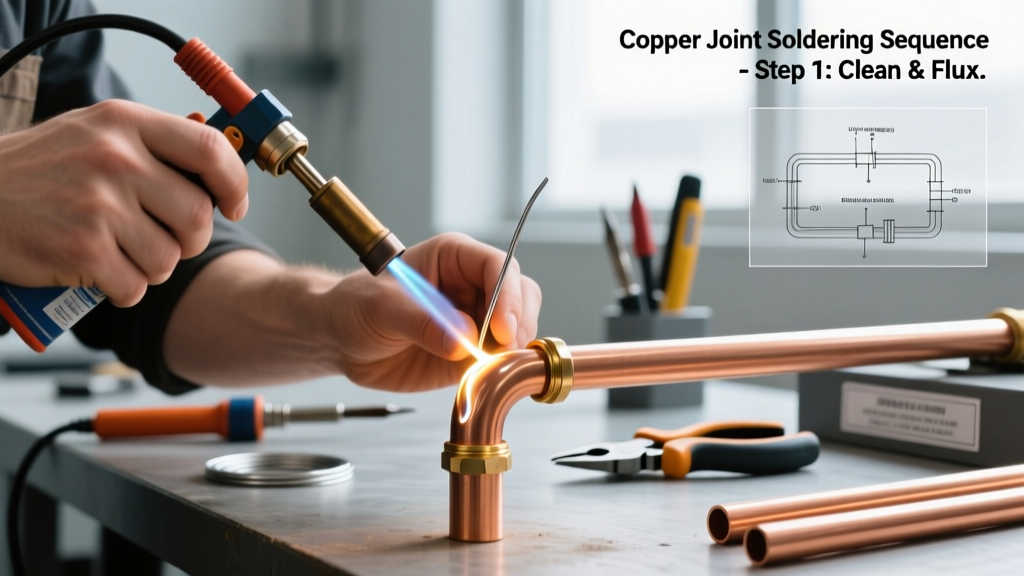
Step 1: Apply the Correct Flux
For soft soldering copper, use a mild acid or rosin-based liquid flux, such as Harris Stay-Clean. Apply a thin, even coat to both mating surfaces using an acid brush. Warning: Never use plumbing paste flux for electrical joints, as the solid residues can become conductive under high humidity and cause tracking shorts.
Step 2: Heat the Base Metal
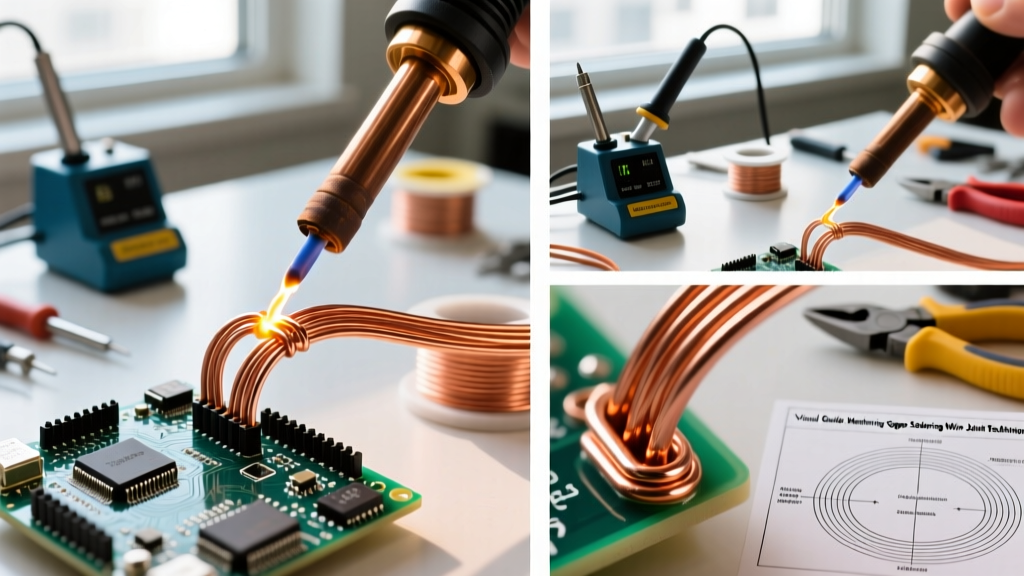
Ignite a MAP-Pro torch (e.g., Bernzomatic TS8000). Keep the inner blue cone of the flame about 1 inch away from the copper. Do not aim the flame directly at the joint gap; instead, sweep the flame back and forth across the thickest part of the base metal (the busbar). Copper is highly thermally conductive; you must heat the surrounding mass to pull heat into the joint.
Step 3: Test and Apply the Filler
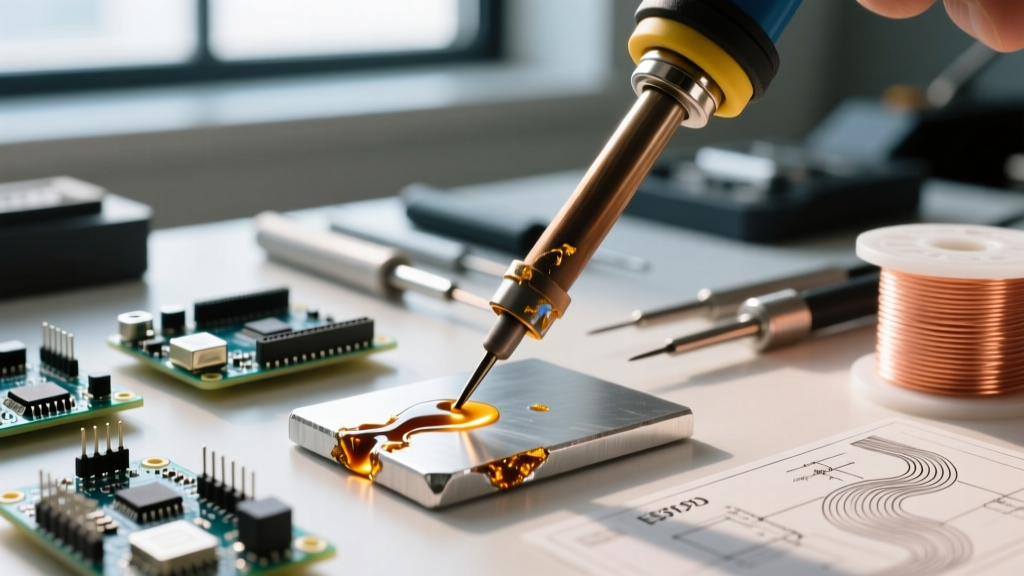
After 15–20 seconds, touch your Stay-Brite 8 wire to the opposite side of the joint from where the flame is applied. If the copper has reached ~288°C (550°F), the flux will bubble and turn slightly amber, and the solder will instantly melt and wick into the gap. If the solder just balls up and rolls off, the base metal is too cold. Continue heating and retest.
Step 4: Quench and Clean
Once a continuous silver ring is visible around the entire joint perimeter, remove the heat. Allow the joint to air cool until the solder solidifies (it will lose its liquid shine). Wipe away residual flux with a damp rag to prevent long-term acid etching.
Phase 3: Step-by-Step Brazing Tutorial
Target Application: Joining 1/2-inch copper refrigerant lines or high-stress structural copper frames.
Step 1: Apply High-Temperature Flux
Standard soldering flux will vaporize and burn off long before brazing temperatures are reached. You must use a borax-based or fluoride-based paste, such as Harris Black Flux. Coat the joint and the first inch of the filler rod with the flux. This flux remains active up to 1150°C (2100°F), protecting the copper from scaling.
Step 2: Establish a Neutral Flame
For serious brazing, an Oxy-Acetylene setup (like the Victor Journeyman) is required. Set your regulators to 5 PSI Acetylene and 10 PSI Oxygen. Light the acetylene first, then introduce oxygen until the feather of the flame disappears, leaving a sharp, well-defined inner cone (a neutral flame). A carburizing (sooty) flame will contaminate the copper, while an oxidizing flame will pit the surface.
Step 3: Heat to Cherry Red
Apply the flame to the base metal, keeping the inner cone 1/2 inch away. Sweep evenly. You are looking for the copper to transition from a dull brown to a bright, translucent cherry red (approximately 650°C / 1200°F). According to the Copper Development Association, overheating the copper past 800°C can cause grain growth, severely weakening the base metal and leading to micro-fractures under vibration.
Step 4: Melt the Sil-Fos Alloy
Remove the flame and touch the Sil-Fos 5 rod to the joint. Because Sil-Fos contains phosphorus, it is self-fluxing on copper-to-copper joints, but the pre-applied Black Flux ensures optimal flow. The rod should melt instantly and flash into the joint like water. If the rod bends and sticks to the joint without melting, the copper is not hot enough.
Step 5: Slow Cool and Scale Removal
Allow the brazed joint to cool naturally. Do not quench a brazed joint in water; the thermal shock can crack the phosphorus-copper alloy. Once cool, use a stainless steel wire brush to remove the hard, glassy flux scale.
Expert Safety Note: Brazing with Sil-Fos alloys releases phosphorus pentoxide fumes, which react with moisture in your lungs to form phosphoric acid. Always perform brazing in a well-ventilated area or use local exhaust ventilation, strictly adhering to OSHA welding and brazing safety guidelines. Never use Sil-Fos on copper-nickel or ferrous metals, as the phosphorus will create brittle intermetallic compounds that will snap under minimal stress.
Troubleshooting Common Failure Modes
1. Flux Burnout (The 'Glaze' Effect)
Symptom: The flux turns into a hard, black, glassy crust before the filler metal melts, and the solder/braze refuses to wet the surface.
Cause: You applied too much heat for too long without introducing the filler metal, causing the flux chemicals to break down and oxidize the copper beneath.
Fix: Stop heating. Let the part cool, mechanically clean off the burnt flux with a wire wheel, re-flux, and try again with a faster heat cycle.
2. Base Metal Erosion (Notching)
Symptom: A visible groove or 'notch' is eaten into the copper right where the flame was held.
Cause: Holding an oxy-acetylene flame stationary on thin-walled copper. The high-velocity gases and extreme localized heat literally vaporize and erode the surface.
Fix: Keep the torch in constant motion. Use a larger, softer flame (rosebud tip) for thin-walled tubing rather than a concentrated pinpoint flame.
3. Cold Lap (False Capillary Draw)
Symptom: The filler metal wraps around the outside of the joint but does not penetrate the gap. The joint fails under mild mechanical stress.
Cause: The base metal inside the gap was below the liquidus temperature of the filler alloy. The filler melted against the hot outer edge but froze upon contacting the cooler interior.
Fix: Heat the thickest, deepest part of the female fitting, not the male pipe. Let the thermal mass of the fitting pull the heat inward before testing the filler rod.
Final Verdict: Which Should You Choose?
If your project involves electrical conductivity, low mechanical stress, or temperature-sensitive components (like near PVC insulation or electronic housings), soft soldering with a silver-bearing tin alloy is the correct, cost-effective choice. However, if the joint will be subjected to high vibration, internal pressures exceeding 300 PSI, or structural loads, you must step up to brazing. The extra equipment cost and safety precautions of brazing pay dividends in a joint that is ultimately stronger than the copper base metal itself.